Welcome aspiring artists! In this tutorial, we will explore the wonderful world of drawing and learn how to create a lifelike representation of a manatee. Whether you are a beginner or an experienced artist looking to enhance your skills, this step-by-step guide will help you achieve impressive results. So grab your pencil, paper, and let’s dive into the magical realm of manatee drawing!
Materials required
Before we embark on this artistic journey, let’s gather our materials. Here’s what you will need:
- Drawing paper: Choose a smooth and sturdy paper that can withstand erasing and shading techniques.
- Pencils: Get a set of graphite pencils with various degrees, such as 2H, HB, and 2B, to achieve different shades and textures.
- Eraser: Opt for a soft eraser to correct mistakes and smudges without damaging the paper.
- Blending stump or cotton swabs: These tools will help you blend and smudge graphite for smooth transitions.
- Reference image: Find a high-quality picture of a manatee to inspire and guide your drawing.
Now that we have our materials ready, let’s begin the artistic process!
Step 1: Sketch the Basic Shapes
Start by lightly sketching the basic shapes that make up the manatee’s body. Begin with an oval shape for the head and a larger oval for the body. Connect the two shapes with a curved line for the neck. Take your time to get the proportions and placement right.
Step 2: Add the Fin and Tail
Next, add the flippers on each side of the body using curved lines. Manatees have paddle-like flippers that are integral to their movements. Then, draw a curved line extending from the body to form the tail. Pay attention to the proportion and curves as you sketch.
Step 3: Outline the Eye and Snout
Now, let’s focus on the details of the face. Using curved lines, outline the eye and place it near the top of the head. Manatees have small, beady eyes that are characteristic of their appearance. Add a small dot inside the eye to represent the pupil. Then, draw the snout by extending a curved line from the head. Take your time to capture the gentle nature of the manatee.
Step 4: Define the Body Contours
Start refining the outline of the manatee’s body by adding more curved lines. Pay close attention to the contours of the body, emphasizing the roundness and smoothness of its shape. Remember to keep your lines light and delicate for now, as we will refine them later.
Step 5: Develop the Face
Let’s continue developing the face of our manatee drawing. Add a small nostril near the tip of the snout, using a tiny curved line. Then, define the mouth by drawing a soft, smiling curve beneath the snout. Take note of any subtle details in your reference image to make your drawing more realistic.
Step 6: Refine the Eye and Mouth
Now, let’s add more details to the eye and mouth. Shade the area surrounding the eye lightly, leaving a small highlight to add depth and life to the eye. Use short, gentle strokes to create the illusion of fur around the eye. Shade the area beneath the mouth to create a sense of depth and three-dimensionality.
Step 7: Add Texture and Shading to the Body
To bring our manatee to life, it’s time to add texture and shading to the body. Using light and dark shades of graphite, carefully add subtle lines and strokes to mimic the natural pattern of the manatee’s skin. Pay attention to the direction of the strokes, following the contours of the body to create a realistic effect.
Step 8: Refine and Blend
Now that you have established the basic structure and shading of your manatee drawing, take a step back and assess the overall look. Use your eraser to gently lighten any areas that need adjustment. This is also a good time to blend and smudge the graphite using a blending stump or cotton swabs. This technique will create smoother transitions and enhance the realism of your drawing.
Step 9: Finalize the Details
In this final step, focus on adding the finishing touches to your manatee drawing. Pay attention to the smaller details, such as the wrinkles around the flippers and the textures on the snout. Take your time to refine the shading, adding highlights and shadows where necessary. Remember, the key to a realistic drawing lies in the attention to detail.
And there you have it! A stunning representation of a majestic manatee. Congratulations on completing this drawing tutorial!
Conclusion
Drawing a manatee is an enriching and rewarding experience. By following these step-by-step instructions, you have learned how to capture the essence of these gentle creatures on paper. Remember, practice makes perfect, so don’t be discouraged if your first attempt isn’t perfect. Keep exploring and experimenting with different techniques to enhance your artistic skills. Happy drawing!
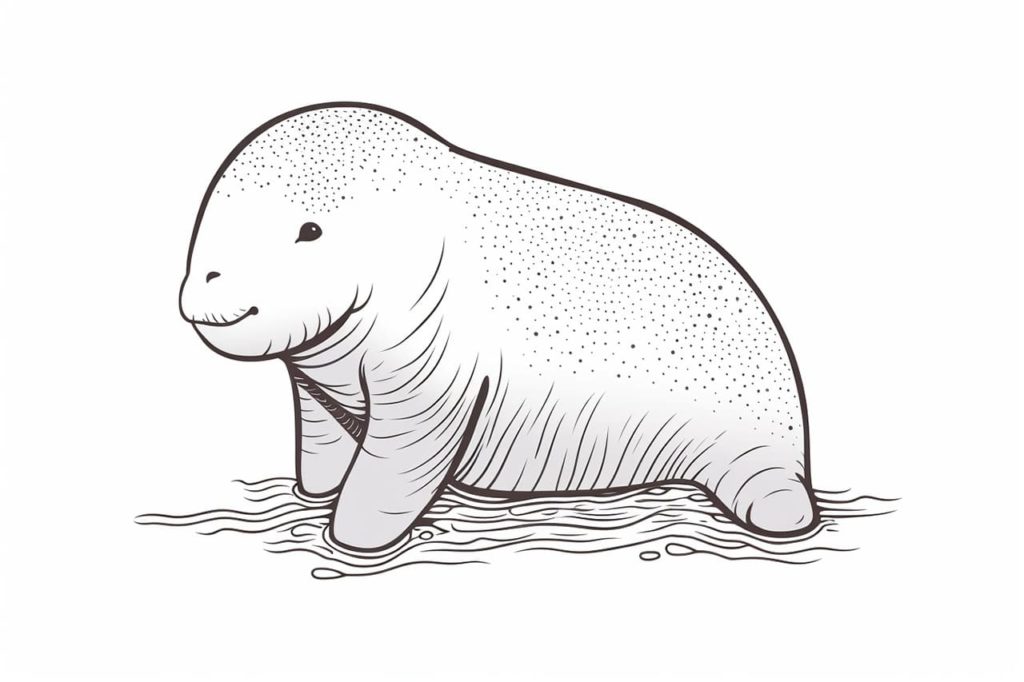
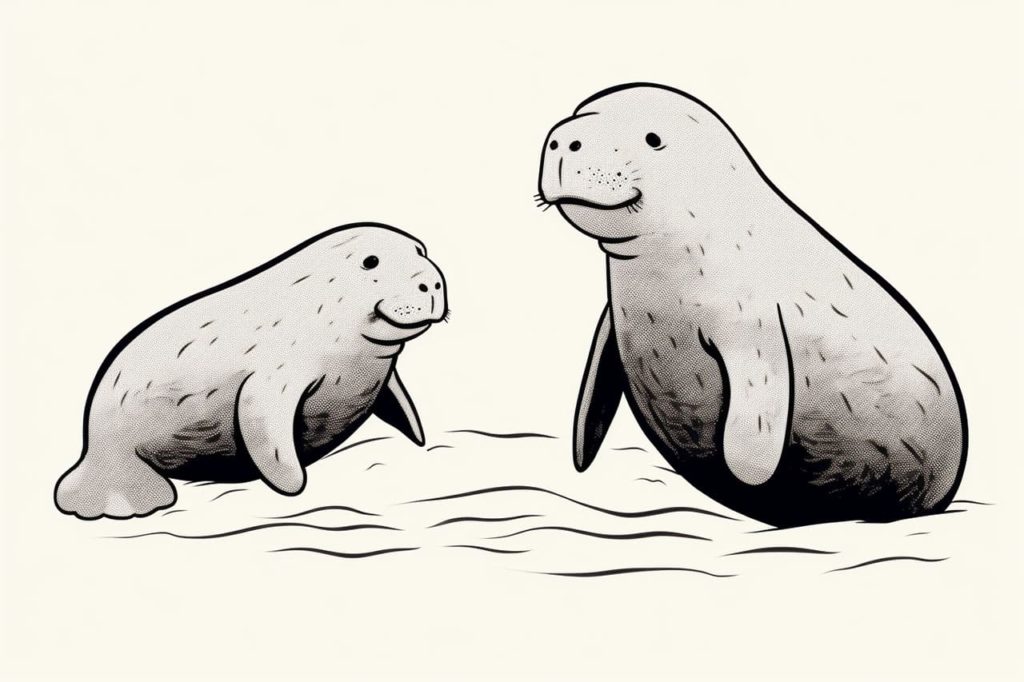
Gallery of Manatee Drawings