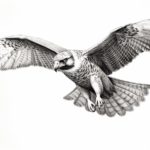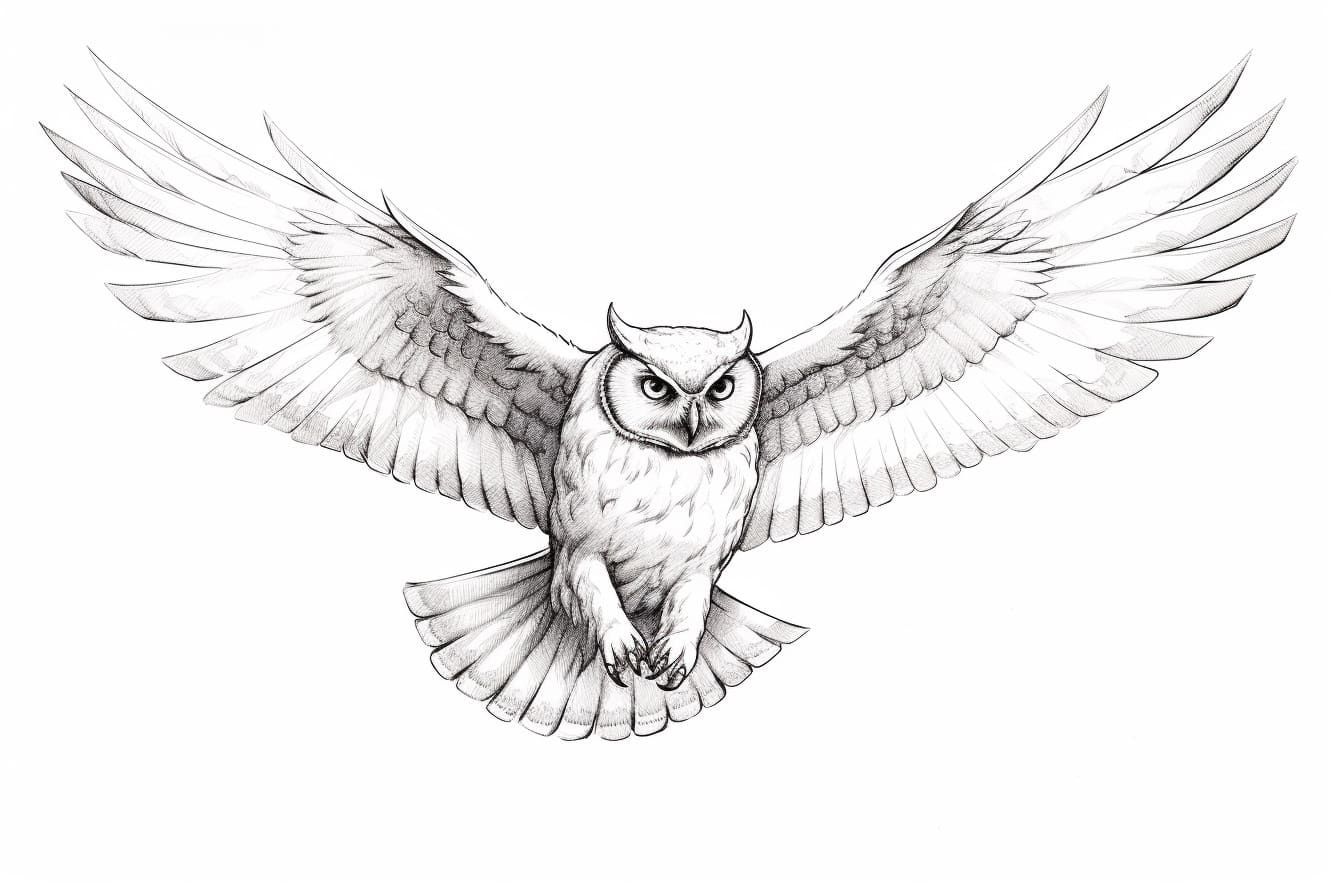
Owls are majestic creatures that have long been associated with wisdom and mystery. Drawing a flying owl can be a challenging task, but with the right techniques and a little practice, you can create a beautiful and realistic image. In this step-by-step guide, we will walk you through the process of how to draw a flying owl, from sketching the basic shapes to adding intricate details. So grab your pencil and let’s get started!
Materials Required
Before we begin, make sure you have the following materials:
- Drawing paper or sketchbook
- Pencils (preferably a range of softness, such as 2B, 4B, and 6B)
- Eraser
- Fine-tipped black pen or marker (optional, for outlining)
Now that you have everything you need, let’s move on to the first step.
Step 1: Sketch the Basic Shapes
Start by sketching the basic shapes that will serve as the foundation for your owl drawing. Begin with a large oval in the middle of the page to represent the owl’s body. Then, add two smaller circles on top of the oval, slightly overlapping each other. These circles will form the head and the chest of the owl. Finally, sketch two curved lines extending from the body to represent the wings.
Step 2: Define the Body Proportions
Using the basic shapes as a guide, refine the proportions of the owl’s body. Adjust the size and shape of the circles to create a more realistic outline. Make the head slightly larger than the chest, and ensure that the wings are proportionate to the body. Keep the lines light and loose, as you will be adding more details in the following steps.
Step 3: Add the Facial Features
Now it’s time to give your owl a face! Start by adding two large circular eyes towards the front of the head. Then, draw a small beak at the bottom of the face. The eyes should be elongated and slanted towards the sides, giving the owl a focused and intense gaze. Add small details like the pupils and the nostrils of the beak to bring the face to life.
Step 4: Define the Wings
Next, focus on refining the shape and details of the owl’s wings. Start by adding feather-like lines along the curved lines you sketched earlier. These lines should follow the natural contour of the wings and give them a textured and realistic appearance. Take your time to observe the reference image or imagine how the feathers would look in flight. Add smaller feathers near the tips of the wings to add depth and dimension.
Step 5: Sketch the Tail Feathers
Extend the bottom of the owl’s body to create the tail. Make the tail feathers long and tapered, resembling a fan shape. Add feather-like lines to the tail, similar to what you did for the wings. Remember to make the feathers gradually smaller towards the end of the tail.
Step 6: Refine the Outline
Now that you have all the major shapes and details in place, it’s time to refine the outline of your owl drawing. Go over your initial sketch with a darker pencil or use a fine-tipped black pen or marker for outlining. Make sure to capture the contours of the body, wings, and feathers accurately. Take extra care when outlining the facial features to make them stand out.
Step 7: Add Texture and Details
To make your owl drawing truly realistic, add texture and details to the feathers. Use a combination of short, curved lines and dots to create the appearance of individual feathers. Focus on areas where the feathers overlap, such as the body, wings, and tail. Vary the length and direction of the lines to mimic the natural patterns found in owl feathers. Take your time during this step, as it requires patience and precision.
Step 8: Shade and Add Depth
To add depth and dimension to your flying owl drawing, it’s time to introduce shading. Using a soft pencil (such as 4B or 6B), lightly shade the areas of the body that would be in shadow. Pay attention to the reference image or imagine where the light source is coming from. Gradually build up the shading, starting with a light layer and gradually darkening areas that are further away from the light source. Use a blending tool or your fingertip to smooth out the shading and create a seamless transition between light and shadow.
Step 9: Final Touches
Now that your drawing is almost complete, take a step back and evaluate the overall composition. Make any necessary adjustments to the shapes, proportions, or details. Erase any remaining pencil lines that are no longer needed. If desired, you can add a background to your drawing to further enhance the composition. Consider adding a moonlit sky or a forest setting to give your flying owl a sense of atmosphere and context.
Conclusion
Drawing a flying owl requires careful observation, attention to detail, and a steady hand. By following these step-by-step instructions, you can create a stunning and realistic representation of this majestic creature. Remember to practice, experiment with different techniques, and most importantly, have fun with your artwork. Now, go grab your drawing supplies and let your creativity take flight!