Welcome to this step-by-step guide on how to draw a pyramid. Whether you are an aspiring artist or just looking to improve your drawing skills, learning how to draw a pyramid can be a great exercise in perspective and geometry. In this article, we will walk you through the process of drawing a pyramid with clear and concise instructions. So grab your drawing materials and let’s get started.
Materials Required:
Before we begin, make sure you have the following materials handy:
Now that you have your materials ready, let’s dive into the step-by-step instructions.
Step 1: Drawing the Base
Start by drawing a horizontal line across the middle of your paper. This line will serve as the horizon line. Then, draw a vertical line from the middle of the horizon line downwards. This will be your center line for the pyramid.
Step 2: Creating the Base Shape
Draw a small horizontal line at the bottom of the center line, extending it out to the left and right. This line will represent the length of the base of your pyramid. Then, connect the ends of this line to the ends of the horizon line using diagonal lines. This will form the base shape of your pyramid.
Step 3: Adding Depth
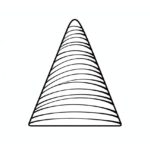
To create the illusion of depth, draw two diagonal lines from the top corners of the base shape towards the top of the paper. These lines should converge at a point above the center line. This will be the apex of your pyramid.
Step 4: Completing the Sides
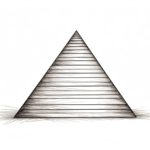
Connect the apex to each corner of the base shape using diagonal lines. These lines will form the sides of your pyramid. Make sure the lines gradually get closer together as they move towards the apex, creating a triangular shape.
Step 5: Refining the Shape
Take your ruler and carefully straighten any wobbly lines, ensuring that the sides of the pyramid are straight and symmetrical. Also, erase any unnecessary guidelines or construction lines that you no longer need.
Step 6: Adding Details
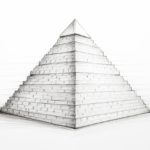
If desired, you can add some extra details to your pyramid to enhance its appearance. For example, you can draw smaller lines across the sides of the pyramid to represent the individual blocks or stones. You can also add shading or coloring with colored pencils or markers to give your pyramid a more three-dimensional look.
Conclusion:
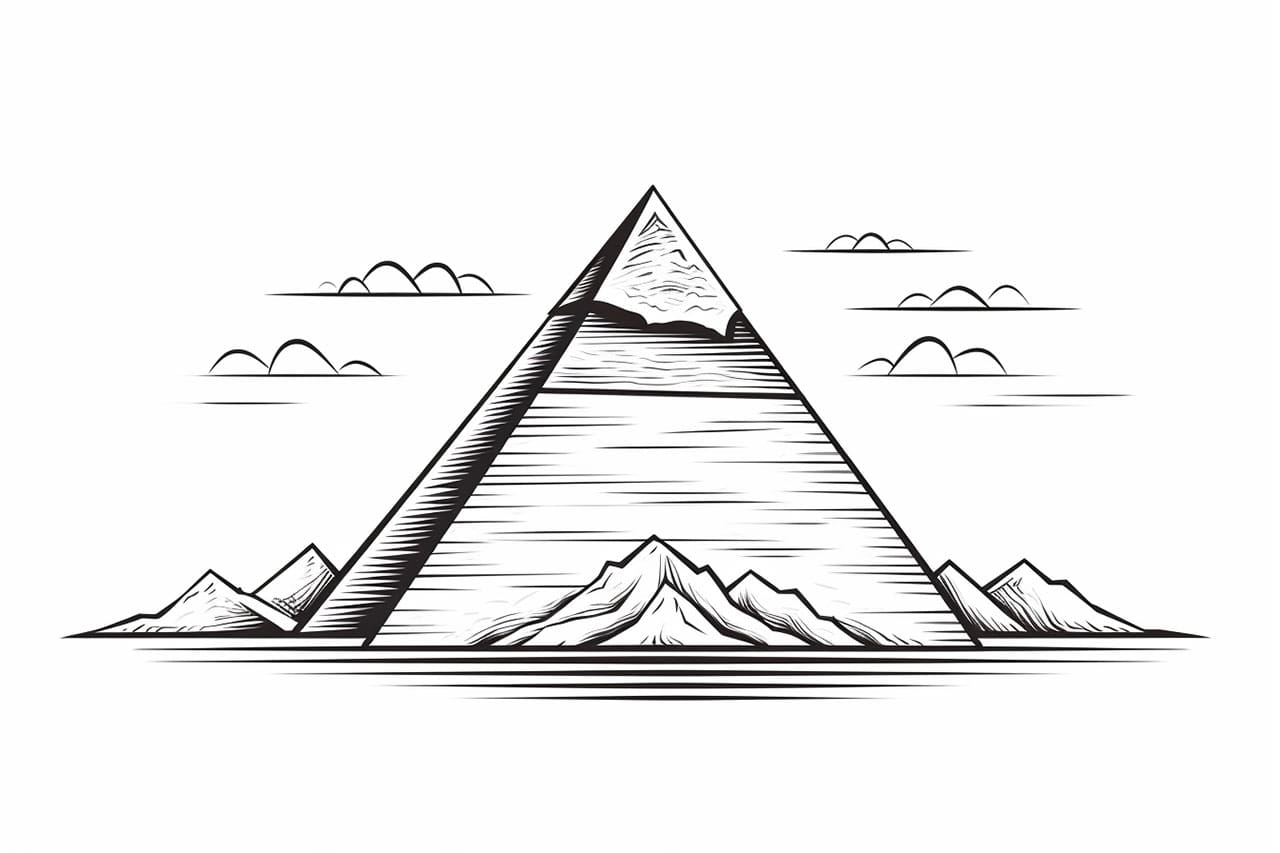
Congratulations! You have successfully learned how to draw a pyramid. By following the step-by-step instructions in this article, you have created a pyramid with proper perspective and symmetrical sides. Remember to practice regularly, as drawing is a skill that improves with time and effort. With continued practice, you can master the art of drawing pyramids, as well as other complex shapes. Keep exploring your creativity and enjoy the process of drawing. Happy sketching!