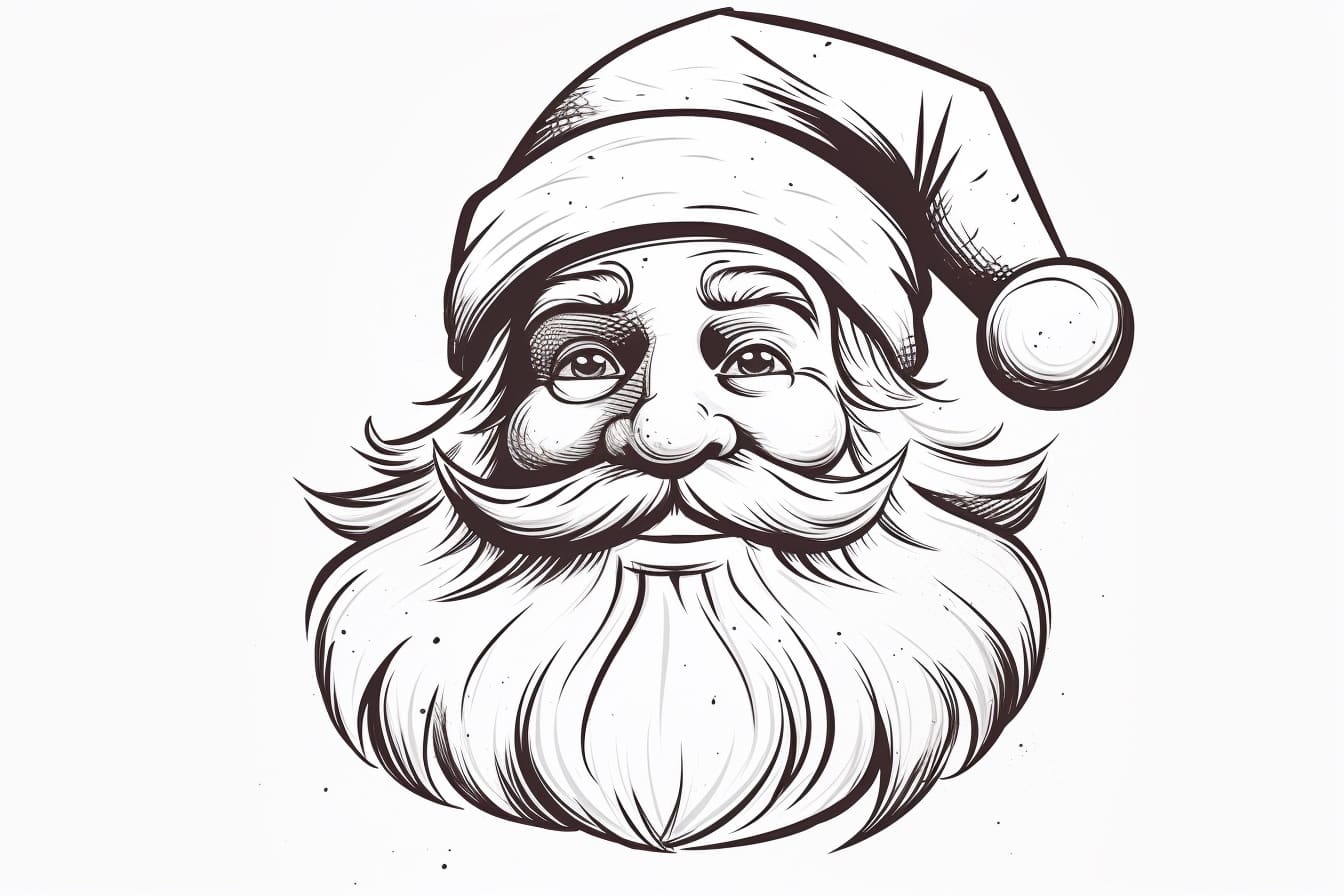
Welcome to this step-by-step guide on how to draw a cartoon Santa Claus! Whether you want to create a festive holiday card or simply enjoy the art of drawing, this tutorial will provide you with easy-to-follow instructions. By the end of this article, you’ll have drawn a jolly Santa with his iconic hat, bushy beard, and twinkling eyes. So grab your art supplies and let’s get started!
Materials Required
Before we begin, make sure you have the following materials ready:
- Paper: Choose a sturdy and smooth paper surface that is suitable for drawing. A sketchpad or drawing paper would work well.
- Pencils: Grab a set of pencils with varying degrees of hardness, such as 2B, 4B, and 6B. These will help create different shades and textures in your drawing.
- Eraser: Have a soft eraser handy to correct any mistakes or lighten your pencil marks.
- Fine-tip Marker or Pen: This will be used to outline and define your final drawing.
- Colored Pencils or Markers: If you want to add color to your Santa Claus illustration, gather some colored pencils or markers in shades of red, white, pink, black, and peach.
Now that you have your materials ready, let’s begin drawing our cartoon Santa Claus!
Step 1: Drawing the Head
Start by drawing a circle in the middle of your paper. This circle will serve as the base for Santa’s face. Remember to draw it lightly, as you will be erasing some lines later on.
Step 2: Sketching the Facial Features
Draw two intersecting lines in the middle of the circle, forming a plus (+) shape. These guidelines will help you position Santa’s eyes, nose, and mouth accurately.
Next, draw two oval shapes slightly below the horizontal guideline for Santa’s eyes. Add two smaller circles inside these ovals to represent his pupils. Leave a small white space in each pupil to add a reflective highlight.
Below the eyes, draw a slightly curved line for Santa’s big, round nose. Add a small curved line at the bottom for the mouth, slightly open to create a jolly expression.
Step 3: Adding Santa’s Beard and Mustache
Extend two curved lines on both sides of Santa’s face, starting from the bottom of the circle and curving outward. These lines will form the outline of Santa’s beard.
At the bottom of the beard, add a series of jagged lines to represent the strands of hair. This will give your Santa Claus drawing a fluffy and realistic beard effect. Connect the beard on each side with a short curved line to create the mustache.
Step 4: Drawing Santa’s Hat
Above Santa’s head, draw a curved line that starts from one side of the circle and extends outward. This line will form the base of Santa’s hat. From the end of this line, draw another curved line that forms the rim of the hat, extending back toward the circle.
Complete the hat by drawing a fluffy brim using a series of short, curved lines. Add some small, pointy shapes at the tip of the hat to represent the fur trim.
Step 5: Sketching Santa’s Eyes and Eyebrows
Go back to Santa’s eyes and darken the pupils, leaving the reflective highlights white. Add curved lines above each eye to represent the eyebrows. Make sure the eyebrows are slightly curved downwards, giving Santa a friendly and approachable appearance.
Step 6: Detailing Santa’s Face
Erase the horizontal and vertical guidelines that were used as reference points in the previous steps. This will leave you with a clean outline of Santa’s face.
Add a small curve above Santa’s mouth to represent his upper lip. Then, draw a wide, curved line below the mouth to form his chin and emphasize his jolly expression.
Step 7: Adding Santa’s Glasses and Rosy Cheeks
To give Santa a playful touch, draw some circular glasses on his eyes. Add small circles inside the glasses to represent the lenses.
Next, draw two small, rounded shapes on each side of Santa’s cheeks to depict his rosy cheeks. This adds warmth and cheerfulness to your Santa Claus drawing.
Step 8: Finalizing the Drawing
Outline your pencil drawing with a fine-tip marker or pen. Go over the main lines of Santa’s face, hat, and beard. This will make your drawing stand out and give it a clean and finished look.
Once the ink has dried, erase any remaining pencil lines that are no longer needed. Take your time and be gentle while erasing to avoid smudging the ink.
Conclusion
Congratulations! You’ve successfully drawn a cartoon Santa Claus. Now you can color your drawing using colored pencils or markers to bring it to life. Don’t forget to add shades of red, white, and pink to Santa’s hat and suit, and a touch of peach for his skin tone. We hope you enjoyed this step-by-step tutorial on drawing a cartoon Santa Claus, and that you feel inspired to create more festive illustrations. Happy drawing!