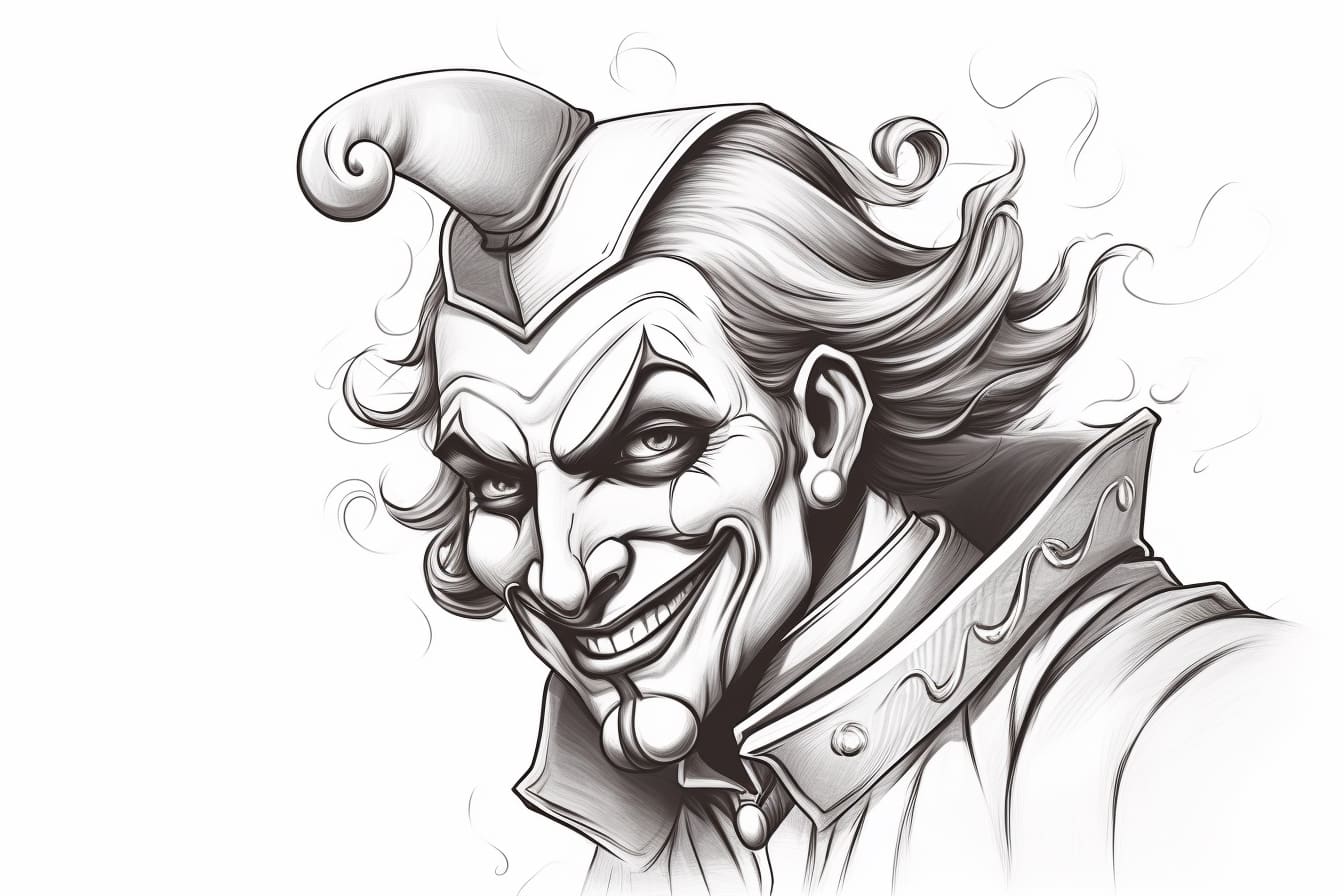
Welcome to this step-by-step guide on how to draw a jester! Whether you’re an experienced artist or just starting out, this tutorial will help you create a whimsical and entertaining jester character. With its distinct hat, vibrant clothes, and exaggerated facial expressions, a jester is a fun subject to draw. So let’s grab our materials and get started!
Materials Required
To begin drawing a jester, you will need the following materials:
- Pencil: Use a regular graphite pencil to create the initial sketch and outline.
- Eraser: Have a soft eraser handy to correct any mistakes or make adjustments.
- Paper: Choose a clean sheet of paper that is suitable for drawing. A sketch pad or drawing paper will work well.
Now that we have our materials ready, let’s dive into drawing our jester!
Step 1: Sketch the Basic Shape
Begin by lightly sketching a rough oval shape for the head. This will serve as a guide for the placement of facial features. Next, draw a vertical line down the center of the oval to indicate the face’s midline.
Step 2: Add the Facial Features
Using the midline as a reference, draw two circles for the eyes. Position them slightly below the horizontal halfway line of the oval. Add curved lines within the eyes to represent the irises. On top of each eye, draw a curved line for the eyebrows, angled upwards towards the center.
Beneath the eyes, draw a small curved line for the nose. Then, sketch a wide smile below the nose, extending it towards the sides of the face. Don’t worry about making the lines too precise at this point; we’ll refine them later.
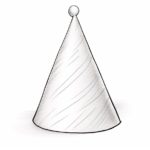
Step 3: Define the Hat
Now, let’s draw the distinctive jester hat. Starting from the top of the head, sketch a triangle shape pointing upwards. Add a curved line at the base of the triangle to form the brim of the hat. Extend the sides of the brim downward, curving them outwards to create the exaggerated floppy look.
Step 4: Shape the Face and Ears
Using the oval shape as a guide, refine the outline of the face. Smooth out any rough lines and make the jester’s face more rounded. Add two small curves on each side of the head to represent the ears.
Step 5: Add Details to the Hat
To give the hat more dimension, draw a series of triangles along the top edge of the triangle shape. These triangles will represent the bells that are often seen on a jester’s hat. You can also add some curves or wavy lines to the brim of the hat to make it more interesting.
Step 6: Draw the Jester’s Outfit
Draw the jester’s outfit by sketching two vertical lines starting from the shoulders. These lines will form the sides of the shirt. Then, add two curved lines below the shirt to create the collar. Extend the lines downwards, forming a bell-shaped skirt. Remember, jesters are known for their colorful and playful clothing, so don’t be afraid to add patterns or designs.
Step 7: Refine the Facial Features
Now it’s time to refine the jester’s face. Using the initial sketch as a guide, darken the outlines of the eyes, eyebrows, nose, and mouth. Add some eyelashes above each eye to make them more expressive. You can also add some creases or wrinkles around the eyes and mouth to give the jester a mischievous look.
Step 8: Finalize the Details
In this step, take a closer look at your drawing and add any final details. Pay attention to the jester’s clothing, adding patterns or additional lines to make it more interesting. You can also add some shading to certain areas, such as the folds of the clothing or the shadows on the jester’s face, to give the drawing more depth.
Conclusion
Congratulations! You have successfully learned how to draw a jester. By following these step-by-step instructions, you created a whimsical and entertaining character. Remember to practice regularly to improve your drawing skills and develop your own unique style. Have fun experimenting with different colors, expressions, and poses when drawing jesters. With time and practice, you’ll be able to create your own captivating jesters that will bring smiles to people’s faces!