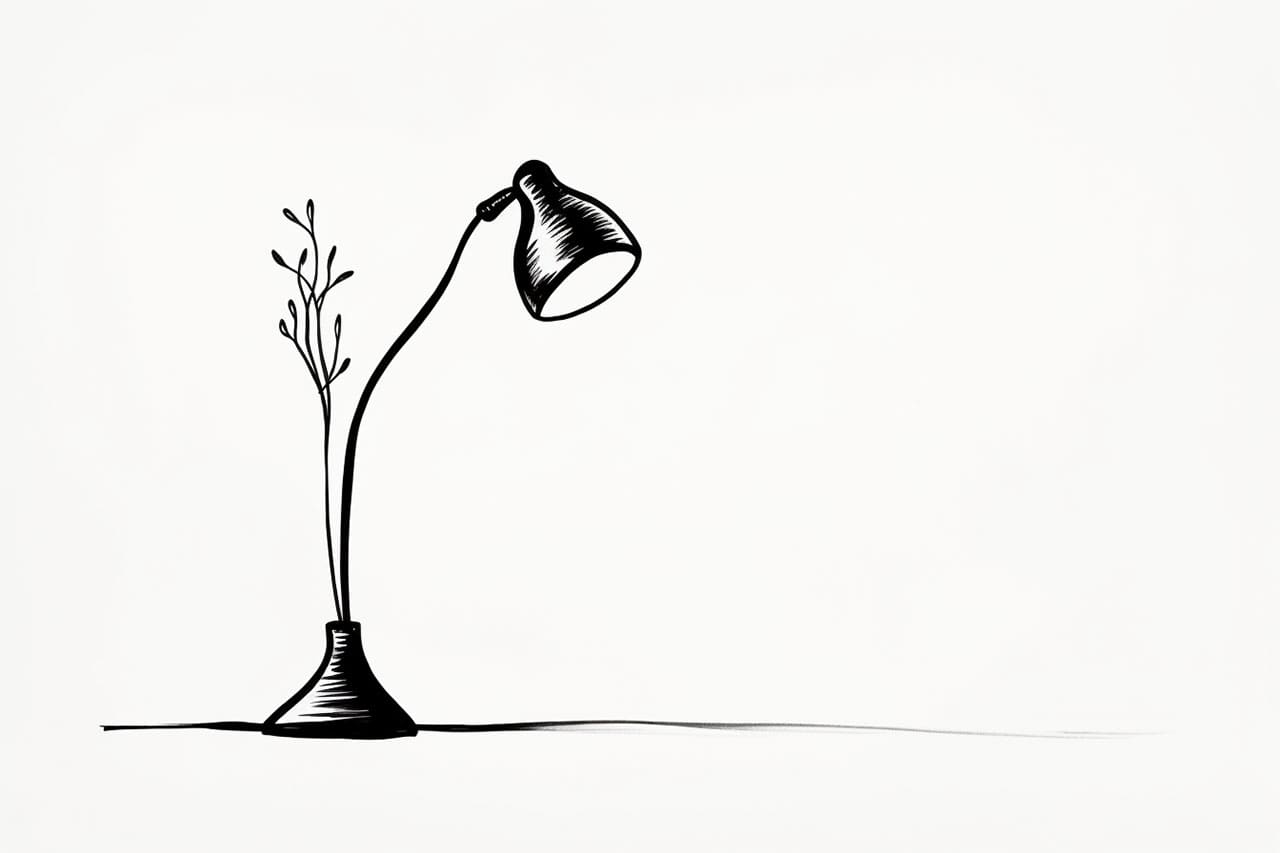
Welcome to this step-by-step guide on how to draw a lamp. Whether you’re a beginner or an experienced artist, this tutorial will help you create a realistic and detailed drawing of a lamp. So grab your drawing supplies and let’s get started!
Materials Required
To draw a lamp, you will need the following materials:
- Pencil: A regular HB pencil or any other pencil of your choice.
- Eraser: A soft eraser to correct any mistakes.
- Paper: A smooth and sturdy paper that can handle shading and detailing.
- Ruler: A ruler or straight edge to help with straight lines.
- Pencil sharpener: To keep your pencil sharp for precise lines.
Now that you have your materials ready, let’s dive into the step-by-step process of drawing a lamp.
Step 1: Sketching the Lamp Base
Start by drawing a vertical straight line in the center of your paper. This will serve as the central axis for your lamp. Next, draw a horizontal line near the top of the vertical line. This will be the base of the lamp. Make sure the length of the horizontal line is slightly longer than the desired width of the base.
Step 2: Adding Details to the Base
Extend the horizontal line on both sides to create the sides of the lamp base. The lines should taper slightly towards the ends. Next, add some thickness to the base by drawing two parallel lines along the top and bottom edges. Use your ruler to keep the lines straight and even.
Step 3: Drawing the Lampshade
Draw a smooth curved line starting from the top of the lamp base, extending upwards and curving slightly outwards. This will form the top part of the lampshade. Next, draw another curved line starting from the bottom of the lamp base, extending downwards and curving slightly inwards. This will form the lower part of the lampshade. Ensure that both lines meet smoothly at the ends.
Step 4: Adding Details to the Lampshade
To give the lampshade a three-dimensional appearance, draw a series of curved lines within the outline. These lines should follow the curve of the lampshade and be evenly spaced apart. This will create the illusion of folds or pleats in the fabric.
Step 5: Adding the Bulb
Draw a circle near the center of the lampshade to represent the bulb. This circle should be slightly smaller than the opening at the top of the lampshade. Next, draw a smaller circle within the first circle to represent the light source. Shade the area between the two circles to indicate the bulb’s brightness.
Step 6: Shading and Texturing
To add depth and realism to your drawing, start shading the lamp base and lampshade. Use a light touch with your pencil to create smooth gradations of value. Pay attention to the direction of light source and add darker tones where shadows would naturally fall. Use your eraser to lighten areas that need to be highlighted.
Step 7: Final Touches
Take a step back and evaluate your drawing. Make any necessary adjustments or corrections to ensure a balanced and visually appealing composition. Add any additional details or textures to enhance the realism of your drawing.
Conclusion
Congratulations! You have successfully completed a drawing of a lamp. By following these step-by-step instructions, you have learned how to create a realistic and detailed representation of a lamp. Remember, practice makes perfect, so keep honing your drawing skills and exploring new subjects. Happy drawing!

