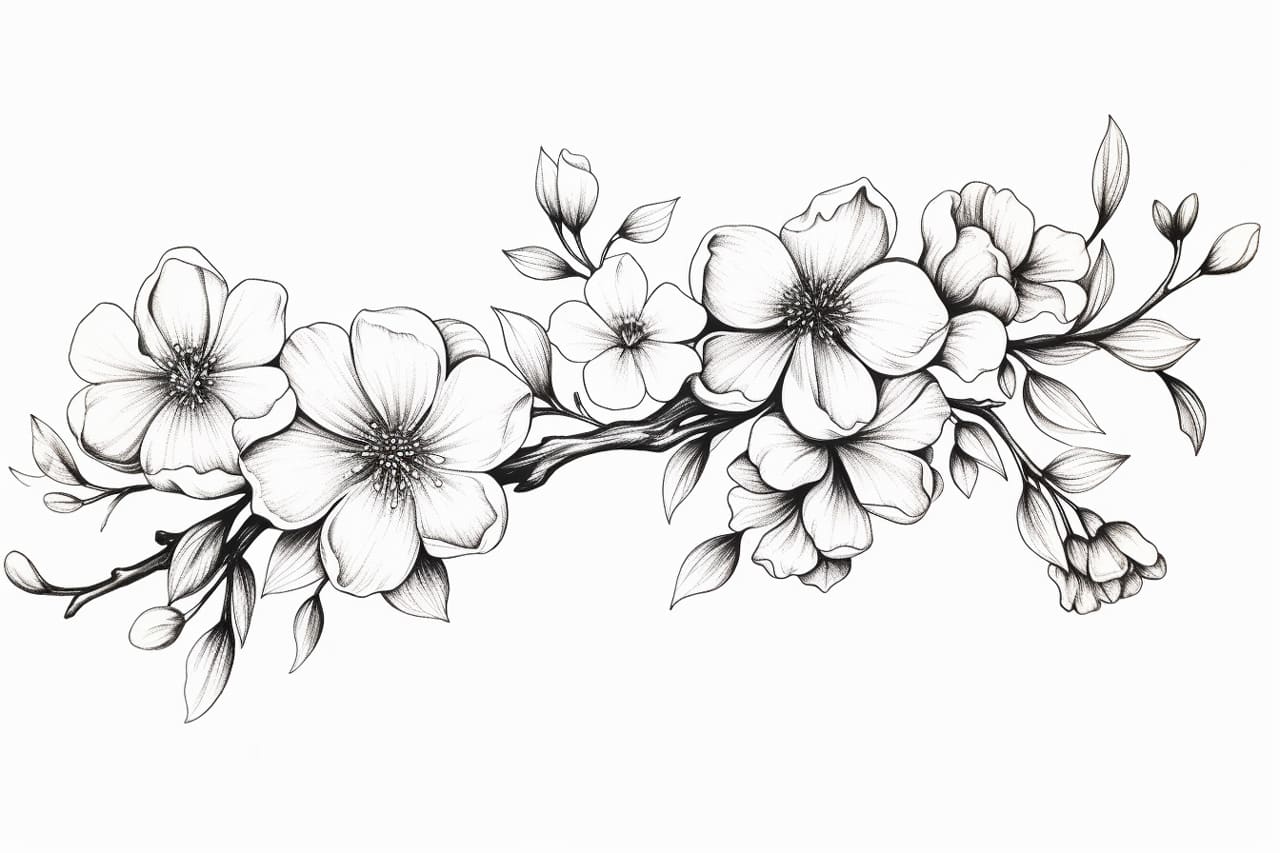
In this step-by-step guide, we will explore the process of how to draw a vine of flowers. As an expert artist and drawing instructor, I will provide clear and concise instructions to help you create a stunning piece of art. So grab your pencils and paper, and let’s get started!
Materials Required
Before we begin, make sure you have the following materials:
- Drawing paper: Select a smooth and sturdy paper that is suitable for your drawing medium.
- Pencils: Have a range of pencils with different lead hardness, such as HB, 2B, 4B, and 6B.
- Eraser: Use a kneaded eraser or a soft eraser to make corrections and clean up your drawing.
- Sharpener: Keep a pencil sharpener handy to maintain a fine point on your pencils.
- Reference image: Find a visual reference of a vine of flowers to guide your drawing.
Now that you have all your materials ready, let’s begin drawing a vibrant vine of flowers!
Step 1: Sketch the Outline
Start by lightly sketching the basic outline of your vine on the paper. Keep the lines loose and flowing, as we will refine the details later. Visualize the overall shape and direction of the vine and its flowers. Don’t worry about perfection at this stage; focus on capturing the general composition.
Step 2: Add the Stems and Leaves
Next, add the stems and leaves to your vine. Remember to vary the thickness and direction of the stems to create interest. Use light, flowing lines to suggest the movement of the vine. Add leaves along the stems, making them slightly curved and different sizes. This will add depth and realism to your drawing.
Step 3: Outline the Flowers
Now it’s time to outline the flowers. Observe your reference image to understand the shapes and forms of the flowers. Start by lightly sketching the basic shape of each flower, using simple curves and lines. Experiment with different flower types, such as roses, daisies, or tulips, to make your vine more diverse and visually appealing.
Step 4: Refine the Details
With the basic shapes in place, it’s time to add more detail to your flowers. Study your reference image to understand the specific characteristics of each flower type. Use soft, gentle strokes to add petals, contours, and texture. Focus on capturing the subtle details that make each flower unique. Don’t rush this step – take your time to achieve the desired level of realism.
Step 5: Shade and Add Depth
To bring your vine of flowers to life, we need to add shading and depth. Begin by identifying the light source in your reference image. Imagine the direction of light and observe the areas that are illuminated and those that are in shadow. Use a range of pencils with different lead hardness to create gradual tonal values. Apply lighter pressure for lighter areas and heavier pressure for darker areas. Blend the shades seamlessly with a blending stump or a soft cloth for a smooth and realistic look.
Step 6: Enhance with Details and Highlights
Now it’s time to add those final touches that will make your vine of flowers truly stand out. Use an eraser to gently lift off some graphite to create highlights on the petals and leaves. This will give your drawing a shiny, three-dimensional appearance. Add delicate lines and veins on the leaves to enhance their texture. Pay attention to small details, such as thorns on stems or dewdrops on petals, to add more visual interest.
Conclusion
Congratulations! You have successfully learned how to draw a vine of flowers. By following these step-by-step instructions, you have created a beautiful piece of art that showcases your artistic skills. Remember to be patient and enjoy the process as you explore different flower types and experiment with shading techniques. With practice, you will continue to improve and create even more stunning drawings.
I hope this guide has been helpful to you in creating your vine of flowers. Enjoy the journey of artistic expression and keep honing your skills. Happy drawing!