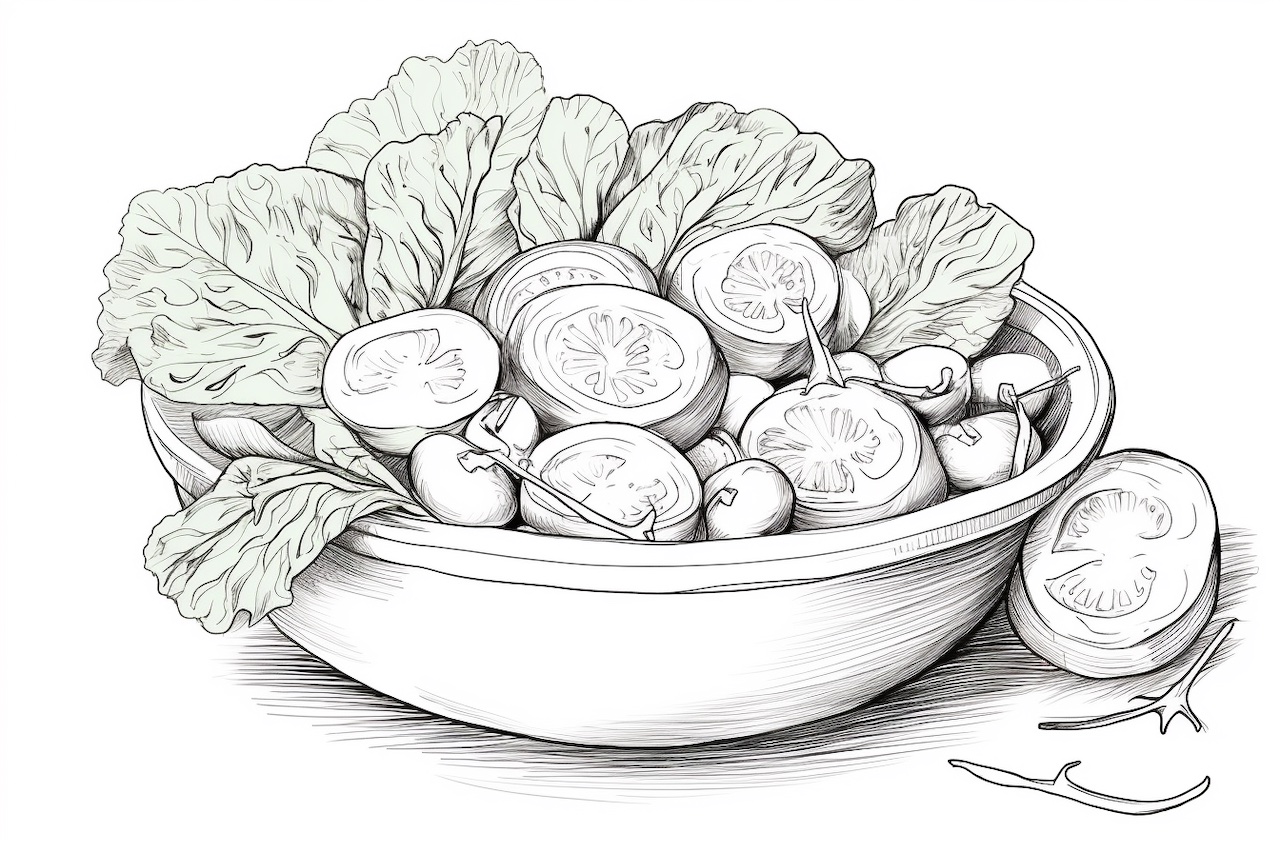
Welcome to this step-by-step guide on how to draw a salad! In this tutorial, I will teach you how to create a vibrant and realistic illustration of a delicious salad. Drawing food can be a fun and challenging task, but with the right techniques, you can bring your artwork to life. So grab your pencils and let’s get started!
Materials Required
Before we begin, make sure you have the following materials on hand:
- Paper: Choose a smooth and sturdy paper that is suitable for drawing. A heavier weight paper will prevent smudging and allow for better blending of colors.
- Pencils: Use a range of pencils, such as 2B, 4B, and 6B, to achieve different shades and depths in your drawing.
- Eraser: Have a soft eraser available to correct any mistakes or lighten areas of your drawing.
- Colored Pencils (optional): If you want to add a touch of color to your salad, have a set of colored pencils ready.
Now that you have your materials ready, let’s dive into the steps of drawing a salad!
Step 1: Sketch the Outline
Start by lightly sketching the outline of your salad on your paper. Use light, loose strokes to define the overall shape and placement of the ingredients. Remember, this is just a rough sketch to guide you in the later stages.
Step 2: Add Texture and Details
Next, focus on adding texture and details to your salad. Begin with the leafy greens, using curved and flowing lines to depict the shapes of the leaves. Pay attention to the varying sizes and angles of the leaves, as this will add realism to your drawing. Then, add details to other ingredients, such as cucumbers, tomatoes, and carrots. Observe the textures of these ingredients and represent them through shading and lines.
Step 3: Shade the Salad
Now, it’s time to add shading to your salad to give it depth and dimension. Start by identifying the direction of the light source in your drawing. This will determine where the shadows fall and where the highlights appear. Use your darker pencils, like 4B or 6B, to gently shade the areas that are in shadow. Gradually build up the layers of shading, applying more pressure to create darker tones where needed. Use your eraser to lighten areas that receive more light.
Step 4: Blend and Smudge
To achieve a softer and more blended look, you can use a blending tool or your fingers to smudge the shading. This technique will help you create smoother transitions between light and shadow, making your salad appear more realistic. Be careful not to over-blend, as you still want to retain some texture in your drawing.
Step 5: Add Color (optional)
If you want to add some color to your salad, now is the time to do so. Use colored pencils to add a touch of vibrancy to the vegetables or dressing. Keep the colors muted and natural to maintain a realistic appearance. Layer the colors gradually, blending them together for a smooth finish. Don’t forget to consider the light source and apply shading accordingly.
Step 6: Refine and Finalize
Take a step back and assess your drawing as a whole. Are there any areas that need refinement? Pay attention to proportions, details, and overall composition. Make any necessary adjustments until you are satisfied with the final result.
Conclusion
Congratulations! You have successfully learned how to draw a salad. Drawing food can be a delightful way to explore shapes, colors, and textures. Remember to observe the details in real-life salads and replicate them in your drawing. With practice, you can create mouth-watering illustrations that will make viewers crave your artwork. Happy drawing!