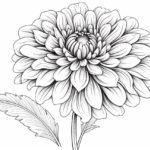
Drawing flowers is a popular art form that many people enjoy. One of the most beautiful and recognizable flowers is the tulip. With its vibrant colors and unique shape, the tulip can be a fun and rewarding subject to draw. In this article, I will guide you through the step-by-step process of drawing a tulip, from basic shapes to adding details and shading. So grab your pencil and paper, and let’s get started!
Materials Required
Before we begin, gather the following materials:
- Pencil: Choose a medium-soft graphite pencil for sketching and shading.
- Paper: Use a high-quality drawing paper that can handle pencil marks and erasing.
- Eraser: Purchase a kneaded eraser for easy and precise erasing.
- Colored Pencils (optional): If you’d like to add color to your tulip drawing, have a set of colored pencils ready.
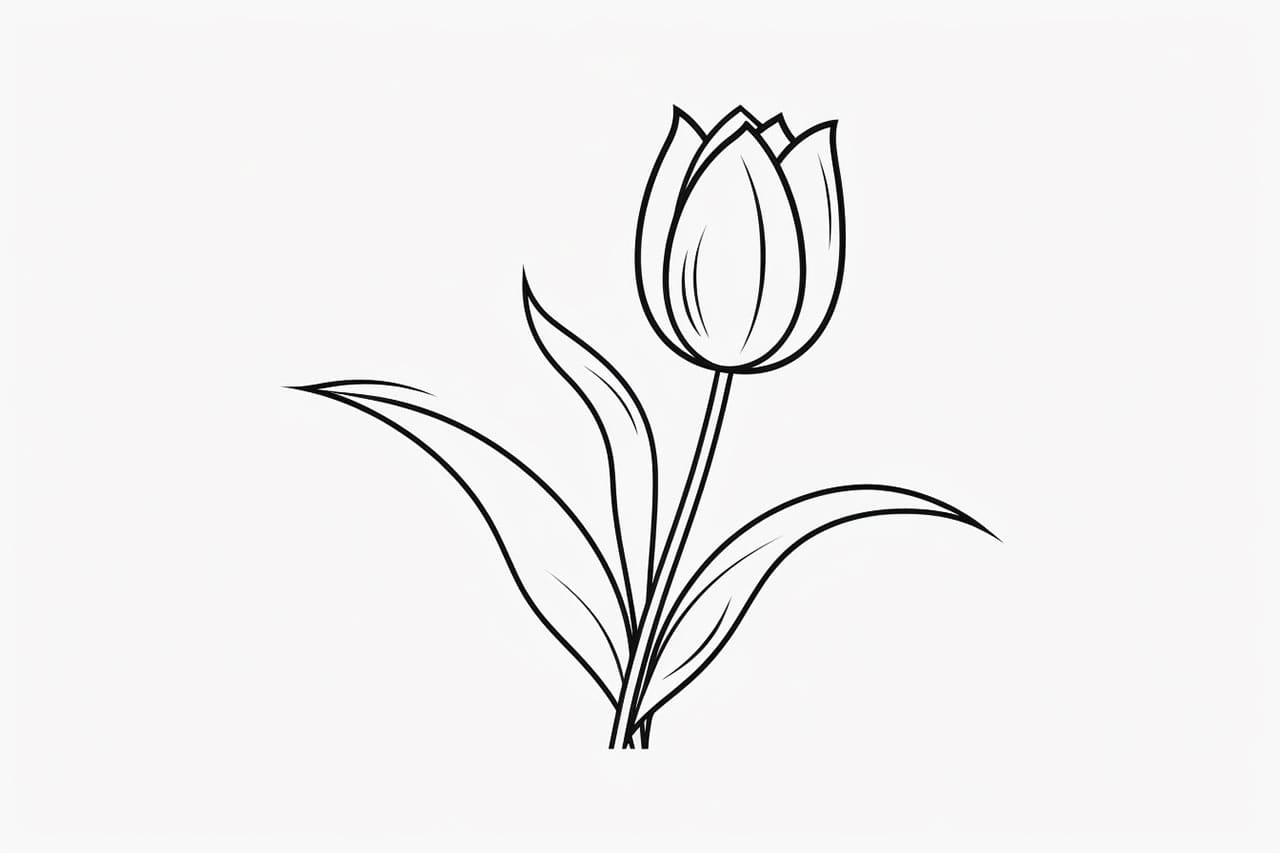
Step 1: Draw the Stem
Let’s start by drawing the stem of the tulip. Use a light pencil stroke to sketch a vertical line that will serve as the center of the stem. Then, draw two curved lines on each side of the center line to create the shape of the stem. Don’t worry about making it too perfect just yet; we’ll refine the shape later.
Step 2: Add the Leaves
Tulips have long, slender leaves that complement the flower beautifully. On either side of the stem, draw two long, narrow ovals for the leaves. Position them at different heights to add a sense of movement and natural flow.
Step 3: Outline the Petals
Now it’s time to draw the petals of the tulip. Start by drawing a curved line near the top of the stem, extending slightly outward. This line will serve as the outline for the first petal. Repeat this step to draw the outlines of each petal. Remember, tulips have six petals in total, so make sure to evenly space them around the stem.
Step 4: Refine the Petals
Next, we’ll refine the shape of the petals. Start by adding gentle curves to the outlines, creating a more organic and natural look. Pay attention to the way the petals overlap and interact with each other. You can also add small curves and details to the edges of the petals to make them more interesting and realistic.
Step 5: Draw the Inner Petals
Tulips have inner petals, known as the stamen or pistil, which add depth and dimension to the flower. Draw a small oval shape at the center of the flower, nestled between the outer petals. Then, draw smaller, curved lines radiating outwards from the center to represent the inner petals.
Step 6: Add Details
To make your tulip drawing more realistic, add some details. Draw small lines and curves on the petals to create texture and give them a sense of light and shadow. You can also add some lines to the stem to indicate the texture of the plant. Take your time with this step and be mindful of the overall balance and composition of your drawing.
Step 7: Shade the Drawing (optional)
If you want to add depth and dimension to your tulip drawing, you can shade it using a pencil or colored pencils. Start by determining the direction of the light source. Then, use light and dark shading techniques to create highlights and shadows on the petals and leaves. Be gentle with your pencil strokes and build up the shading gradually to achieve a realistic effect.
Conclusion
Congratulations on completing your tulip drawing! By following the step-by-step instructions in this article, you have learned how to draw a beautiful and realistic tulip. Remember, drawing takes practice, so don’t be discouraged if your first attempt isn’t perfect. Keep refining your skills and experimenting with different techniques.
Drawing flowers, like the tulip, can be a therapeutic and enjoyable activity. Whether you’re a beginner or an experienced artist, I hope this article has inspired you to pick up your pencil and create your own stunning tulip drawings.