Drawing is a wonderful way to express your creativity and imagination. In this step-by-step guide, I will show you how to draw a tennis shoe. Whether you are a beginner or an experienced artist, this tutorial will help you create a realistic and detailed representation of a tennis shoe. So grab your drawing materials and let’s get started!
Materials Required:
- Drawing paper
- Pencil
- Eraser
- Fine-tip markers or pens
- Colored pencils or markers (optional)
- Reference photo of a tennis shoe (optional)
Step 1: Outline the Basic Shape
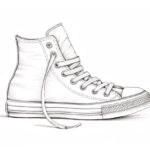
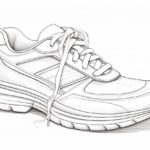
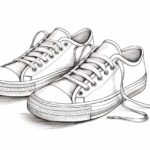
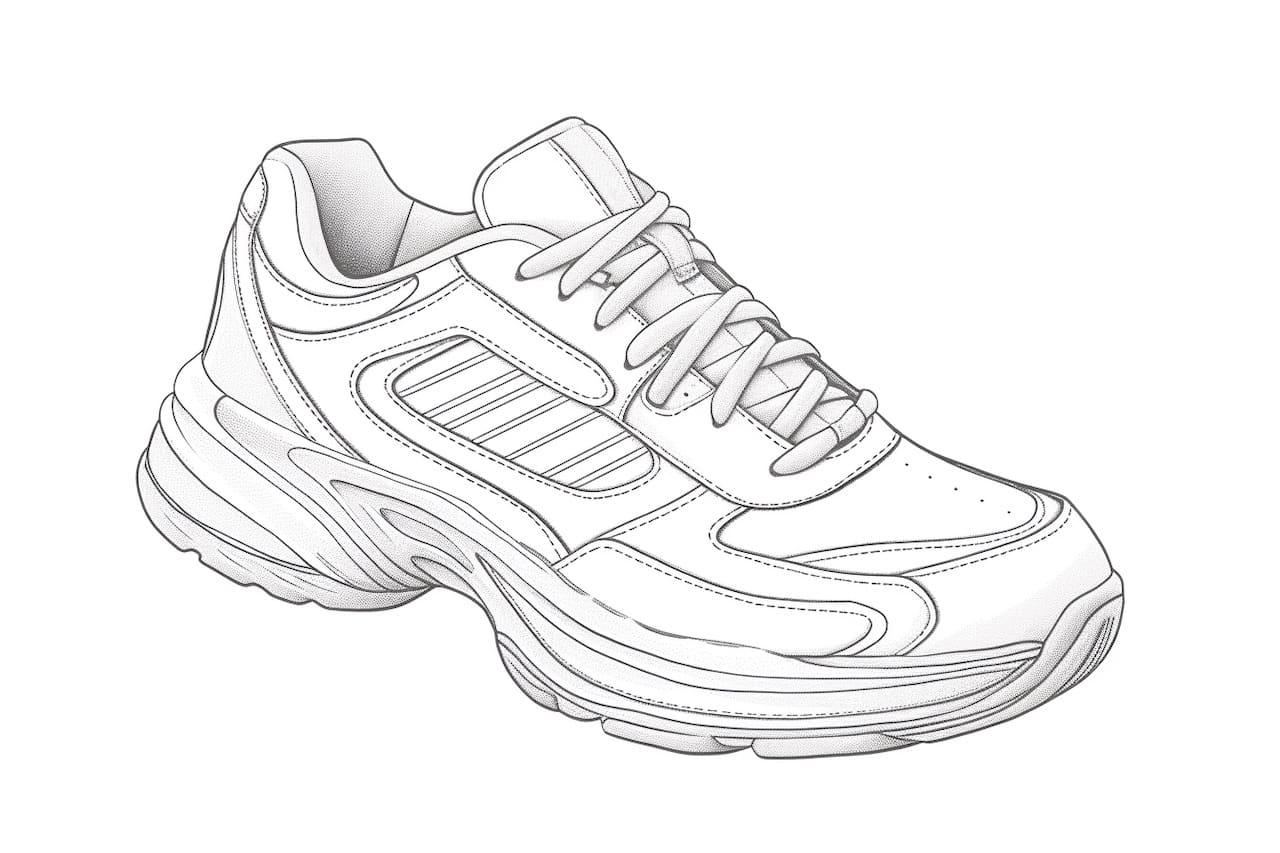
Start by lightly sketching the basic outline of the tennis shoe. Begin with a curved line to outline the sole of the shoe. Then, draw two straight lines upwards from the ends of the curved line to create the sides of the shoe. Make sure to leave room at the top for the opening of the shoe.
Step 2: Add Details to the Upper Part of the Shoe
Next, draw a curved line across the top of the shoe to indicate the opening. Then, add some curved lines on either side of the opening to represent the tongue of the shoe. To create the laces, draw a series of straight, diagonal lines across the tongue. Don’t worry about perfection, just focus on capturing the basic shape and details.
Step 3: Sketch the Heel
Move on to sketching the heel of the tennis shoe. Start by drawing a curved line at the back of the shoe, slightly above the sole. Then, add a smaller curved line below it to create the bottom part of the heel. Connect the two lines with two diagonal lines to form the back of the shoe.
Step 4: Outline the Sole
Now, let’s work on the sole of the tennis shoe. Extend the outline of the sole from the sides of the shoe. Make it slightly thicker around the heel and thinner towards the toe area. You can adjust the shape and size of the sole to match the style of the shoe you are drawing.
Step 5: Draw the Eyelets and Laces
To add more detail to the upper part of the shoe, draw small circles along the sides of the opening. These circles represent the eyelets where the laces will go through. Then, draw the laces by sketching a series of connected “M” shapes or diagonal lines between the eyelets. This will give the impression of the laces going through the eyelets.
Step 6: Add Shadows and Highlights
To make your drawing more realistic, it’s important to add shadows and highlights. Begin by determining the light source in your drawing. Once you have identified the direction of the light, use a darker shade of your pencil or marker to add shadows in areas that would be obscured from the light. These areas typically include the sides of the shoe, the inside of the opening, and the space between the laces. Then, use a lighter shade to add highlights to areas that would be hit by the light source, such as the top of the tongue, parts of the sole, and the edges of the laces.
Step 7: Refine the Details
Now that you have the basic shape and shadows in place, it’s time to refine the details. Use your pencil or pen to add more definition to the various parts of the shoe, such as the texture of the sole, the stitching lines, and any logos or branding. Take your time and pay attention to the reference photo or your imagination to capture the intricate details that make the shoe unique.
Step 8: Color Your Drawing (Optional)
If you prefer, you can add color to your drawing using colored pencils or markers. Begin by choosing the colors that match your reference photo or the colors you imagine the shoe to have. Start by filling in the main color of the shoe, whether it’s white, black, or any other color. Then, use lighter and darker shades to add depth and dimension to the different parts of the shoe. Don’t forget to color the laces as well!
Conclusion
Congratulations! You have successfully drawn a realistic tennis shoe. With the help of this step-by-step guide, you have learned how to outline the basic shape, add details, create shadows and highlights, and even add color to your drawing. Remember, practice makes perfect, so don’t be discouraged if your first attempt doesn’t turn out exactly as you imagined. Keep honing your skills, and soon you’ll be drawing tennis shoes like a pro!