Drawing a radio may seem like a complex task, but with the right guidance and a step-by-step approach, anyone can learn to bring this nostalgic device to life on paper. In this article, we will guide you through the process of drawing a realistic and detailed radio. So grab your pencil and let’s get started!
Materials Required
Before we dive into the drawing process, let’s gather the materials you’ll need. Here’s a list of items you’ll require:
- Paper: Select a good quality paper that is suitable for drawing. A size of around 8×10 inches will work well.
- Pencils: Have a range of pencils with different lead hardness (B, HB, 2B, etc.) to achieve various shades and details.
- Eraser: Make sure you have a good quality eraser to correct mistakes or lighten certain areas.
- Blending stump: This tool will help you smudge and blend the pencil marks, giving your drawing a more polished look.
- Reference image: Find a clear image of a radio to use as a reference while drawing. You can search online or use a magazine or book.
Now that you have all the necessary materials, let’s move on to the step-by-step process of drawing a radio.
Step 1: Outline the Basic Shape of the Radio
Start by lightly sketching a rectangular shape that will serve as the main body of the radio. Pay attention to the proportions and angles, comparing them to your reference image. Make sure the lines are faint, as you will be refining them later.
Step 2: Add the Speaker and Control Panel
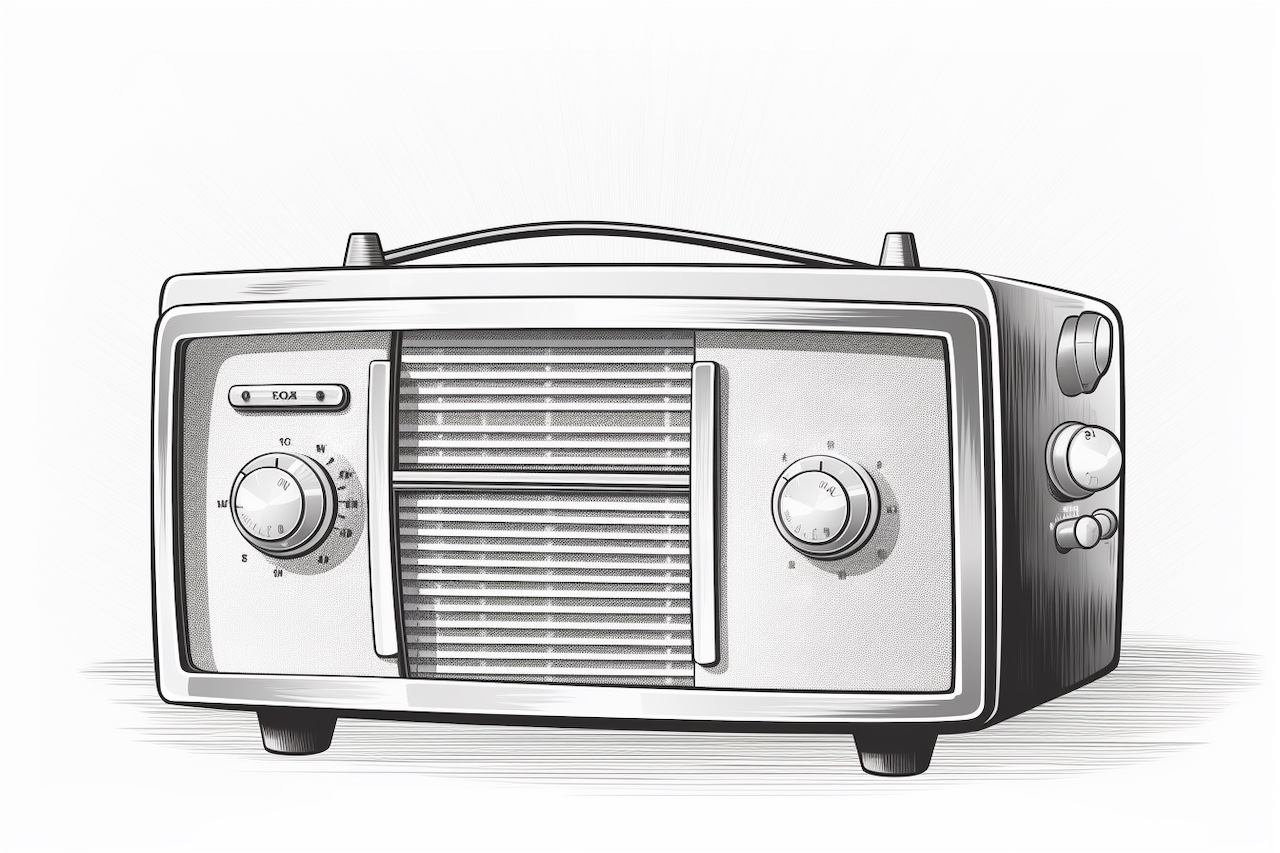
Using the reference image, sketch the speaker and the control panel on the front of the radio. Observe the positions of the knobs, buttons, and any other details. Take your time to maintain accuracy in your sketch.
Step 3: Draw the Tuning Dial and Antenna
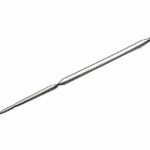
Next, add the tuning dial on the radio’s control panel. It usually consists of a circular shape with markings and a pointer. Make sure to capture the details accurately. Then, draw the antenna extending from the top of the radio. Pay attention to its thickness, length, and any bends or curves.
Step 4: Outline the Radio’s Body
Refine the outline of the radio’s body, erasing any unnecessary lines and adding more definition. Pay attention to the curves and edges of the radio, ensuring they align with your reference image. Don’t worry if it’s not perfect at this stage, as we will be adding more details later.
Step 5: Add Texture and Details
Now it’s time to add texture and details to your drawing. Start by shading the different parts of the radio to give it a three-dimensional look. Use light strokes to indicate the areas that are in shadow, and slightly darker strokes for the areas in direct light. Look closely at your reference image to guide you in creating the right textures.
Step 6: Bring the Controls to Life
Focus on the control panel and knobs. Start by adding shading to the buttons and switches, indicating their depth and texture. Use darker tones where shadows are cast and lighter tones where light hits directly. Remember to blend the shades smoothly using a blending stump to give your drawing a polished look.
Step 7: Refine the Speaker and Tuning Dial
Pay attention to the details of the speaker and tuning dial. Add shading to create the illusion of depth and realism. Observe how light and shadows interact with these elements, replicating them on your drawing. Take your time to ensure accuracy, as these details will greatly enhance the overall appearance of the radio.
Step 8: Finalize the Antenna and Background
Give special attention to the antenna, as it helps complete the overall look of the radio. Add shading to indicate its cylindrical shape and any reflections or highlights. Don’t forget to draw the background, whether it’s a tabletop, shelf, or any other surface your radio rests on. Pay attention to the perspective and any cast shadows.
Conclusion
Congratulations! You have successfully learned how to draw a radio. By following these step-by-step instructions and using your reference image, you’ve created a detailed and realistic representation of this classic device. Remember, practice makes perfect, so keep honing your drawing skills and experimenting with different subjects. Enjoy the process, and happy drawing!