As an expert artist and drawing instructor, I’m here to guide you through the process of drawing a realistic street. This step-by-step tutorial will help you create a detailed and captivating street scene to enhance your drawing skills. So grab your pencils, paper, and let’s get started!
Materials Required
To begin drawing a street, you will need the following materials:
- Drawing paper or sketchbook
- Pencils (HB, 2B, 4B, and 6B)
- Eraser (preferably a kneaded eraser)
- Ruler
- Basic colored pencils (optional)
- Reference image
Having these materials ready will make your drawing process smoother and more enjoyable. Let’s begin!
Step 1: Start with a Basic Horizon Line
Begin by drawing a straight line across your paper using a ruler. This line represents the horizon, which determines the eye level in your street drawing. Make sure it is positioned at a comfortable height for your composition.
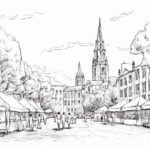
Step 2: Add Buildings and Structures
Next, decide on the placement and size of the buildings and structures in your street scene. Use light, loose lines to sketch the outlines of these elements. Remember to vary the height and shape of the buildings to create visual interest.
Step 3: Focus on One Building at a Time
To add detail to your street drawing, zoom in on one building at a time. Start by sketching the basic shape of the building using light lines. Pay attention to the proportions and perspective. You can use reference images to help you with this step.
Step 4: Add Windows, Doors, and Details
Once you have the basic structure of the building, start adding windows, doors, and other architectural details. Use a darker pencil to create darker lines for these elements. Take your time and be patient with this step, as it is where the character of the building starts to come to life.
Step 5: Render Textures
To create a more realistic street drawing, focus on rendering the different textures of the buildings. Pay attention to the materials used in the architecture, such as bricks, wood, or stone. Use your pencils to add shading and create depth. Experiment with different shading techniques like hatching or crosshatching to achieve the desired effect.
Step 6: Add Street Elements
Now it’s time to populate your street drawing with various elements such as lamp posts, street signs, or benches. These details will bring your street scene to life and add depth to your artwork. Use your ruler and darker pencils to sketch these elements accurately.
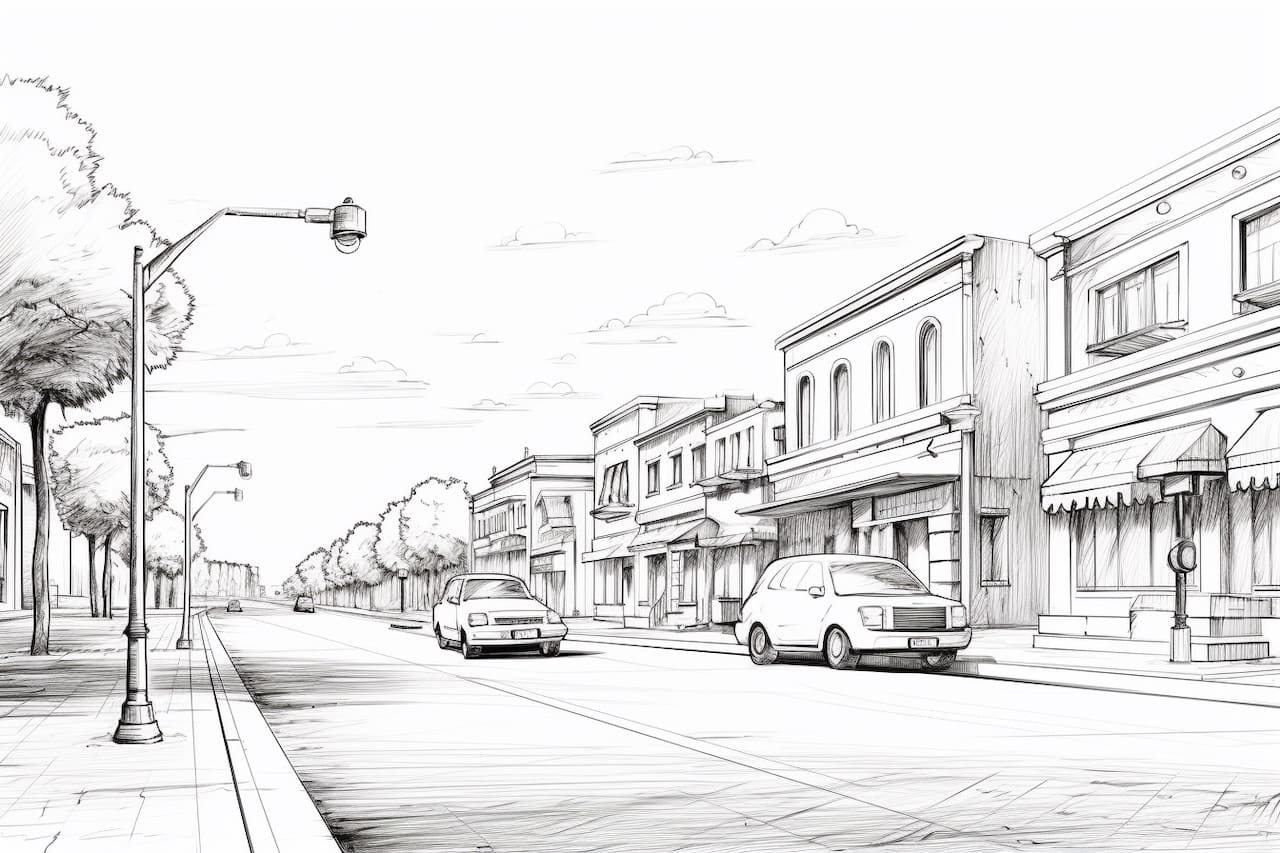
Step 7: Draw Vehicles and People
To make your street scene more dynamic, add vehicles and people. Sketch cars, buses, bicycles, or any other vehicles you’d like to include. Pay attention to the perspective and proportions to make them appear realistic. Draw people in different poses to create a sense of movement and activity.
Step 8: Enhance with Color (Optional)
If you prefer to add color to your street drawing, now is the time to do it. Use basic colored pencils to add hues to the buildings, vehicles, and people. Remember to blend the colors smoothly and to pay attention to the lighting conditions in your scene. Coloring is optional, but it can add an extra layer of visual interest to your artwork.
Conclusion
Congratulations! You have successfully learned how to draw a street using step-by-step instructions. Remember that practice is key when it comes to improving your drawing skills. Take your time, observe the world around you, and keep sketching regularly. With dedication and perseverance, you will continue to improve and create astonishing street scenes with your drawing abilities.
I hope you enjoyed this tutorial on how to draw a street and found it helpful. Happy drawing!