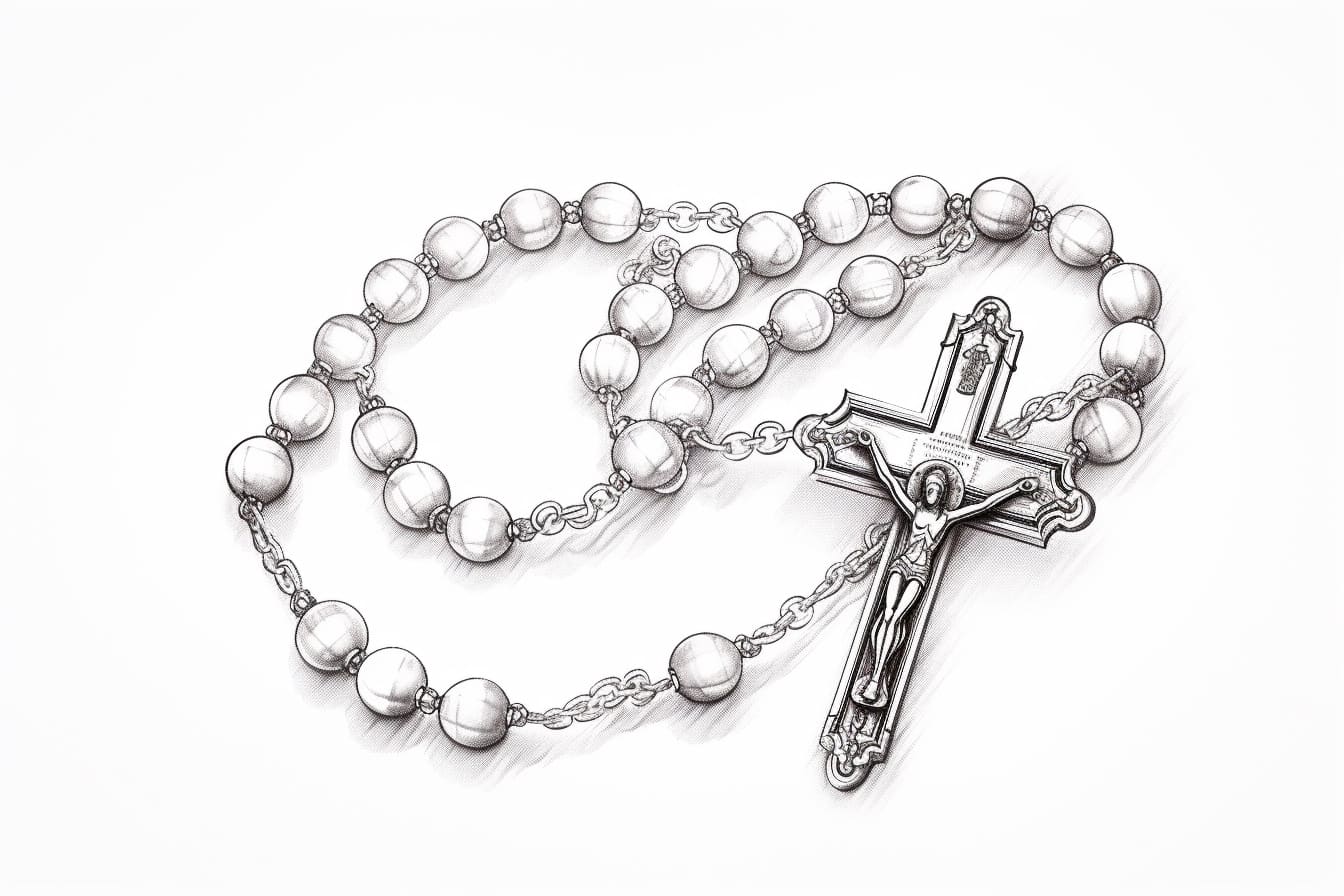
Welcome to this step-by-step guide on how to draw a beautiful rosary. Whether you are an experienced artist or a beginner, this tutorial will help you create a detailed and realistic representation of this sacred symbol. Drawing a rosary is a wonderful activity that allows you to express your creativity while also paying tribute to your faith. So, let’s get started!
Materials Required
Before we begin, let’s gather the materials you will need:
- Drawing paper: Use a high-quality paper that is suitable for your preferred drawing medium.
- Pencils: Have a range of graphite pencils available for sketching and shading. A set of HB, 2B, 4B, and 6B pencils should suffice.
- Eraser: Choose a soft eraser that can effectively remove any mistakes without damaging the paper.
- Ruler: It’s always helpful to have a ruler on hand for precise measurements.
- Fine-tip marker: This will be used to outline the final drawing.
- Colored pencils or markers (optional): If you wish to add color to your drawing, have a set of colored pencils or markers ready.
Now that you have all the necessary materials, let’s begin the step-by-step process of drawing a rosary.
Step 1: Sketch the Cross
Start by lightly sketching the cross. Use a reference image or visualize the shape of the cross in your mind. Begin with a vertical line, slightly longer than the desired height of the cross. Then, add a horizontal line that intersects the vertical line closer to the top. This will form the arms of the cross. Adjust the proportions and angles as needed.
Step 2: Add Details to the Cross
Next, add details to the cross to give it a three-dimensional appearance. Begin by sketching diagonal lines across the arms of the cross, creating a textured effect. Then, at the intersection of the vertical and horizontal lines, add a circular shape to represent the center of the cross. This will be where the beads of the rosary are attached.
Step 3: Sketch the Rosary Beads
Starting from the center of the cross, sketch a series of small circles for the beads. The size and spacing between the circles will depend on the scale of your drawing. Keep the beads evenly spaced and make them slightly smaller as they move away from the center. Remember to maintain a light touch with your pencil, as these lines will be refined later on.
Step 4: Add the Bead Details
Once you have sketched the basic shape of the beads, it’s time to add some details. Begin by carefully outlining each bead using a darker pencil or a fine-tip marker. This will give them a more defined and polished appearance. Be mindful of the light source in your drawing – add shading and highlights to create a three-dimensional look.
Step 5: Draw the Chain
Now, it’s time to draw the chain that connects the beads. Use a ruler to draw a series of straight lines perpendicular to the arms of the cross. These lines should extend beyond the beads on both sides, creating a continuous chain-like pattern. Add small circles in between each line to represent the links of the chain.
Step 6: Refine the Drawing
Take a moment to step back and assess your drawing so far. Look for any areas that need refinement or correction. Use an eraser to remove any unwanted lines or smudges. If necessary, add additional details to the cross or the chain to enhance the overall composition.
Step 7: Optional – Add Color
If you prefer a colored representation of the rosary, this is the point where you can add color using colored pencils or markers. Choose colors that are symbolic or meaningful to you. Consider using different shades to create depth and contrast. Be careful not to apply too much pressure when coloring to avoid damaging the paper.
Conclusion
Congratulations! You have successfully drawn a beautiful rosary. Drawing a rosary allows you to explore your artistic abilities while expressing your faith in a unique way. Remember, practice makes perfect, so feel free to experiment with different techniques and styles. We hope you enjoyed this step-by-step tutorial on how to draw a rosary.


