Welcome to this step-by-step guide on how to draw Bigfoot! Whether you’re a seasoned artist or just starting out, this tutorial will provide you with clear and concise instructions on how to capture the mystique and allure of this legendary creature. So grab your pencils and paper, and let’s get started!
Materials Required
Before we begin, let’s gather the materials you’ll need to complete this drawing:
- Pencils (HB or 2B for sketching, and 2H or 4H for details)
- Eraser
- Paper (preferably a sketchpad with good quality paper)
- Reference images of Bigfoot (optional, but very helpful)
Now that you have your materials ready, let’s dive into the step-by-step process of drawing Bigfoot!
Step 1: Basic Shapes
Start by lightly sketching the basic shapes that make up Bigfoot’s body. Begin with an oval for the head, followed by a large rounded rectangle for the body. Add smaller rectangles for the arms and legs, and a slightly tapered oval for the feet. Don’t worry too much about getting the proportions perfect at this stage.
Step 2: Facial Features
Using the oval as a guide, begin adding the facial features of Bigfoot. Sketch two almond-shaped eyes, a broad and slightly curved nose, and a wide half-circle for the mouth. Bigfoot is often depicted with a prominent brow ridge, so make sure to include that as well.
Step 3: Body Proportions
Refine the shape of Bigfoot’s body by making the chest wider and the waist narrower. Add some muscle definition to the arms and legs by drawing simple curved lines. Remember, Bigfoot is often portrayed as a powerful and robust creature, so don’t be afraid to exaggerate the proportions.
Step 4: Hair and Fur
Bigfoot is known for its long and shaggy hair, so let’s start adding some texture to our drawing. Begin by lightly sketching in the direction of the fur using short, curved lines all over the body. Focus on creating a sense of volume and flow. Pay particular attention to the top of the head, where the hair tends to be the longest.
Step 5: Facial Details
Now it’s time to add details to Bigfoot’s face. Start by refining the shape of the eyes, giving them a slightly almond-like appearance. Add some wrinkles around the eyes and forehead to convey a sense of age. Sketch in the eyebrows as thick, curved lines just above the eyes. Don’t forget to draw in the ears, which are usually depicted as small and rounded.
Step 6: Arms and Hands
Refine the shape of the arms by adding more muscle definition. Sketch in the hands using a series of curved lines for the fingers. Remember to make the fingers slightly thicker and shorter than those of a human hand. Bigfoot is often depicted with large, powerful hands, so be sure to convey that in your drawing.
Step 7: Legs and Feet
Extend the shape of the legs, making them thicker and more muscular. Add some texture to the legs by lightly sketching in the direction of the fur. Pay attention to the knees, which are often portrayed as large and knobby. Complete the feet by adding in some rough details like toenails and a hint of fur.
Step 8: Final Details
Now that the basic structure of Bigfoot is complete, it’s time to add the finishing touches. Erase any unnecessary guidelines and sketch in any additional details you feel are necessary. Give the hair more definition by adding darker shading and create some depth by adding shadows to the figure. Take your time with this step and pay attention to the overall balance and composition of your drawing.
Conclusion
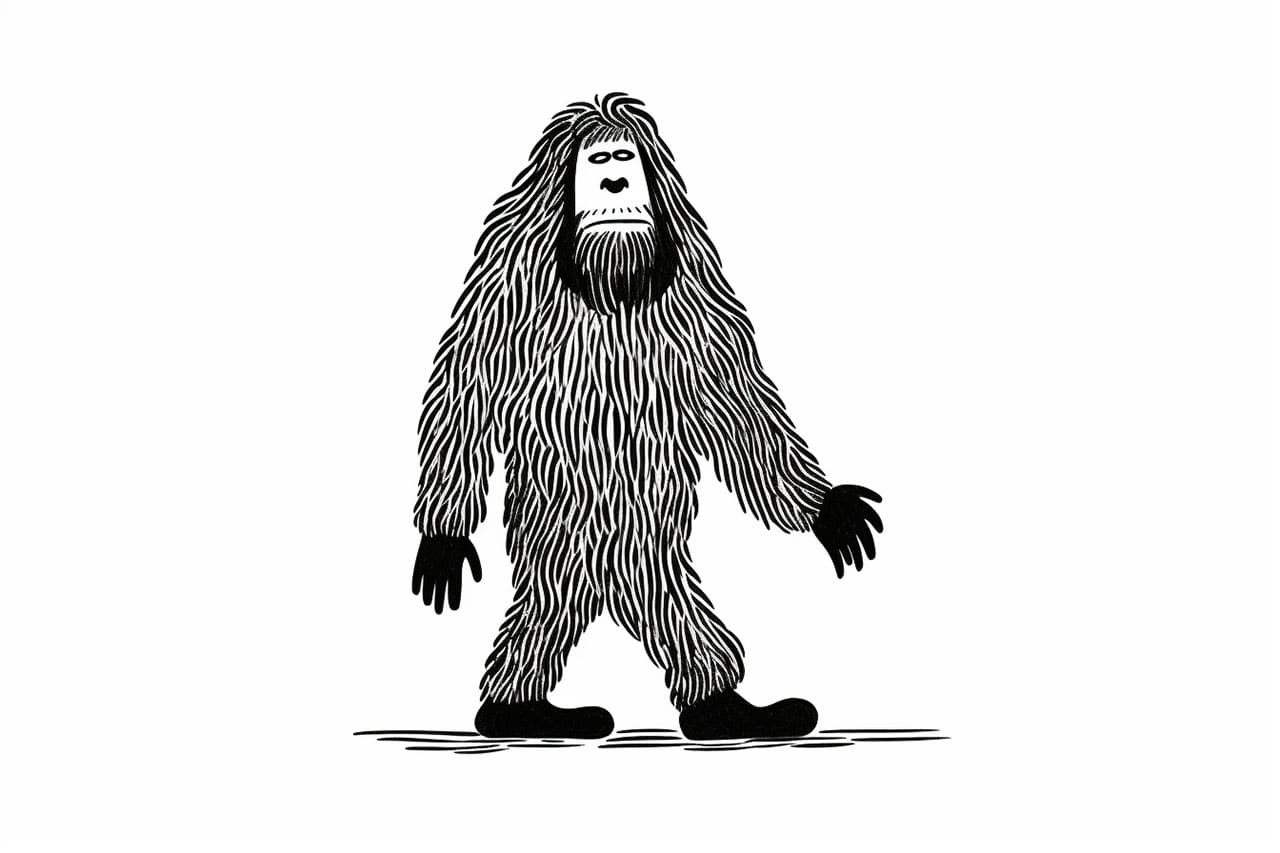
Congratulations, you’ve successfully learned how to draw Bigfoot! By following this step-by-step guide, you’ve been able to capture the essence of this legendary creature. Remember, practice makes perfect, so don’t be discouraged if your first attempt doesn’t turn out exactly as you hoped. Keep honing your skills and experimenting with different techniques. With time and dedication, you’ll be able to create stunning depictions of Bigfoot and other mythical creatures.
So grab your pencils, sharpen your skills, and let your imagination roam as you bring Bigfoot to life on paper!