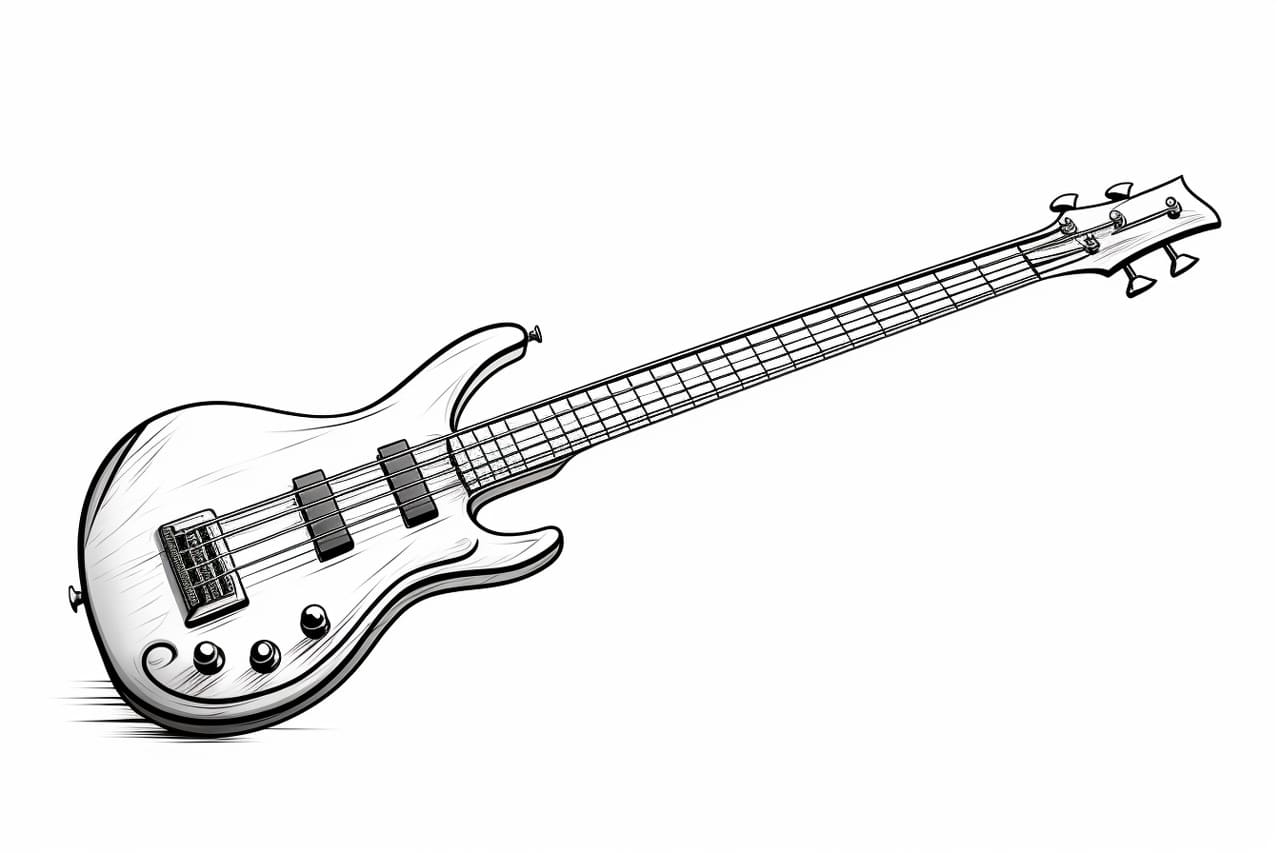
If you have a passion for music and art, why not combine the two by drawing a bass guitar? By following these step-by-step instructions, you can create a realistic and detailed representation of this iconic instrument. In this article, we will guide you through the process, from sketching the basic shape to adding intricate details. So, let’s get started on this artistic journey!
Materials Required
Before we begin, gather the following materials:
- A pencil (preferably a mechanical pencil with various lead sizes)
- Drawing paper (preferably thick and smooth)
- Eraser (either a kneaded eraser or a vinyl eraser)
- Ruler (for precise measurements)
- Fine-tipped markers or pens (optional, for outlining)
Now that you have your materials ready, let’s dive into the step-by-step process of drawing a bass guitar.
Step 1: Sketch the Basic Shape
Start by lightly sketching an elongated rectangle for the body of the bass guitar. Remember, this is just a rough outline, so don’t press too hard with your pencil. Next, draw a long, thin rectangle extending from the body for the neck of the guitar. Finally, add another rectangle perpendicular to the neck for the headstock.
Step 2: Refine the Body Shape
Using the basic shape as a guide, refine the body of the bass guitar. Add curves to the corners, giving it a more organic and realistic appearance. Smooth out any rough edges and make sure the proportions are accurate.
Step 3: Add Details to the Body
Now it’s time to add some details to the body of the bass guitar. Start by drawing the pickguard, which is typically located near the bottom of the body. Then, draw the bridge, which is where the strings are attached. Add the control knobs and any other unique features that your bass guitar might have.
Step 4: Define the Neck
Refine the shape of the neck by adding a slight curve to its outline. Next, draw the frets as horizontal lines across the neck. Remember to space them evenly. Then, sketch the tuning pegs at the top of the headstock.
Step 5: Draw the Strings
Add the strings to your bass guitar. Draw them as thin lines starting from the bridge and extending towards the headstock. Make sure to leave some space between each string.
Step 6: Enhance the Details
Now that the basic structure of the bass guitar is complete, it’s time to add some finer details. Pay attention to the various components such as the pickups, volume and tone controls, and any additional features specific to your chosen bass guitar model. Take your time to capture the intricacies, as these details play a vital role in making your drawing more realistic.
Step 7: Shade and Texture
To give your bass guitar drawing depth and dimension, add shading and texture. Observe the play of light and shadow on the various surfaces of the instrument and shade accordingly. Use hatching or cross-hatching techniques to create texture, particularly on the body and neck.
Step 8: Outline and Finalize
Once you are satisfied with the shading and texture, you can finalize your bass guitar drawing by outlining the entire artwork. You can use fine-tipped markers or pens for this step, or you can stick with your pencil for a softer and more traditional look. Outline the main shapes and details, adding emphasis to certain features if desired. Erase any underlying sketch lines that are no longer needed.
Conclusion
Congratulations! You have successfully drawn a bass guitar. This step-by-step guide has helped you transform a blank sheet of paper into a detailed and realistic representation of this iconic instrument. Remember, drawing is an art that requires practice and patience. Don’t be discouraged if your first attempt isn’t perfect. Keep practicing, and with time, you’ll see improvement.
So, grab your pencil and start creating your very own bass guitar masterpiece today!


