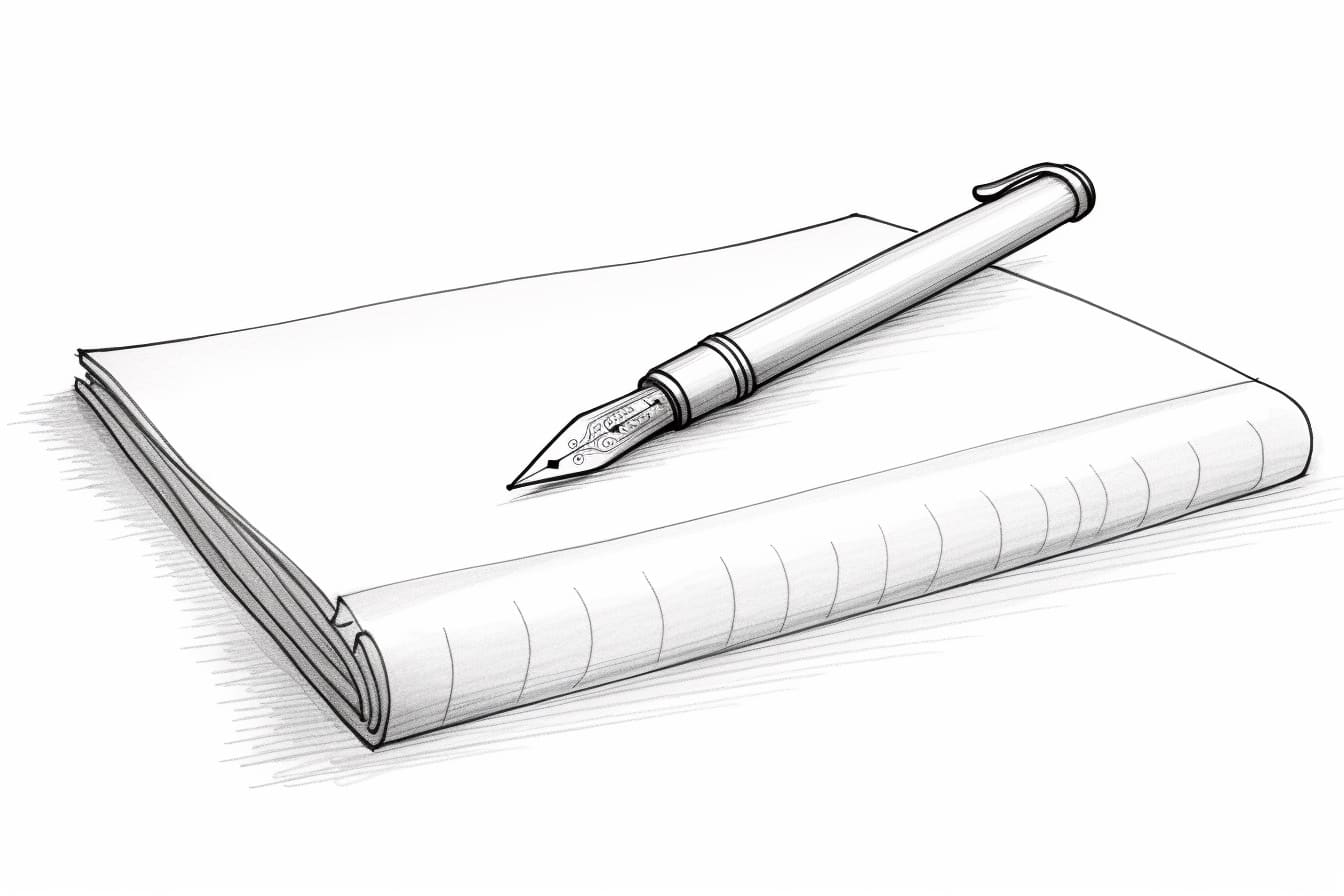
As an artist, one of the fundamental skills to master is drawing basic shapes. In this step-by-step tutorial, we will learn how to draw a simple piece of paper. This exercise will help you understand the importance of proportion, shading, and texture in your drawings. So grab your pencil and let’s get started!
Materials Required
Before we begin, let’s gather the materials we will need for this drawing exercise:
- A sheet of paper
- A sharp pencil (preferably HB or 2B)
- An eraser
Now that we have our materials ready, let’s dive into the process of drawing a piece of paper.
Step 1: Sketch the Outline
Start by lightly sketching a rectangle shape on your paper. This will serve as the outline of the paper. Focus on getting the proportions right, ensuring that the height and width of the rectangle are in harmony.
Step 2: Define the Edges
Once you have the outline, gradually darken the edges of the rectangle. Pay attention to the corners, making them slightly rounded to give the paper a more realistic appearance. Adjust the pressure on your pencil to achieve varying line weights.
Step 3: Add Folds or Creases
To make the drawing more interesting, you can add some folds or creases to the paper. These folds can be created by drawing additional lines within the rectangle, following the direction you want the fold to take. Remember to make the lines softer and slightly curved to depict the natural flow of the paper.
Step 4: Shade the Paper
Now it’s time to add some shading to give the paper more depth. Start by identifying a light source in your drawing, which will determine where the highlights and shadows fall. Shade the areas that are away from the light source, creating a gradual transition from light to dark.
Step 5: Create Texture
To make the paper look more realistic, we need to add some texture. Use your pencil to create small, parallel lines across the surface of the paper. Vary the length and direction of these lines to mimic the fibers of the paper. Be patient as you fill in the entire area with these lines, ensuring it looks even and consistent.
Step 6: Refine and Add Details
Now that you have the basic structure and shading in place, it’s time to refine your drawing and add any additional details. Take a step back and examine your work so far. Make any necessary adjustments to the proportions and refine the edges to ensure they are clean and crisp. Don’t be afraid to erase and redo areas that need improvement.
Step 7: Finalize the Drawing
Once you are satisfied with the overall look of your drawing, it’s time to finalize it. Darken the lines that define the edges of the paper, reinforcing their presence. Use your eraser to remove any stray marks or smudges, making sure the drawing looks clean and polished.
Conclusion
Congratulations! You have successfully learned how to draw a piece of paper. By following these step-by-step instructions, you have gained valuable insights into proportion, shading, and texture. Remember to practice regularly to further enhance your drawing skills.
Drawing basic shapes like a piece of paper may seem simple, but it lays the foundation for more complex drawings. So keep honing your skills and exploring new subjects to draw. With time and practice, your artistic abilities will flourish.
Happy drawing!