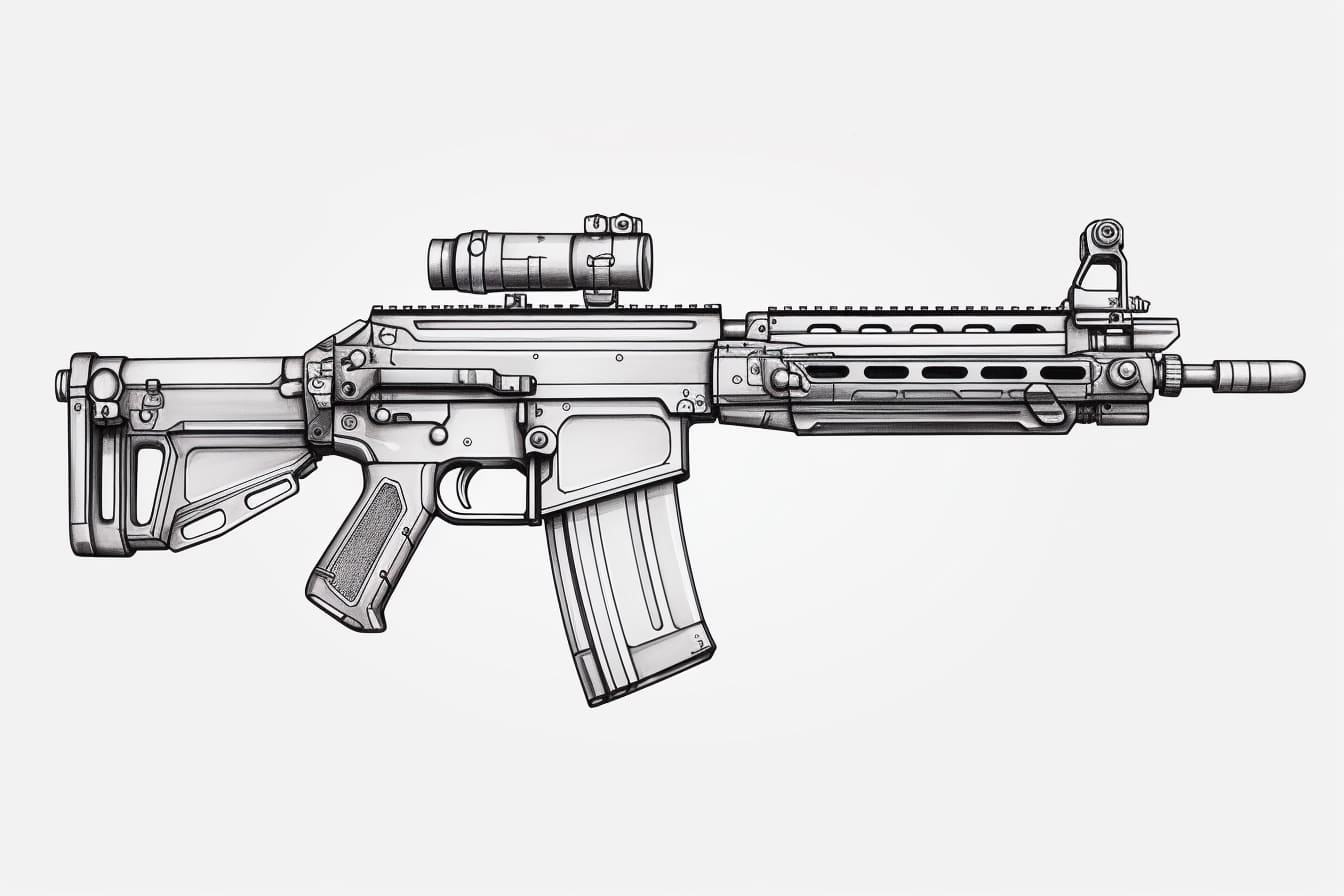
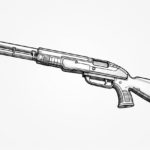
Welcome to this step-by-step guide on how to draw a machine gun! In this article, I will guide you through the process of drawing a machine gun using simple shapes and lines. Whether you are an aspiring artist or just enjoy drawing, this tutorial will help you create a realistic representation of a machine gun. So let’s get started!
Materials Required:
To begin with, gather the following materials:
- Pencil
- Eraser
- Paper
- Ruler (optional)
- Reference image of a machine gun (optional)
Step 1: Draw the Outline of the Gun
Start by drawing a rectangular shape to represent the main body of the machine gun. Use light, loose pencil strokes, as you can refine and darken them later. Make sure the rectangle is proportional and extends slightly slanted towards the front end.
Step 2: Add the Barrel and Stock
Draw a long, thin rectangle at the front of the main body to represent the barrel. Extend it slightly beyond the rectangle’s top edge. Next, sketch the stock of the machine gun by drawing a vertical rectangle at the rear end of the main body. Make sure the stock is slightly tilted, giving it a dynamic appearance.
Step 3: Create the Trigger Guard and Pistol Grip
At the bottom of the main body, draw a small rectangular shape for the trigger guard. Position it towards the front end, making sure it aligns with the barrel. Connect the trigger guard to the pistol grip by drawing a curved line. The pistol grip should be wider towards the base and taper as it moves towards the trigger guard.
Step 4: Add the Magazine and Handguard
Draw a rectangular shape extending down from the main body, on the opposite side of the pistol grip. This represents the magazine. Make sure it is slightly curved and proportional to the gun’s body. Next, add a handguard by drawing a slanted, rectangular shape over the top portion of the barrel.
Step 5: Detail the Barrel and Stock
To add more realism to the barrel, draw a series of short, diagonal lines extending from the front end. These lines represent the barrel vents. Next, create some texture on the stock by adding a few diagonal lines or patterns to represent the wood or metal grain.
Step 6: Refine the Main Body
Refine the overall shape of the machine gun’s main body. Make any necessary adjustments to ensure the proportions are accurate. Pay attention to the curves and edges, and use gentle strokes to accentuate the contours.
Step 7: Add Details and Accessories
Now it’s time to add more details and accessories to your machine gun. Draw the sights by adding a small, rectangular shape near the rear end of the main body. Next, add a grip at the front end of the handguard by drawing a cylindrical shape with some texture.
Step 8: Erase Unnecessary Lines
Carefully erase any unnecessary construction lines and guidelines that you no longer need. Be cautious not to erase any important outlines or details you have drawn.
Step 9: Darken and Shade
Once you are satisfied with the overall structure of your machine gun, go over the final lines with a darker pencil or pen. This will help emphasize the main features and give your drawing a polished look. Shade the areas of the gun that would naturally be darker, such as the barrel, stock, and grip.
Step 10: Add Shadows and Highlights
To make your drawing more three-dimensional, add shadows and highlights. Imagine the light source coming from a specific direction and shade accordingly. Use a darker tone for the shadows and leave some areas blank or lightly shaded for the highlights. Take your time and build up the shading gradually to create a realistic effect.
Conclusion
Congratulations! You have successfully learned how to draw a machine gun. By following this step-by-step guide and practicing, you can create detailed and realistic drawings of various objects. Remember to start with simple shapes and gradually add more details as you gain confidence. Drawing is a skill that improves with practice, so keep experimenting and exploring your artistic abilities. Enjoy the process and have fun creating amazing art!

