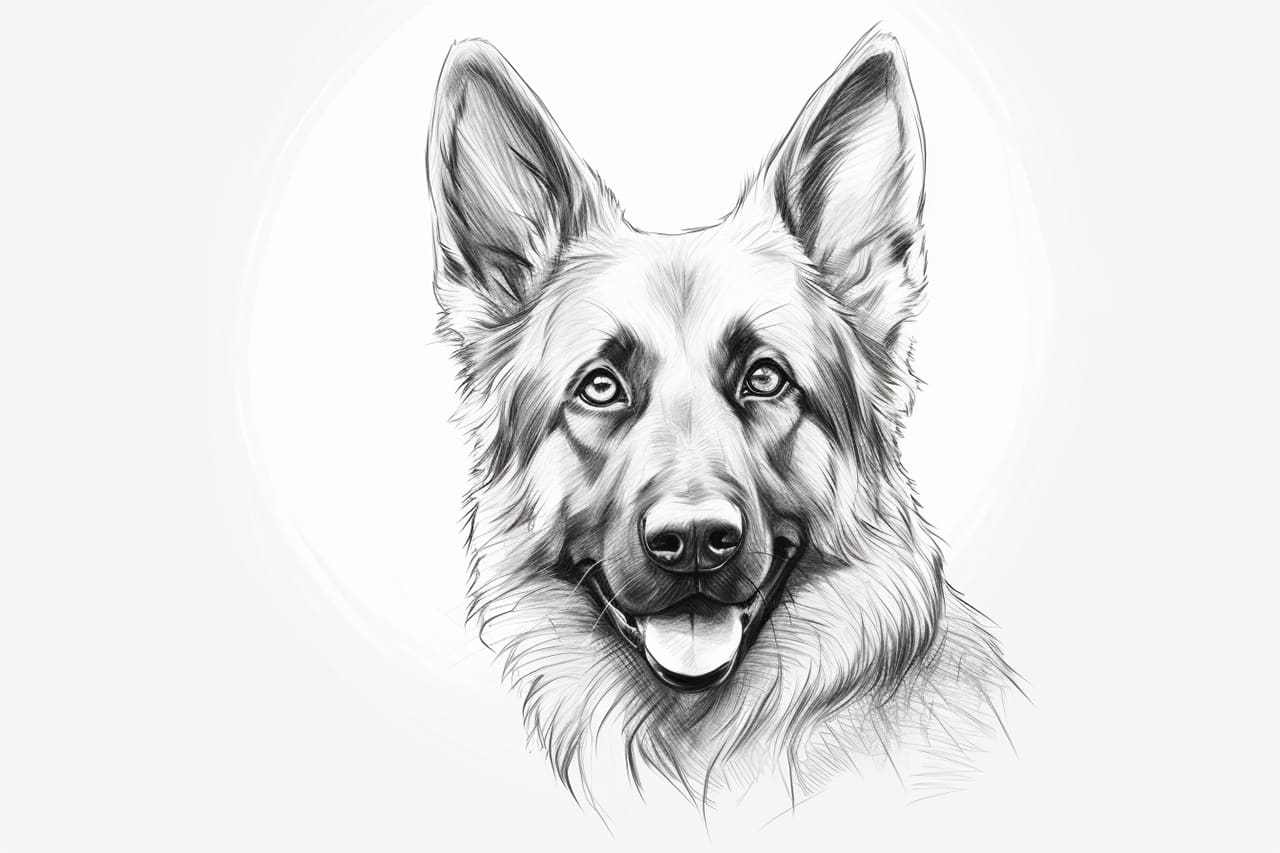
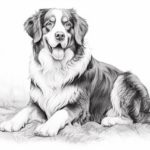
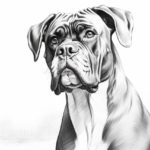
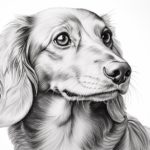
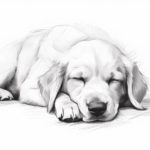
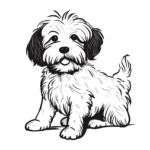
Welcome to this step-by-step tutorial on how to draw a dog face! In this guide, we will go through each stage of creating a realistic and adorable dog face, suitable for drawings and illustrations. You don’t need to be an expert artist to follow along, as we will break it down into simple, easy-to-follow steps. So, let’s get started on this fun drawing adventure!
Materials Required
To begin, gather the following materials:
- Drawing paper: Choose a size that suits your preference.
- Pencils: Have a range of graphite pencils, such as 2B, 4B, and 6B, for shading.
- Eraser: A good quality eraser for correcting mistakes and refining details.
- Pencil sharpener: Keep your pencils sharp for precise lines and shading.
Now that you have your materials ready, let’s move on to the step-by-step instructions.
Step 1: Basic Guidelines
Start by drawing a circle in the center of your paper. This will serve as the base for the dog face. Next, draw a vertical line passing through the center of the circle and a horizontal line across it. These lines will help you establish the positioning of the eyes, nose, and mouth later on.
Step 2: Eyes and Eyebrows
Using the guidelines, draw two large circles for the eyes on either side of the vertical line. Inside each eye, draw a smaller circle for the iris, leaving a small white space to create a realistic effect. Add curved lines above each eye to create the eyebrows, giving your dog a playful or serious expression depending on the angle and curve of the lines.
Step 3: Nose and Mouth
Below the eyes, draw an oval shape to represent the dog’s nose. Add a curved line along the bottom of the oval to define the nostrils. Next, draw a horizontal line across the center of the oval to create the mouth. Extend the line slightly at the ends to form the corners of the mouth, which will help determine the dog’s expression.
Step 4: Ears
On each side of the dog’s head, draw two triangular shapes that point upwards. The size and angle of the triangles may vary depending on the breed of dog you are drawing. Take your time to get the proportions right, as the ears play a crucial role in achieving a realistic-looking dog face.
Step 5: Face Details
To add depth and dimension to the face, start by drawing the dog’s pupils inside the smaller circles you drew for the eyes. Add small highlights in the eyes to make them appear more alive. Next, refine the shape of the nose by adding texture and shading to create a three-dimensional effect. Use short, light pencil strokes to gradually darken the areas that need shading, such as the sides and underside of the nose.
Step 6: Shading and Texture
Now it’s time to add shading and texture to the rest of the dog’s face. Carefully observe the reference image or the mental image you have of the dog you want to draw. Use varying pencil pressure and strokes to create fur-like textures and shadows in the appropriate areas. Pay attention to the direction in which the fur flows, and add darker values in areas where the shadows would naturally occur, such as around the eyes, under the chin, and along the sides of the face.
Step 7: Final Details
In this final step, focus on refining the details and adding any additional elements that will enhance your dog’s facial features. Add whiskers around the nose area using thin, light lines. You can also adjust the shape of the dog’s face or features if needed, erasing any unnecessary guidelines as you go. Take your time to evaluate your drawing and make any necessary adjustments until you are satisfied with the end result.
Conclusion
Congratulations on completing your dog face drawing! By following these step-by-step instructions and practicing regularly, you can improve your skills and create stunning dog portraits. Remember, drawing is a journey, and each attempt will bring you closer to mastering this art form. So, keep experimenting, embrace your creativity, and enjoy the process of bringing these lovable canine companions to life on paper!

