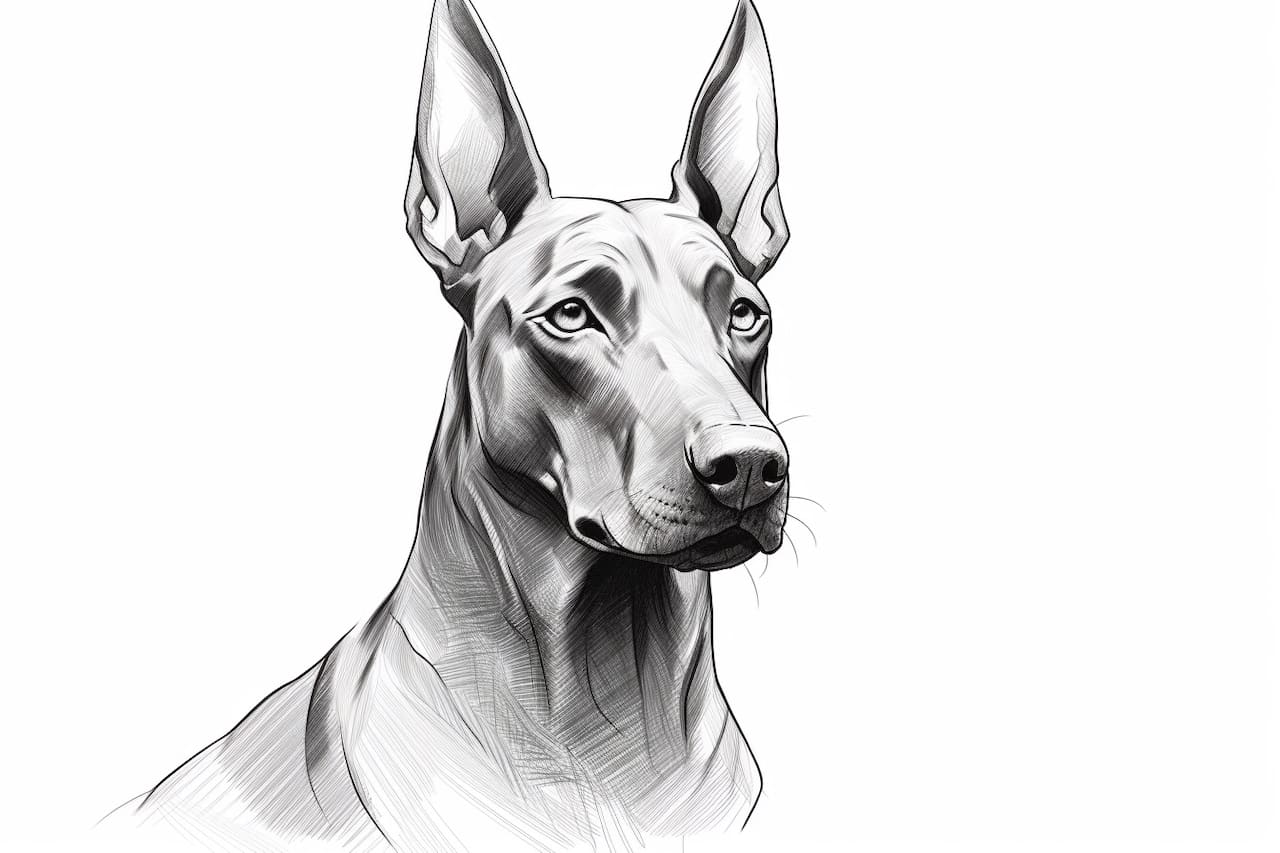
Welcome to this step-by-step guide on how to draw a Doberman Pinscher! Whether you’re a seasoned artist or just starting out, this tutorial will help you create a realistic and detailed representation of this beautiful breed. Grab your art supplies and let’s get started!
Materials Required
Before we begin, gather the following materials:
- Drawing paper or sketchbook
- Graphite pencils (HB, 2B, and 4B)
- Eraser (kneaded or vinyl)
- Blending stump or tortillon
- Reference photo of a Doberman Pinscher (printed or on a screen)
- Optional: Colored pencils or markers for adding color to your drawing
Now that you have everything you need, let’s dive into the steps!
Step 1: Basic Shapes and Proportions
Start by lightly sketching the basic shapes of the Doberman Pinscher. Begin with an oval shape for the head and a rectangular shape for the body. Connect them with a curved line to form the neck. Add circles for the shoulder and hip joints, and ellipses for the limbs.
Step 2: Define the Head and Muzzle
Refine the shape of the head by adding more details. Sketch the ears on top of the head, making sure to capture their triangular shape and pointy tips. Next, add the eyes, nose, and mouth. Observe the reference photo closely to get the right placement and proportions.
Step 3: Outline the Body and Legs
Using the basic shapes as a guide, start outlining the body and legs of the Doberman Pinscher. Pay attention to the angles and proportions of the joints. Add more curves and rounded shapes to indicate the muscles and contours of the body.
Step 4: Add Details to the Face
Focus on the face of the Doberman Pinscher and add more details. Sketch the furrowed brow, the almond-shaped eyes, and the strong jawline. Don’t forget to draw the distinctive cropped ears, if applicable. Use light, curved strokes to indicate the texture of the fur.
Step 5: Refine the Body Structure
Refine the body structure by adding more details and volume to the Doberman Pinscher’s frame. Study the reference photo carefully and observe how the muscles and bones are positioned. Add shading and highlighting to create depth and three-dimensionality.
Step 6: Work on the Limbs and Paws
Pay attention to the limbs and paws of the Doberman Pinscher. Observe the angles, curves, and muscle definition. Sketch the toes and claws, making sure they are in proportion to the rest of the body. Add shading and texture to enhance the realism.
Step 7: Focus on the Tail and Coat
Now it’s time to focus on the tail and coat of the Doberman Pinscher. Sketch the tail based on the reference photo, noting its length and shape. Add the short, sleek fur by using small, quick strokes. Pay attention to the direction of the fur and vary the pressure to create texture.
Step 8: Final Details and Shading
At this point, your drawing is almost complete. Take some time to refine the details and add any missing elements. Pay close attention to the Doberman Pinscher’s facial features, such as the eyes, nose, and mouth. Use light and dark shading to bring out the form and create a sense of depth.
Step 9: Optional: Adding Color
If you prefer to add color to your drawing, now is the time to do so. Use colored pencils or markers to carefully layer the appropriate shades onto your Doberman Pinscher drawing. Observe the reference photo and gradually build up the colors, blending them smoothly for a realistic appearance.
Conclusion
Congratulations! You have successfully learned how to draw a Doberman Pinscher from start to finish. By following these step-by-step instructions and using your artistic skills, you’ve created a detailed and lifelike representation of this magnificent breed. Remember to practice regularly to improve your drawing abilities. Happy creating!