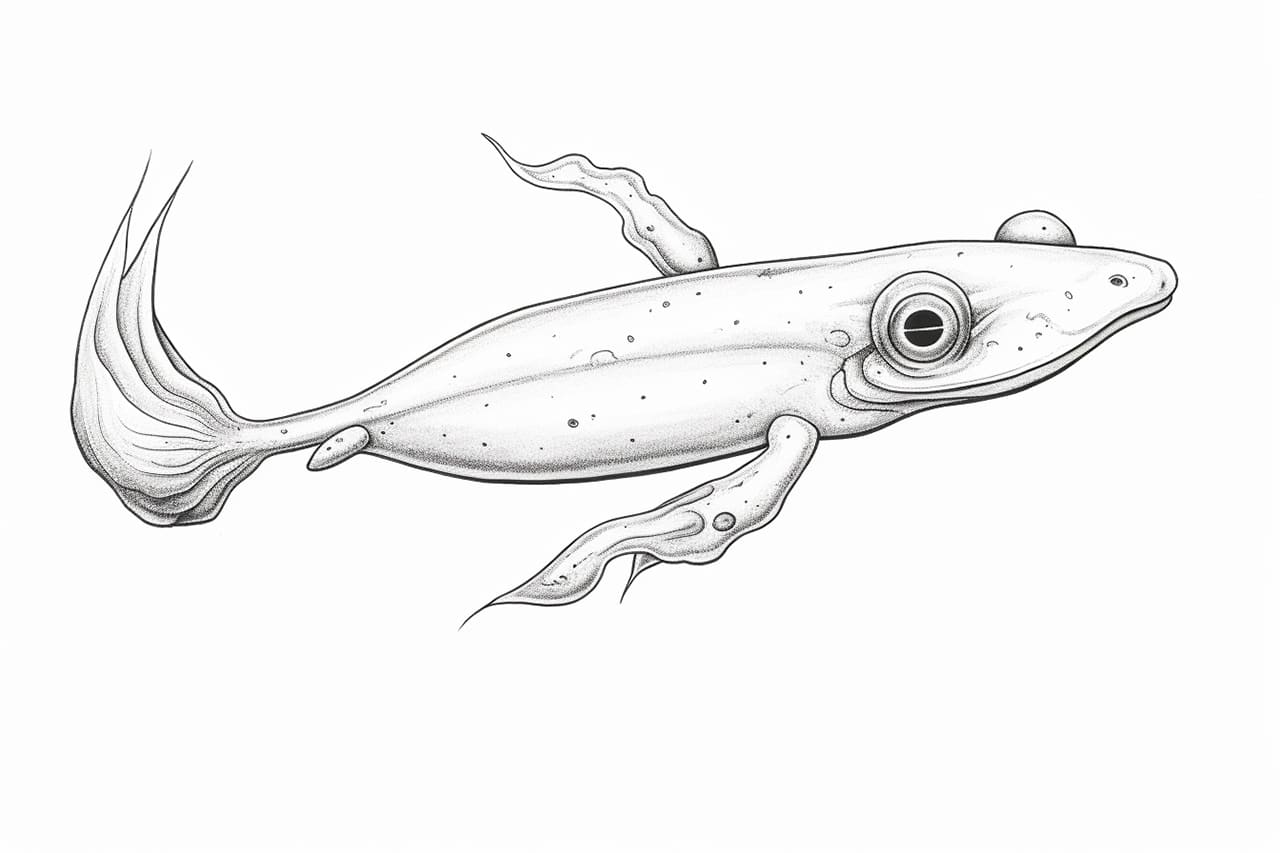
Welcome to the world of drawing! In this tutorial, we will learn how to draw a tadpole step-by-step. Tadpoles are in the larval stage of a frog or toad and are fascinating creatures to observe and draw. Whether you are a beginner or an experienced artist looking to enhance your skills, this guide will provide the steps and techniques to create a realistic and detailed representation of a tadpole. So grab your pencil and paper, and let’s draw a tadpole!
Materials Required:
- Drawing paper
- Pencil (preferably HB or 2B)
- Eraser
- Fine-tipped pen or marker (optional)
- Colored pencils (optional)
- Reference image of a tadpole (optional)
Step 1: Basic Shapes
Start by drawing a guideline for the tadpole’s body. Sketch a long oval shape in the center of your paper, which will serve as the main body of the tadpole. This oval should be slightly tilted, with the upper end narrower than the lower end.
Step 2: Head and Tail
From the front end of the oval, draw a smaller rounded shape to represent the tadpole’s head. At the other end of the oval, begin sketching the tail. Tadpoles have long, thin tails, so ensure that your tail follows a curved line and narrows down towards the tip.
Step 3: Eyes and Mouth
Next, add the details of the tadpole’s face. Draw two small, circular shapes near the front of the head to represent the eyes. Within each eye, add a smaller circle to indicate the pupils. Then, draw a small curved line to depict the mouth.
Step 4: Fins
Tadpoles have fins on both sides of their body. Starting from the lower part of the tadpole, draw a curved line that extends about halfway down the body. Repeat this step on the other side to create the opposite fin. These fins should be relatively thin, showcasing the tadpole’s streamlined shape.
Step 5: Details
Now, let’s add some additional details to make our tadpole drawing more lifelike. Draw a few curved lines along the tail to represent the segmented nature of the tail. You can also add some lines around the eyes and mouth to define them further.
Step 6: Shading and Texture
To give depth and texture to your drawing, add shading. Begin by lightly shading the entire tadpole, leaving the belly area lighter. Gradually darken the shading as you move towards the tadpole’s back. This shading technique will create a sense of volume and dimension. You can also add some texture to the fins by drawing small, overlapping lines.
Step 7: Finalize the Outline
Once you are satisfied with the shape and details of your tadpole, finalize the outline by going over your drawing with a pen or marker. Use smooth, confident strokes to outline the tadpole’s form, making sure to emphasize the curves and contours.
Step 8: Optional Coloring
If you want to add color to your drawing, grab your colored pencils. Tadpoles are typically brown or green, but you can use your creativity to experiment with different shades and patterns. Start by lightly coloring the tadpole, gradually adding darker shades to create tonal variations. Remember to blend the colors smoothly for a realistic appearance.
Conclusion
Congratulations! You have successfully learned how to draw a tadpole. By following these step-by-step instructions, you should now have a detailed and lifelike representation of a tadpole on your paper. Drawing is a skill that improves with practice, so don’t be afraid to experiment and explore other techniques. Remember, every great artist started as a beginner, and with dedication and passion, you can continue to develop your drawing abilities. So, keep practicing and enjoy the process of creating art. Happy drawing!