Welcome to this step-by-step tutorial on how to draw a cartoon shark! Sharks are fascinating creatures, and drawing them can be a fun and rewarding experience. Whether you’re an aspiring artist or just looking for a fun activity, this guide will walk you through the process of creating your very own cartoon shark. So let’s dive in and get started!
Materials Required
Before we begin, let’s gather the materials you’ll need for this drawing:
- Paper (preferably drawing paper)
- Pencil
- Eraser
- Fine-tipped black marker or pen
- Colored pencils or markers (optional)
Now that you have your materials ready, we can start drawing our cartoon shark!
Step 1: Basic Shapes
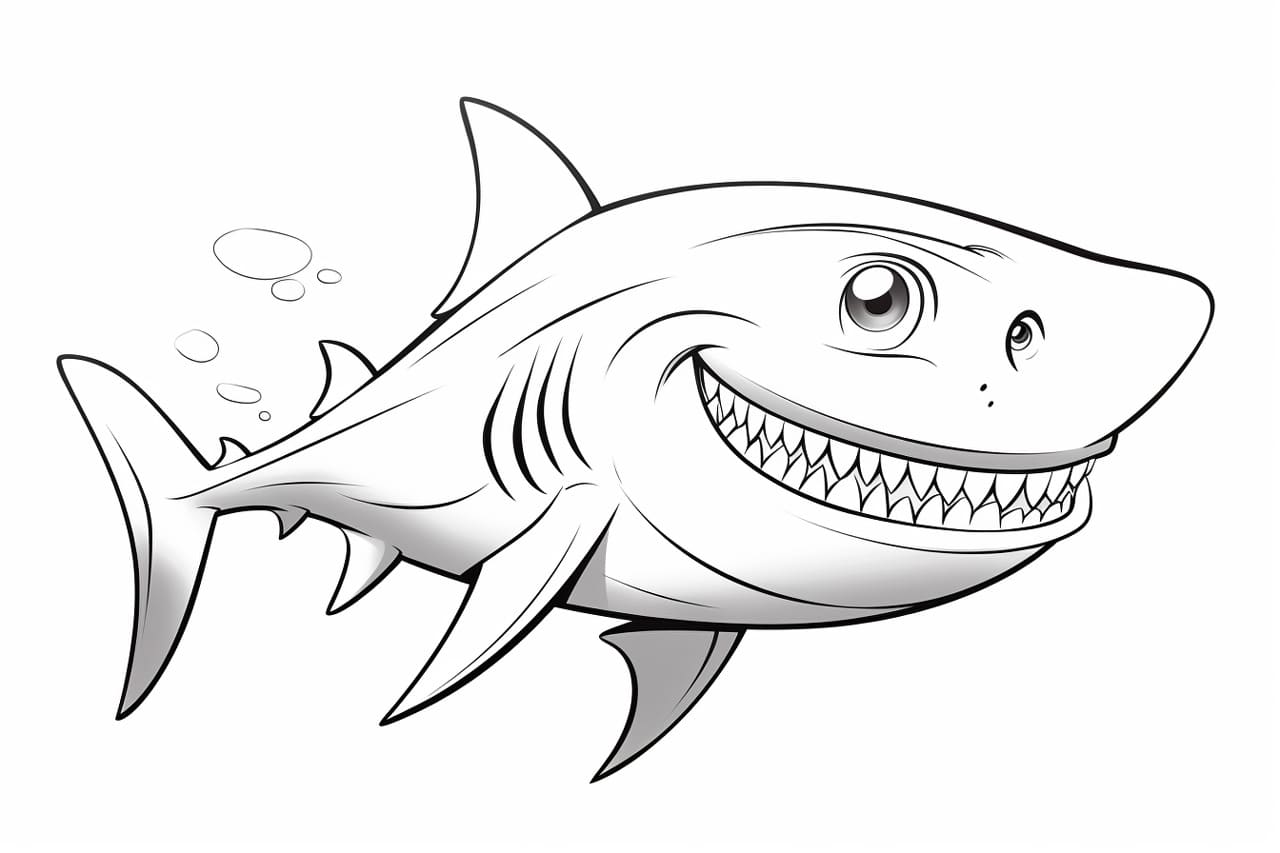
Let’s begin by sketching out the basic shapes that will form the body of our cartoon shark. Start by drawing an oval shape for the head. Then, add a curved line extending downwards from the oval to form the body. At the end of the body, draw a slightly curved line for the tail.
Step 2: Facial Features
Next, let’s work on adding some facial features to our shark. Sketch a small circle near the top of the head for the eye. Inside the eye, draw a smaller circle or oval to represent the iris. Add a small dot inside the iris to indicate the reflection in the eye. Just below the eye, draw a curved line for the mouth, with two small triangular shapes on top to represent the teeth.
Step 3: Fins and Tail
Now it’s time to add some fins and the tail to our shark. Start by drawing two triangular shapes on each side of the body to represent the pectoral and pelvic fins. Then, sketch a larger triangle at the bottom of the body for the caudal fin (tail fin). Make sure the tip of the triangle points towards the body.
Step 4: Body Details
In this step, we’ll add some details to the body of our cartoon shark. Draw a slightly curved line that extends from the eye towards the tail. This line represents the back of the shark. Then, draw a few curved lines on each side of the body to indicate the gills. Add a parallel line on the bottom of the body to represent the belly.
Step 5: Finalize the Outline
Now that we have the basic structure and details in place, it’s time to finalize the outline of our cartoon shark. Go over your sketch and darken the lines, making them bolder and more defined. Erase any unnecessary lines and smudges, ensuring that your shark looks clean and polished.
Step 6: Add Color (Optional)
If you’re feeling creative, you can add some color to your cartoon shark. Use your colored pencils or markers to bring your drawing to life. Sharks come in various shades of gray, so you can start by coloring the body and fins in different shades of gray. Add some white highlights to make certain areas pop. Finally, you can choose to add a splash of color to the eye or background for an extra touch of vibrancy.
Conclusion
Congratulations on completing your cartoon shark drawing! By following these step-by-step instructions, you’ve created a fun and playful depiction of this magnificent creature. Don’t be afraid to experiment and make this drawing your own by adding your unique style and personality. Keep practicing, and soon you’ll be able to draw all sorts of amazing cartoons. Enjoy the process and happy drawing!