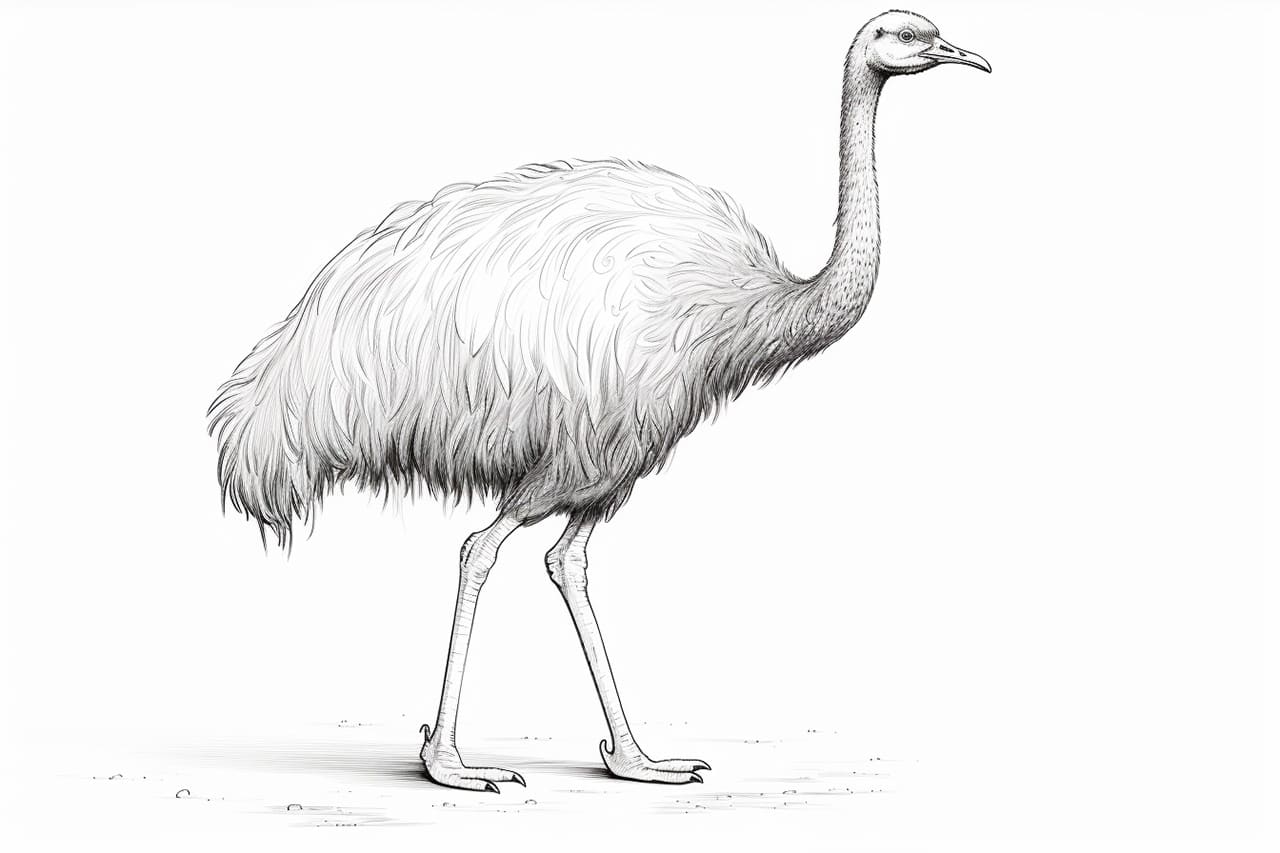
Welcome to this step-by-step guide on how to draw an ostrich! In this tutorial, I will provide you with clear and concise instructions to help you create a realistic and detailed drawing of this fascinating bird. So grab your drawing materials and let’s get started!
Materials Required
Before we begin, make sure you have the following materials on hand:
- Pencil: Use a regular pencil or a mechanical pencil with a medium lead for sketching and adding details.
- Paper: Choose a clean, white drawing paper that works well with your chosen drawing tools.
- Eraser: Have a good quality eraser handy, as you will need it to correct any mistakes.
- Fine-tip markers or pens: These will be used to outline and add fine details to your drawing.
- Colored pencils or markers (optional): If you want to add color to your drawing, have some colored pencils or markers ready.
Now that you have all your materials ready, let’s dive into the step-by-step instructions!
Step 1: Sketch the Basic Proportions
Start by lightly sketching an oval shape to represent the ostrich’s body. This shape will serve as a guideline for the overall size and placement of the ostrich’s different body parts. Next, add a smaller circle on top of the oval to represent the head. Connect the head and body with a neck line.
Step 2: Outline the Body
Using the basic shapes as a guide, begin outlining the body of the ostrich. Start by drawing a curved line from the head to the body to create the neck. Then, add a long and curved line for the back, tapering it towards the end to form the tail. Extend the line at the bottom of the oval to create the belly.
Step 3: Draw the Legs
Now, let’s draw the legs of the ostrich. Start by adding two long and curved lines that extend from the belly to form the thighs. Then, draw two shorter lines to represent the lower legs. Finish off the legs by adding the feet using a series of curved lines.
Step 4: Add the Head and Beak
Focus on the head now. Draw two circles for the eyes, leaving a small space between them. Inside each eye, draw a smaller circle to represent the iris. Add a curved line above the eyes for the eyebrow. Next, carefully outline the beak using curved lines. Make sure to add the distinctive shape and details, such as the nostril.
Step 5: Refine the Neck and Body
To add more details to the ostrich’s neck, draw small curved lines traveling down the length of it. This will give the appearance of feathers. Next, refine the body by adding a few lines to indicate the overlapping feathers. Erase any unnecessary guidelines from the sketch.
Step 6: Add Feathers and Tail
Now, let’s focus on the details of the feathers. Use a combination of short and long curved lines to represent the feathers on the ostrich’s body. Pay attention to the direction of the feathers and how they overlap. Continue this technique on the tail as well.
Step 7: Outline and Add Definition
Using a fine-tip marker or pen, carefully go over your pencil lines to outline the ostrich’s features. Add more definition to the body by adding shading and crosshatching to create depth and texture. Take your time with this step, as it will bring your drawing to life.
Step 8: Optional – Add Color
If you wish to add color to your drawing, now is the time to do so. Use colored pencils or markers to add realistic hues to the ostrich’s body, beak, and feathers. Observe reference photos or illustrations of ostriches to help you achieve accurate colors.
Conclusion
Congratulations! You have successfully learned how to draw an ostrich. By following these step-by-step instructions and using your creativity, you can create a stunning and realistic drawing of this magnificent bird. Remember to practice regularly to improve your skills. Enjoy the process and have fun with your drawings!