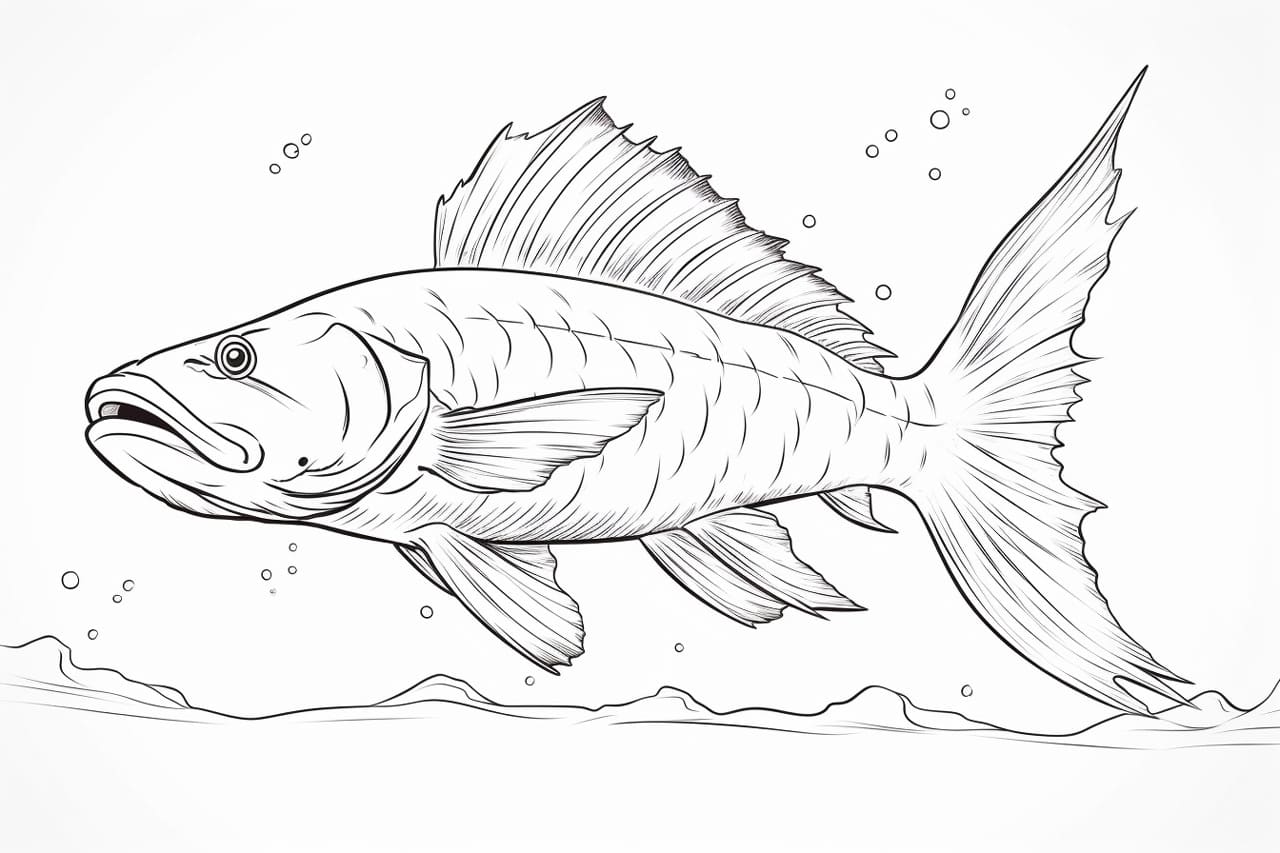
Welcome to this step-by-step tutorial on how to draw a catfish. Whether you’re an experienced artist looking to improve your skills or a beginner trying to learn the basics of drawing, this guide will walk you through the process of creating a realistic and detailed catfish drawing. So grab your art supplies and let’s get started!
Materials Required
Before we begin, make sure you have the following materials on hand:
- Pencil
- Eraser
- Drawing paper or sketchbook
- Fine-tip marker or pen (optional)
- Colored pencils or markers (optional)
Having these materials readily available will ensure a smooth drawing process, but feel free to experiment and use different tools if you prefer.
Step 1: Reference Image
To capture the unique characteristics of a catfish, it’s essential to have a reference image to work from. Look for a clear and high-quality photo that showcases the distinct features of a catfish, such as its whiskers, fins, and tail. Having a reference image will help guide you throughout the drawing process and ensure accuracy.
Step 2: Basic Shapes
Start by lightly sketching the basic shapes of the catfish. Begin with a large oval shape for the body, slightly elongated towards the tail. Add a small circle at the front for the head, positioning it above the oval body shape. Connect the head and body with a curved line.
Step 3: Facial Features
Add the catfish’s facial features by sketching two small circles for the eyes on the head shape. Position them towards the top edges of the head. Draw a tiny dot inside each eye to represent the pupils. Just below the eyes, sketch a small triangle shape for the mouth, curving it slightly upward.
Step 4: Body Details
Next, it’s time to add some details to the catfish’s body. Starting from the top of the oval body shape, draw a series of curved lines to represent the catfish’s back and sides. These lines should follow the general contours of the body, creating a sense of depth and dimension. Add a few small curved lines on the lower part of the body to represent the scales.
Step 5: Fins and Tail
Now, let’s draw the fins and tail of the catfish. Starting with the dorsal fin, sketch a tall triangular shape on the top of the body, extending it slightly beyond the body outline. On the lower part of the body, draw two triangular shapes for the pectoral fins. Place them just behind the head. On the bottom of the body, sketch two more triangular shapes for the pelvic fins, positioned towards the middle of the body. Finally, draw a long and curved shape for the tail, extending it from the end of the body.
Step 6: Whiskers
One of the defining features of a catfish is its whiskers. To draw them, sketch a few long, curved lines on both sides of the catfish’s mouth. Extend these lines outward, creating a sense of movement and flow. You can also add some smaller lines branching off from the main whiskers to add further detail.
Step 7: Refine the Outline
Now that the main features of the catfish are in place, it’s time to refine the outline. Using your pencil, go over the sketch and darken the lines, making them more defined. Pay close attention to the contours and details of the catfish, ensuring that the body, fins, and tail are well-shaped and proportionate. Take your time with this step, as it lays the foundation for the final drawing.
Step 8: Value and Texture
To add depth and texture to your catfish drawing, focus on creating a range of values. Use your pencil to build up darker areas, such as the shadows underneath the body, fins, and tail. Pay attention to the reference image to observe where the light source is coming from, and add shading accordingly. This will enhance the three-dimensional quality of your drawing.
Step 9: Optional Inking
If you prefer a more defined and bold look for your catfish drawing, you can use a fine-tip marker or pen to trace over the pencil lines. Be careful and take your time to ensure clean and smooth lines. After inking, wait for the ink to dry before erasing any remaining pencil marks.
Step 10: Adding Color (Optional)
If you want to take your drawing to the next level, consider adding color to your catfish. Colored pencils or markers can bring your catfish to life, adding vibrancy and realism. Observe the colors in your reference image and apply them accordingly, paying attention to the subtle variations and patterns on the catfish’s body.
Conclusion
Congratulations on completing your catfish drawing! By following these step-by-step instructions, you’ve learned how to create a realistic and detailed catfish illustration. Remember, practice makes perfect, so keep honing your skills and experimenting with different techniques. With time and dedication, your artistic abilities will continue to grow. Happy drawing!


