Drawing a knife can be a challenging but rewarding task for any artist. You can create a realistic and detailed representation of a knife with a few simple steps and some basic materials. In this guide, we will go through the step-by-step process of how to draw a knife, offering clear instructions and helpful tips along the way. So grab your pencils, and paper, and let’s get started!
Materials Required
To begin drawing a knife, you will need the following materials:
- Pencils: It is recommended to use a range of pencils with different hardness levels, such as HB, 2B, and 4B.
- Paper: Choose a smooth, medium-weight paper that is suitable for drawing. You can opt for either white or toned paper, depending on your preference.
- Eraser: Use a soft eraser that won’t damage the paper. A kneaded eraser is a great choice for making precise corrections.
- Ruler: A straight ruler will be helpful for drawing straight lines and ensuring accurate proportions.
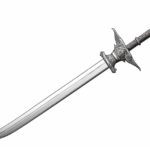
- Reference Image: Find a clear, well-lit reference image of a knife to work from. This will help you capture the details and shapes accurately.
Now that you have gathered all the necessary materials, let’s dive into the step-by-step process of drawing a knife.
Step 1: Outline the Knife Shape
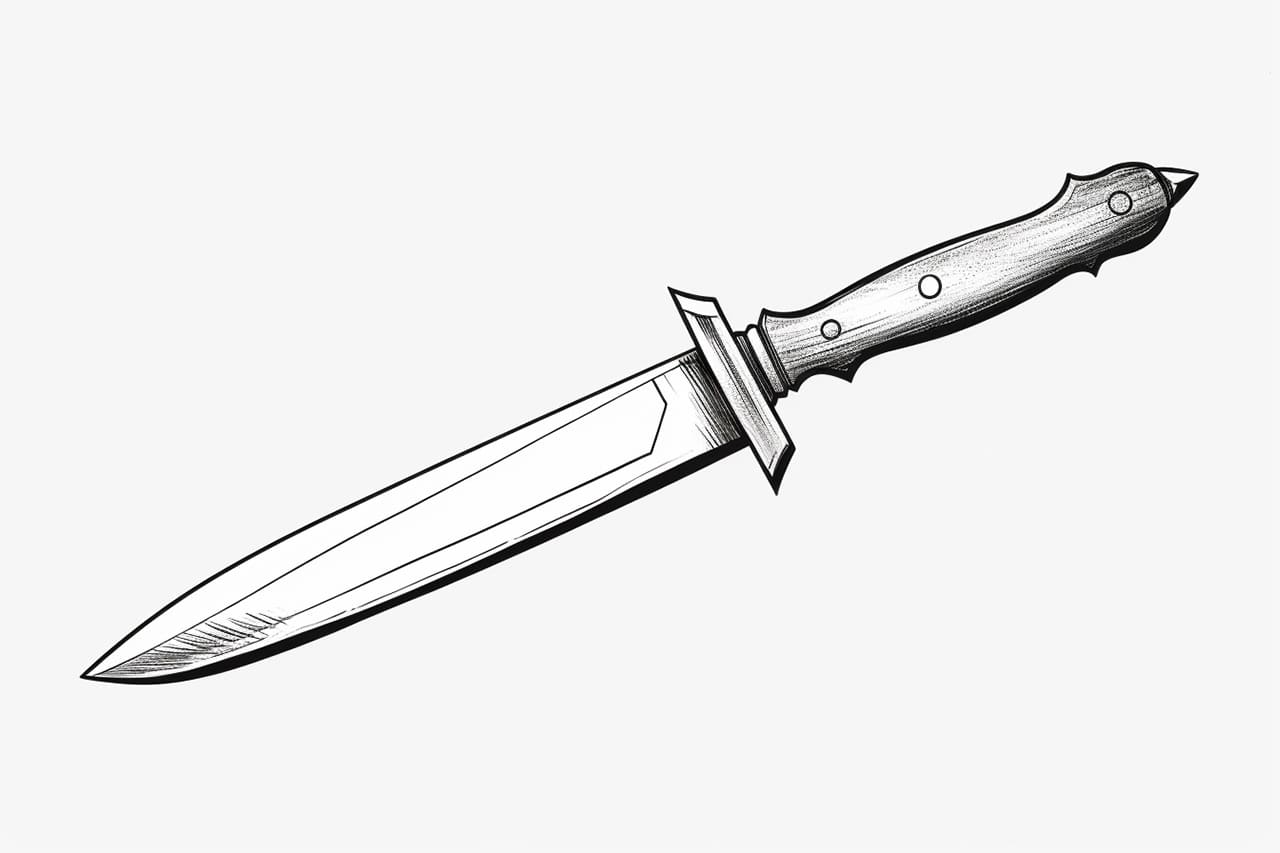
Begin by lightly sketching the basic shape of the knife using a medium-hard pencil, such as HB. Pay attention to the proportions and angles of the knife. Start with the handle, drawing a rectangular shape with rounded corners. Then, draw a long, triangular shape for the blade. Keep the lines light and loose, as you will refine them later.
Step 2: Add Details to the Handle
Using a softer pencil, like a 2B, start adding more details to the handle of the knife. Look closely at your reference image and observe any unique features or textures. Draw any patterns or indentations on the handle, such as grooves or ridges. Pay attention to the grip and contour of the handle, ensuring that it looks three-dimensional and realistic.
Step 3: Refine the Blade Shape
With the same soft pencil, refine the shape of the blade. Pay attention to the curves, angles, and proportions of the blade. Make sure it looks sharp and well-defined. Use a ruler if necessary to create straight lines and clean edges. Take your time with this step, as the blade is a focal point of the knife and requires careful attention to detail.
Step 4: Add Shadows and Highlights
To bring your drawing to life, it’s important to add shadows and highlights. Observe the lighting in your reference image and determine where the light source is coming from. Use a softer pencil, such as a 4B, to create the shadows on the knife. Start by shading the areas that are furthest from the light source, gradually building up the darkness. Use a blending stump or your finger to blend the shading smoothly.
Next, use an eraser to create highlights on the knife. Lightly erase areas where the light hits the blade or handle, creating a sense of reflection and shine. Be careful not to erase too much, as you want the highlights to appear subtle and realistic.
Step 5: Refine and Detail
Take a step back and assess your drawing so far. Look for any areas that need further refinement or additional details. Take your time to add any small accents, such as screws or logos on the handle, or a serrated edge on the blade. Use a sharp pencil to create fine lines and details. Pay attention to the textures and variations in the knife, making sure to capture them accurately.
Conclusion
Drawing a knife may seem like a daunting task at first, but with patience and practice, you can create a realistic and detailed representation. By following the step-by-step instructions outlined in this guide, using the recommended materials, and referring to a clear reference image, you can develop your skills as an artist and achieve impressive results. So, gather your materials, embrace the creative process, and enjoy drawing a knife with finesse and precision.