Welcome to this step-by-step guide on how to draw a lightsaber! As an expert artist and drawing instructor, I’ll walk you through the process of creating your very own lightsaber illustration. Whether you’re a beginner or an experienced artist, this tutorial will provide clear, clean, and concise instructions to help you bring this iconic weapon to life on paper.
Materials Required
Before we begin, let’s gather the materials you’ll need for this drawing tutorial:
- Pencil: Start with a regular graphite pencil for sketching and outlining.
- Eraser: Keep a soft eraser handy for correcting any mistakes.
- Paper: Use a clean sheet of drawing paper or a sketchbook.
- Colored pencils or markers: Optional, but you can add color to your lightsaber using colored pencils or markers.
Now that you’ve got your materials ready, let’s dive into the step-by-step process of drawing a lightsaber.
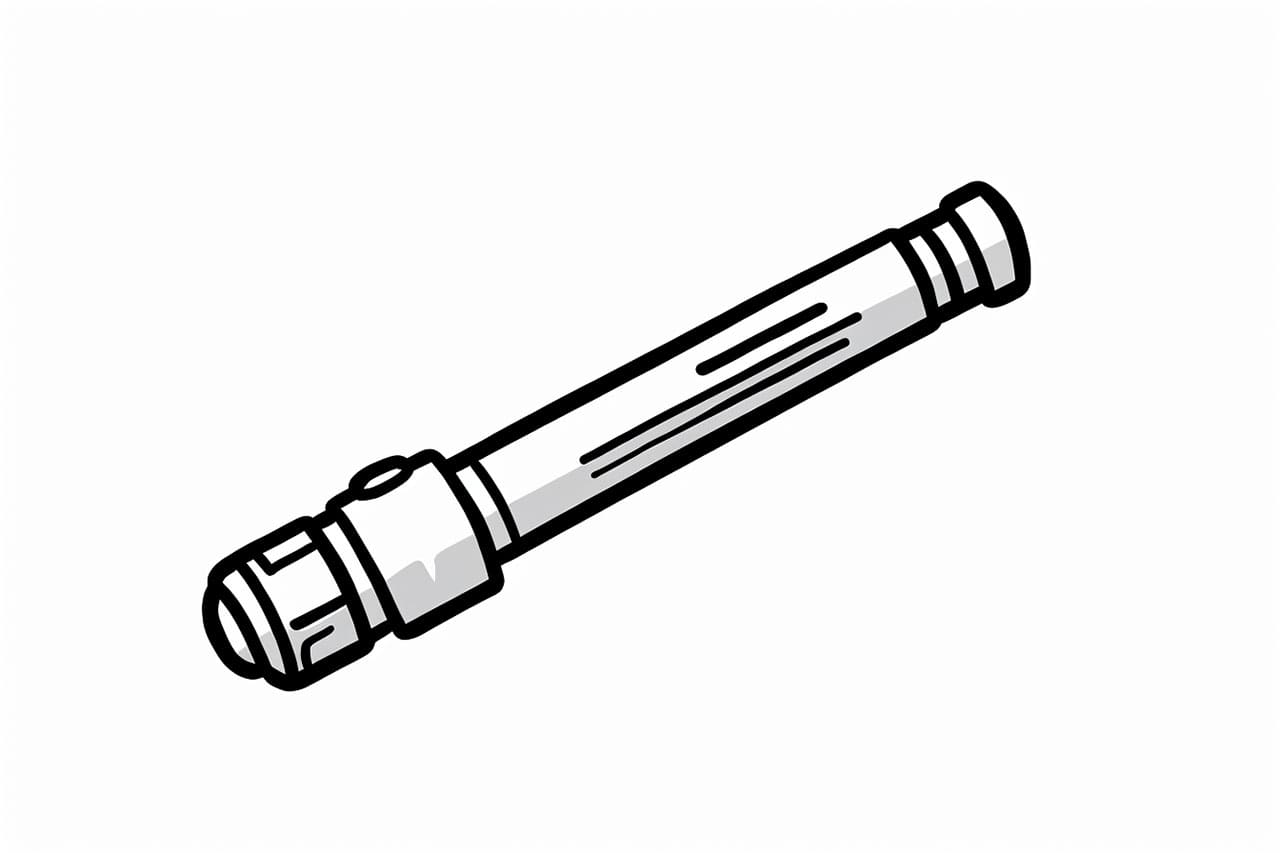
Step 1: Sketching the Handle
Begin by drawing a long vertical line slightly tilted to the right. This will serve as the centerline for your lightsaber. Using this line as a guide, sketch the basic shape of the handle. Start with a rectangular shape at the bottom, and gradually taper it as you move upwards. Don’t forget to leave some space at the top for the emitter.
Step 2: Adding Details to the Handle
Next, let’s add some details to the lightsaber handle. Start by sketching a series of small rectangles or squares along the length of the handle. These will represent buttons or switches. Feel free to get creative with the placement and design of these details. You can also add additional elements like grooves, ridges, or grips to give your lightsaber a unique look.
Step 3: Drawing the Emitter
Moving on to the top of the lightsaber, draw a wider rectangle or cylindrical shape to represent the emitter. This is the part where the blade of the lightsaber emits. You can make it as detailed or as simple as you like, depending on your preference. If you want to add more complexity, consider adding some ventilation holes or additional components to the emitter.
Step 4: Outlining the Blade
Now it’s time to draw the blade of the lightsaber. From the bottom of the emitter, extend two diagonal lines, converging as they go further. Imagine the blade extending beyond the page. You can decide how long you want the blade to be and adjust the angle of the lines accordingly. Once you’ve determined the length, connect the two lines at the tip to form the point of the blade.
Step 5: Finalizing the Design
In this step, you’ll refine the overall design of your lightsaber. Clean up any unwanted lines and make sure everything is proportionate. Add any additional details to the handle, such as screws, engravings, or additional buttons. Take your time and pay attention to the little details that will make your lightsaber unique and personalized.
Step 6: Adding Color (Optional)
If you want to add some color to your lightsaber, now is the time to do it. Use colored pencils or markers to bring your lightsaber to life. Decide on the colors you want to use for the handle and the blade. You can opt for traditional colors like silver or black for the handle, and choose from a range of colors for the blade, such as blue, green, or red. Don’t be afraid to experiment and add your own artistic touch.
Conclusion
Congratulations on completing your lightsaber drawing! By following these step-by-step instructions, you’ve successfully captured the essence of this iconic weapon on paper. Remember, drawing is a skill that improves with practice, so don’t be discouraged if your first attempt doesn’t turn out as expected. Keep practicing, exploring different designs, and experimenting with colors, and you’ll continue to refine your drawing skills.
Now that you have the knowledge to draw a lightsaber, unleash your creativity and create your own galactic adventures on paper. May the Force be with you!