Drawing a sweater may seem like a complex task, but with some guidance and practice, you can create a cozy and realistic representation. In this step-by-step guide, we will explore the techniques and tips that will show you how to draw a sweater with confidence. So grab your sketchbook and pencils, and let’s get started!
Materials Required:
To draw a sweater, you will need the following materials:
- Sketchbook or drawing paper
- Pencils of varying hardness (such as HB, 2B, and 4B)
- Eraser
- Ruler
- Colored pencils or markers (optional)
Now that you have your materials ready, let’s dive into the process of drawing a sweater.
Step 1: Outline the Shape of the Sweater
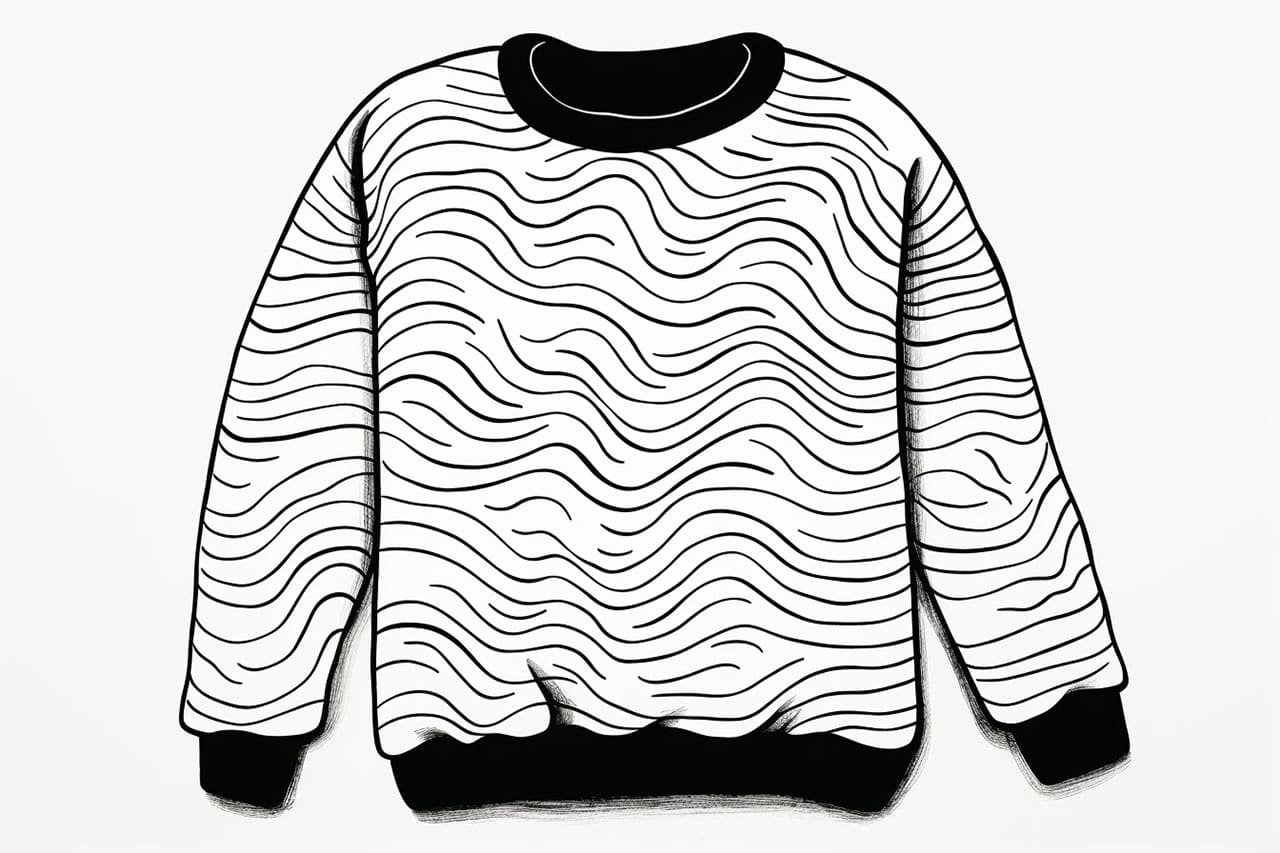
Start by lightly sketching the basic shape of the sweater. Decide on the posture or position you want for your drawing, as it will affect the way the sweater drapes on the body. Use light and loose lines to define the silhouette of the sweater.
Step 2: Add the Neckline and Shoulders
Next, add the neckline and shoulders of the sweater. The neckline can vary in shape, such as a crew neck, V-neck, or turtleneck. Consider the style of sweater you want to draw and carefully shape the neckline accordingly. Connect the neckline to the shoulders, ensuring that the lines flow naturally.
Step 3: Define the Sleeves
Detail the sleeves of the sweater by drawing their shape and size. Sweater sleeves can be long, short, or three-quarter length, so choose a style that suits your drawing. Pay attention to how the sleeves join the shoulder area and maintain a smooth transition.
Step 4: Draw the Body of the Sweater
Now, focus on the main body of the sweater. Depending on the design, it may be loose-fitting or snug. Visualize how the fabric drapes and sketch the contours accordingly. Take into account any folds or wrinkles that appear due to the way the fabric hangs.
Step 5: Add Ribbing and Details
To make your drawing more realistic, add ribbing details to the cuffs, hem, and neckline of the sweater. Ribbing is commonly seen in sweaters and helps to create texture. Use your ruler to draw even and parallel lines for the ribbing, ensuring that they follow the curves and contours of the sweater.
Step 6: Refine the Drawing
Now that the basic structure and details are in place, it’s time to refine your drawing. Observe your sketch and make any necessary adjustments to proportions, lines, or shapes. Focus on the overall balance and symmetry of the sweater to achieve a more polished look.
Step 7: Add Texture and Patterns (Optional)
If you want to take your drawing to the next level, consider adding texture and patterns to the sweater. You can depict cable knits, Fair Isle patterns, or any other design that catches your eye. Use your pencils or colored markers to bring these elements to life, paying attention to shading and highlights.
Conclusion:
Drawing a sweater may require some practice, but with the right techniques and guidance, it can be an enjoyable artistic endeavor. By following these step-by-step instructions, you can develop your skills and create stunning sweater drawings. Remember to be patient and have fun throughout the process. So grab your sketchbook and pencils, and start sketching your cozy creations today!