Whether you’re an aspiring artist or simply looking to express your creativity, learning how to draw a t-shirt can be a fun and rewarding experience. With a few simple steps, you can create your own unique t-shirt designs that will make a statement. In this article, we’ll guide you through the process of drawing a t-shirt, from sketching the basic outline to adding intricate details. So, grab your sketchbook and let’s get started!
Materials Required
Before we begin, make sure you have the following materials:
- Sketchbook or drawing paper
- Pencil or mechanical pencil
- Eraser
- Fine-tip markers or pens
- Colored pencils or markers (optional)
Now that you have all the necessary materials, let’s dive into the step-by-step process of drawing a t-shirt.
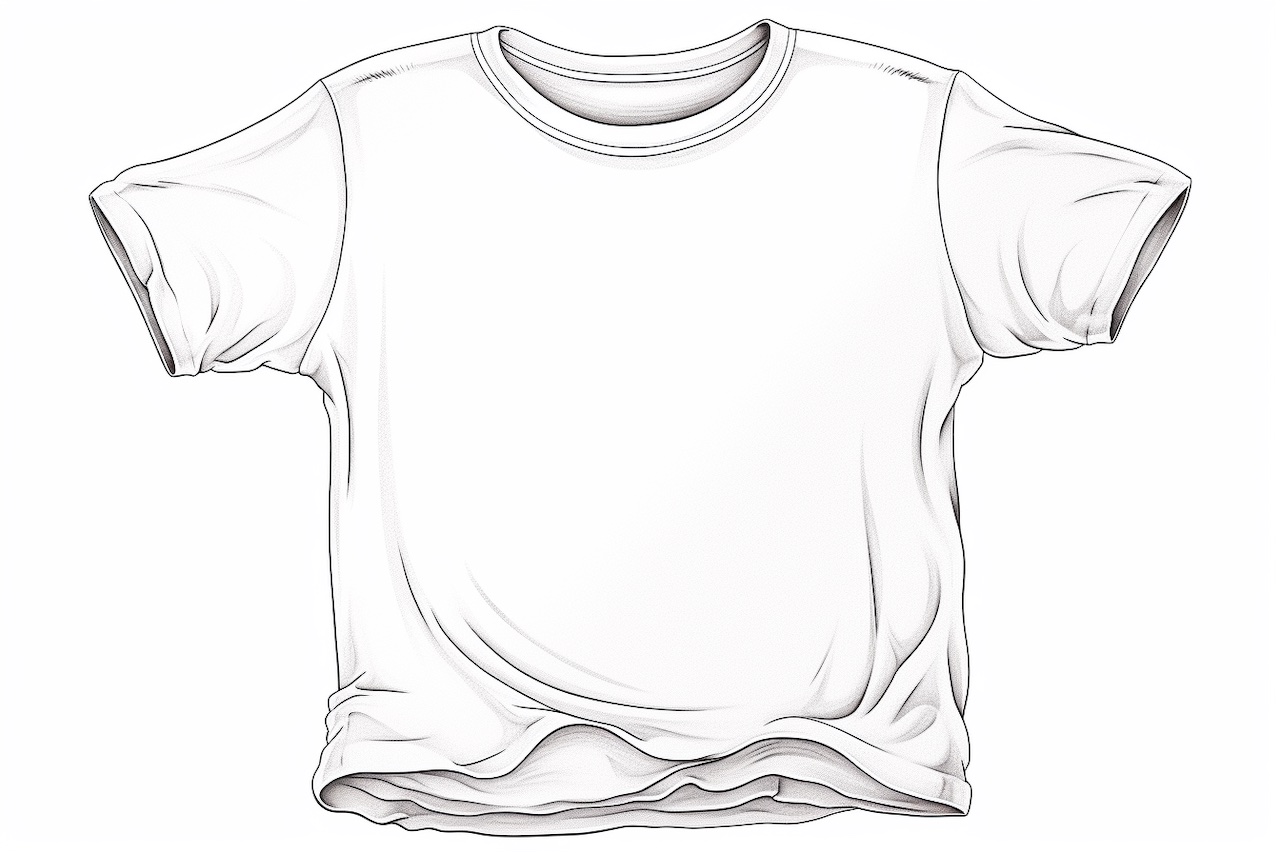
Step 1: Sketch the Basic Outline
Start by drawing a simple horizontal line near the top of your paper. This line will serve as the neckline of the t-shirt. Then, draw two vertical lines extending downwards from the ends of the neckline. These lines will form the sides of the t-shirt.
Step 2: Define the Shape of the T-Shirt
To give the t-shirt a realistic shape, add curved lines that connect the sides of the t-shirt to the bottom. These lines should create a gentle curve, mimicking the natural contours of a t-shirt. Take your time with this step to ensure the shape looks balanced and proportionate.
Step 3: Add Sleeves
Next, draw the sleeves of the t-shirt. Start by sketching two small curves extending from the sides of the neckline. These curves will represent the shoulder seams. Then, draw two larger curves that extend downwards from the shoulder seams. These curves will form the sleeves of the t-shirt.
Step 4: Refine the Details
Now that you have the basic outline of the t-shirt, it’s time to add some details. Begin by sketching the collar of the t-shirt. Depending on the style you’re aiming for, the collar can be round, v-neck, or any other shape you prefer. Erase any unnecessary lines from the neckline and collar to clean up the sketch.
Step 5: Create a Design
This is where your creativity comes into play. Think about what design you want to incorporate into the t-shirt. It could be a logo, a pattern, or even a quote. Use your pencil to sketch out the design on the t-shirt. Don’t worry about making it perfect just yet, as you can refine it later.
Step 6: Refine the Design
Once you’re satisfied with the initial sketch of your design, use your fine-tip markers or pens to outline and define the design. Pay attention to the finer details and make any necessary adjustments as you go along. Take your time to ensure the lines are clean and precise.
Step 7: Add Color (Optional)
If you want to add some color to your t-shirt design, now is the time to do so. You can use colored pencils or markers to fill in the design and bring it to life. Experiment with different color combinations to create a visually appealing t-shirt design.
Step 8: Finalize and Clean Up
Review your drawing and make any final adjustments or refinements. Erase any stray pencil lines and clean up any rough edges. Take a step back and admire your finished t-shirt design.
Conclusion
Drawing a t-shirt allows you to unleash your creativity and showcase your personal style. By following these step-by-step instructions, you can create your own unique t-shirt designs that will make heads turn. Remember to practice and experiment with different styles and designs to refine your drawing skills. So, grab your sketchbook and start designing your very own t-shirt today!