In today’s digital age, phones have become an essential part of our lives. Drawing a phone can be a fun and useful skill to have, whether you want to create art, design interfaces, or simply express your creativity. In this step-by-step tutorial, we will guide you through the process of how to draw a phone, from the basic shape to the intricate details. So, grab your pencil and let’s get started on how to draw a phone!
Materials Required
- Pencil
- Eraser
- Drawing paper
Step 1: Draw the Basic Rectangle
Start by drawing a basic rectangle in the center of your paper. This will be the main body of the phone. Make sure the sides are straight and the corners are square.
Step 2: Add the Screen
Next, draw a smaller rectangle inside the first one. This will be the screen of the phone. Leave some space around the edges for the phone’s bezel.
Step 3: Draw the Buttons
Now, let’s add some buttons to the phone. Draw small circles or rectangles on the sides of the phone for the volume buttons and the power button. You can also add a circle or a small rectangle at the bottom for the home button.
Step 4: Add the Camera
To make your phone look more realistic, draw a small circle or oval on the back of the phone. This will be the camera lens. You can also add a flash next to the camera by drawing a small rectangle or circle with a lightning bolt symbol.
Step 5: Detail the Phone
Next, add some details to the phone to make it look more realistic. Draw lines on the screen to represent app icons or a wallpaper. Add some texture to the phone’s body by drawing small lines or dots.
Step 6: Add Shading and Texture
Now it’s time to give your phone some depth and dimension. Add shading to the phone to make it look three-dimensional. Shade in the areas where shadows would naturally fall, such as the sides and bottom of the phone. You can also add some texture to the screen by using short, curved lines to show reflections or fingerprints.
Step 7: Final Touches
Take a step back and look at your drawing as a whole. Make any necessary adjustments and add any final touches that you feel are necessary to make your phone drawing look more polished and realistic.
Conclusion
Congratulations! You have successfully drawn a phone from scratch. With practice and attention to detail, you can draw various types of phones, from classic designs to the latest smartphone models. Drawing a phone is not only a fun artistic endeavor but also a practical skill that can be useful in many different fields. So keep practicing and exploring your creativity as you continue to draw more phones with this “How to Draw a Phone” tutorial.
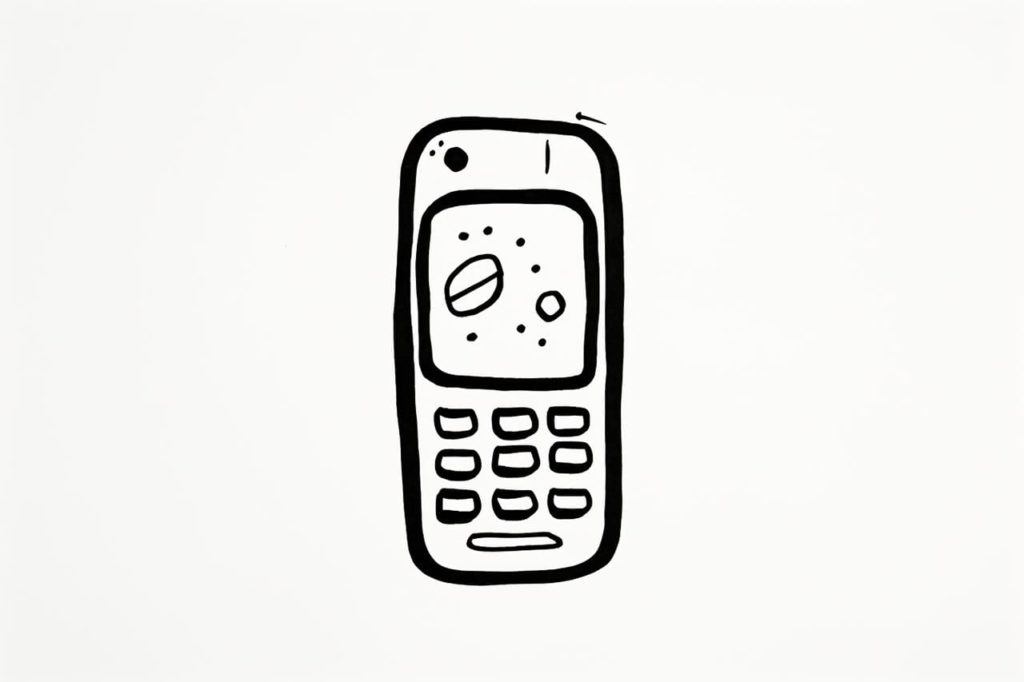
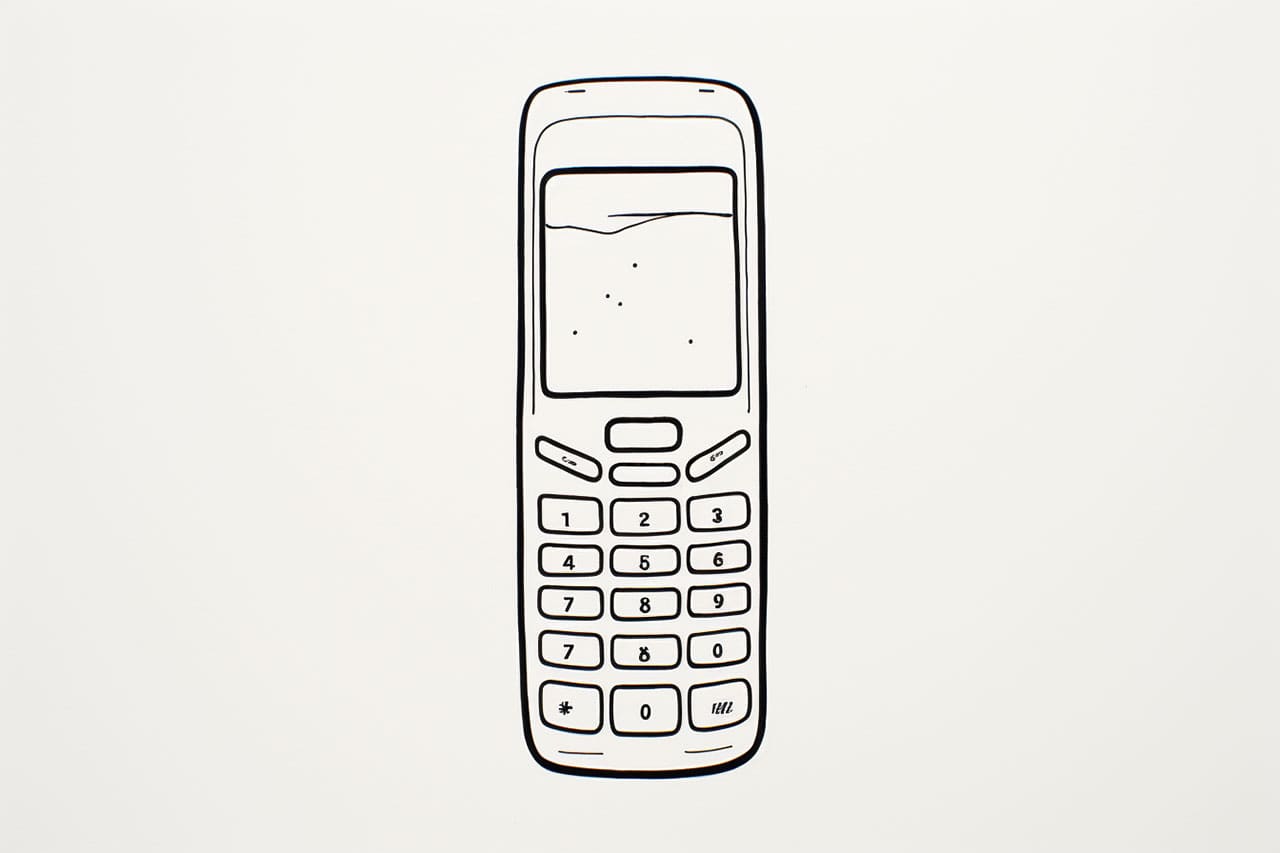
Gallery of Phone Drawings