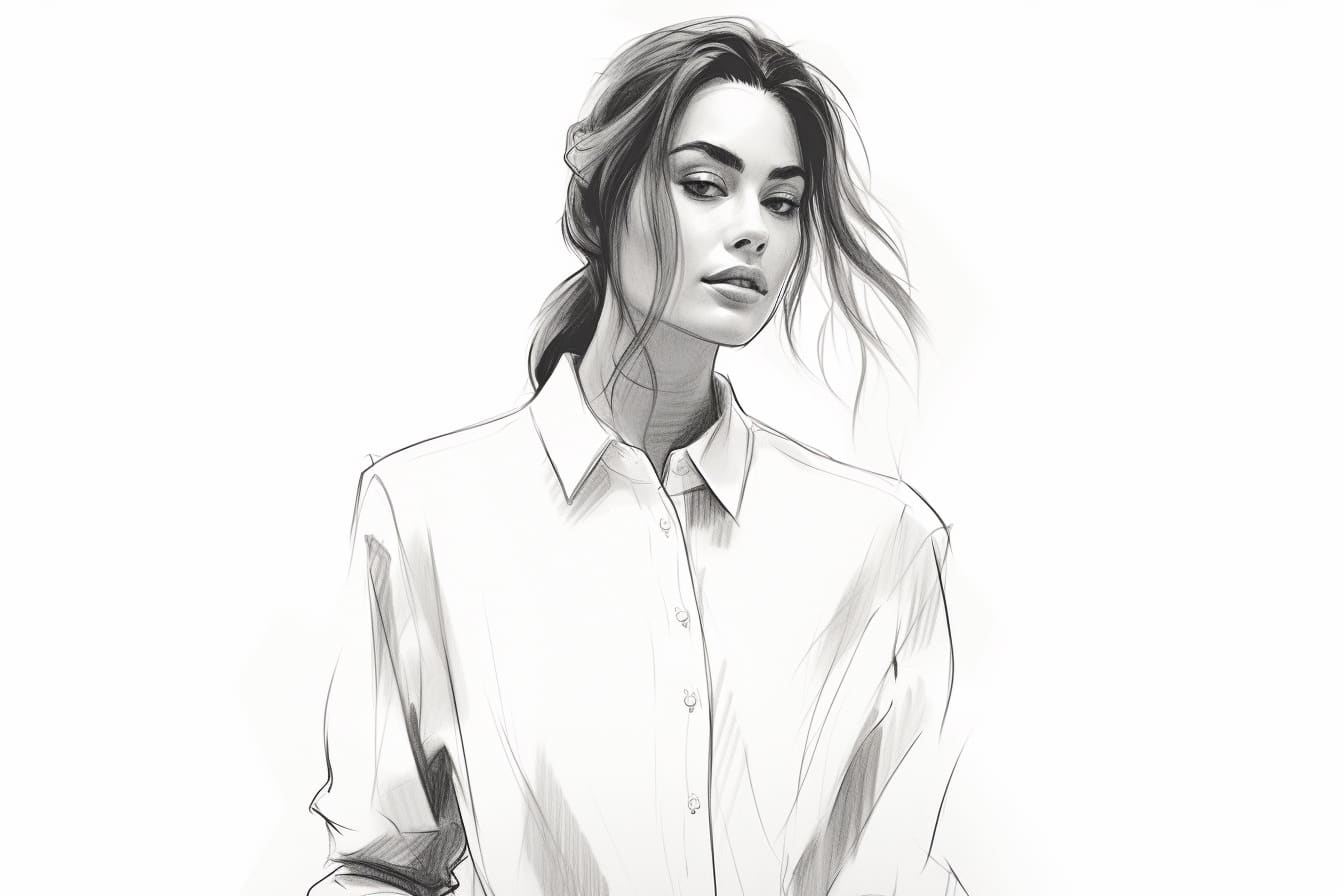
Drawing is a wonderful way to express your creativity and bring your ideas to life. If you are interested in fashion or simply want to improve your drawing skills, learning how to draw different types of clothing can be a great exercise. In this step-by-step guide, I will show you how to draw a blouse. Whether you want to design your own clothing line or simply enjoy the art of drawing, this tutorial will help you create a beautiful blouse on paper. So let’s get started!
Materials Required
Before we begin, let’s gather the materials you’ll need for this drawing:
- Drawing paper
- Pencil
- Eraser
- Fine-tip marker or pen
- Colored pencils or markers (optional)
Now that you have everything you need, let’s dive into the drawing process.
Step 1: Draw the Torso Guide
To start drawing the blouse, we need to create a guide for the torso. Begin by drawing a vertical line down the center of your paper. This line will serve as a reference point for the blouse’s symmetry. Next, draw a horizontal line intersecting the vertical line about one-third of the way down. This will create a guide for the waistline. Finally, draw a small oval shape at the top of the vertical line to represent the head.
Step 2: Outline the Neckline
Moving on to the blouse itself, begin by drawing the neckline. Imagine the blouse as if it’s being worn by a person and sketch a curved line that starts at the top of the torso guide and extends outward. The shape and depth of the neckline will depend on the style you want to create. Feel free to experiment and try different shapes and sizes.
Step 3: Add the Shoulders
Now, let’s draw the shoulders of the blouse. Start by extending two short, horizontal lines from each side of the neckline. These lines should be parallel to the waistline guide we drew earlier. Next, connect the ends of the shoulder lines with a curved line, forming the top part of the blouse.
Step 4: Sketch the Sleeves
To create the sleeves, draw two curved lines extending from the sides of the shoulder lines. These lines should be slightly slanted and meet the waistline at a downward angle. The length and width of the sleeves will depend on the style you want to achieve. For long sleeves, extend the lines further down; for short sleeves, keep them shorter.
Step 5: Define the Waistline
Now it’s time to define the waistline. Using the horizontal guide we drew in the first step, draw a curved line that follows the shape of the waist. This line should start from one side of the torso and connect to the other side, creating a slight curve.
Step 6: Create the Base of the Blouse
We will now create the base of the blouse by adding some volume. Start by drawing a curved line that extends from the bottom of the waistline and follows the general shape of the torso guide. This line will define the bottom hem of the blouse. Next, draw two diagonal lines that extend from the sides of the waistline and meet the bottom hemline, creating a slight triangular shape. This will give the blouse a more flowy and flattering appearance.
Step 7: Add Details
To make the blouse look more realistic, let’s add some details. Draw a vertical line down the center of the blouse, starting from the neckline and extending to the bottom hem. This line will represent the button or zipper closure. You can also add some decorative elements like lace, ruffles, or pleats to make the blouse unique. Be creative and experiment with different patterns and designs.
Step 8: Refine and Ink
Now that the basic structure of the blouse is complete, use your pencil to refine any rough lines and erase any unnecessary guidelines. Once you’re satisfied with the overall shape, trace over your final drawing with a fine-tip marker or pen. This will give your drawing a clean and polished look. Feel free to add more details or embellishments with the marker, if desired.
Step 9: Color and Shade (Optional)
If you want to add some color to your drawing, now is the time to do so. Use colored pencils or markers to bring your blouse to life. Choose your favorite colors and carefully fill in the different areas of the blouse. You can also add shading to create depth and dimension. Pay attention to where the light source is coming from and shade accordingly.
Conclusion
Drawing a blouse can be a fun and rewarding exercise, allowing you to explore your creativity and improve your artistic skills. By following these step-by-step instructions, you should now have a beautiful blouse drawing on paper. Remember to practice regularly and experiment with different styles and designs. With time and dedication, you’ll become a skilled fashion illustrator. So grab your pencil and let your imagination run wild!