Drawing a beautiful dress can be a rewarding and enjoyable experience. Whether you are an aspiring artist or simply looking to explore your creative side, this step-by-step guide will walk you through how to draw a beautiful dress while creating a stunning design. From sketching the basic outline to adding intricate details, you will learn the techniques to bring your dress to life on paper.
Materials Required
Before we begin, gather the following materials:
- Drawing paper or sketchbook
- Pencil
- Eraser
- Fine-tip markers or colored pencils (optional)
Now that you have your materials ready, let’s delve into the art of drawing a beautiful dress.
Step 1: Sketch the Basic Outline
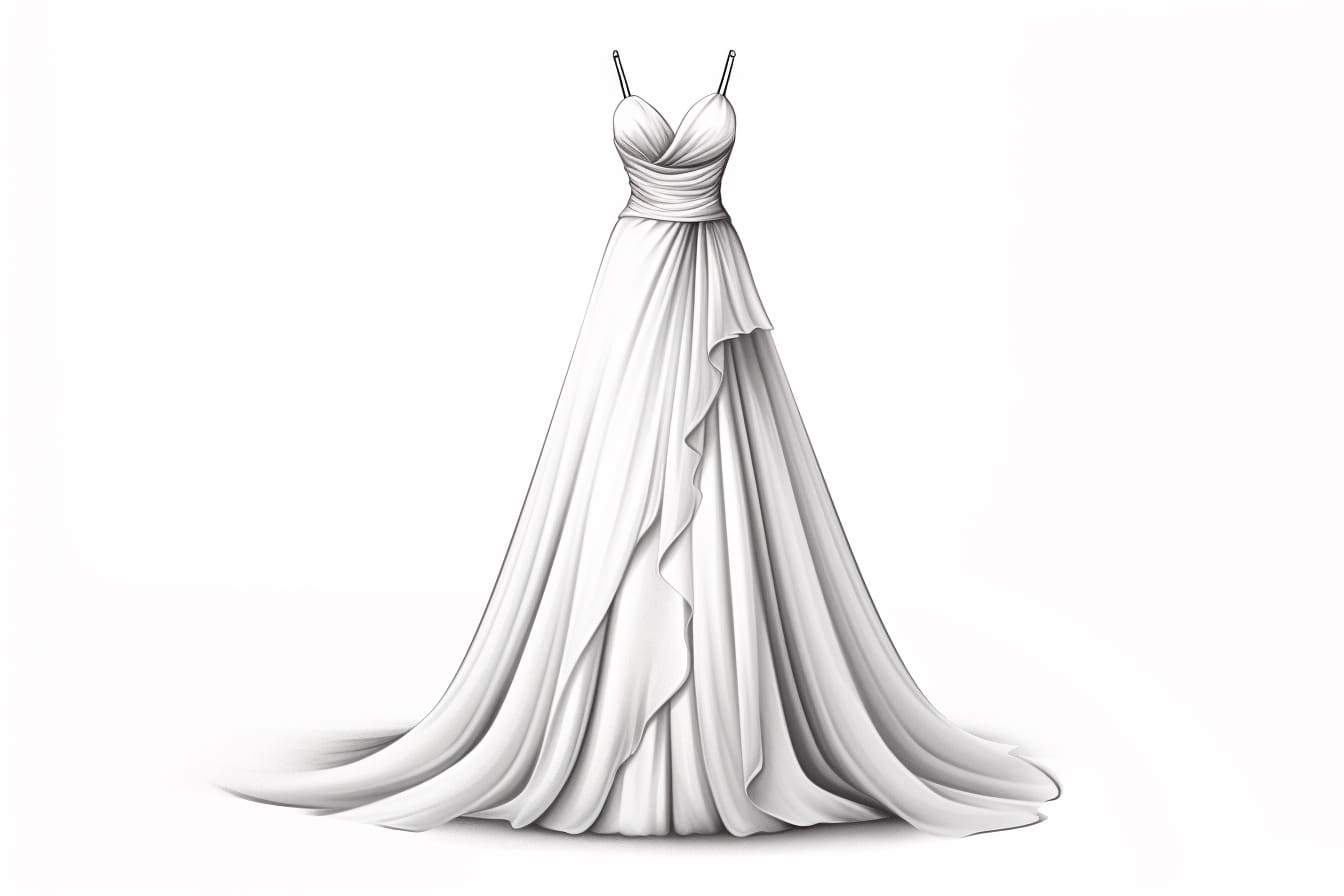
Start by lightly sketching the basic outline of the dress using your pencil. Begin with a simple vertical line to represent the center of the body. From there, sketch the shape of the dress, considering the style and silhouette you want to portray. It can be a flowing gown, a fitted cocktail dress, or anything in between. Pay attention to the proportions and ensure that the dress fits well on the body.
Step 2: Add the Neckline and Sleeves
Next, add the neckline and sleeves to your dress design. The neckline could be a classic round shape, a V-neck, or even a strapless design. Experiment with different styles to find the one that suits your dress best. For the sleeves, decide whether you want them to be short, long, or completely sleeveless. Sketch lightly to allow for adjustments later on.
Step 3: Define the Waistline and Hem
Now it’s time to define the waistline and hem of the dress. The waistline can be high, low, or at the natural waist, depending on the style you’re aiming for. Consider adding a belt or sash if it complements your design. The hemline can be straight, asymmetrical, or have a train. Be creative and experiment with different lengths to achieve the desired effect.
Step 4: Refine the Silhouette and Add Details
Refine the silhouette of the dress by adding more definition to the curves, folds, and drapes. Pay attention to the way the fabric falls and how it accentuates the body. Consider adding pleats, ruffles, or gathers for added texture. This is also the perfect time to add any additional details, such as lace, beading, or embroidery. Take your time and add intricate touches to make your dress truly beautiful.
Step 5: Finalize the Details and Clean up the Sketch
Take a step back and assess your dress design. Make any necessary adjustments to the proportions, details, or overall composition. Once you are satisfied with the look, carefully go over your sketch, cleaning up any stray lines or smudges using an eraser. This will ensure a polished and professional finish to your artwork.
Conclusion
Drawing a beautiful dress is a wonderful way to express your creativity and showcase your artistic skills. By following these step-by-step instructions, you have learned how to sketch the basic outline of a dress, add details, refine the silhouette, and bring your design to life on paper. Remember to experiment with different styles, fabrics, and details to create unique and stunning dress designs. So grab your pencil, unleash your imagination, and start drawing your very own beautiful dresses today!