Welcome to this step-by-step guide on how to draw a windmill. In this tutorial, I will guide you through the process of creating a detailed and realistic windmill drawing. By following these easy-to-understand instructions, you’ll be able to capture the beauty and essence of this iconic structure. So grab your drawing materials and let’s get started!
Materials Required:
- Drawing paper or sketchbook
- Pencil
- Eraser
- Ruler
- Fine-tip black marker or pen
- Colored pencils or markers (optional)
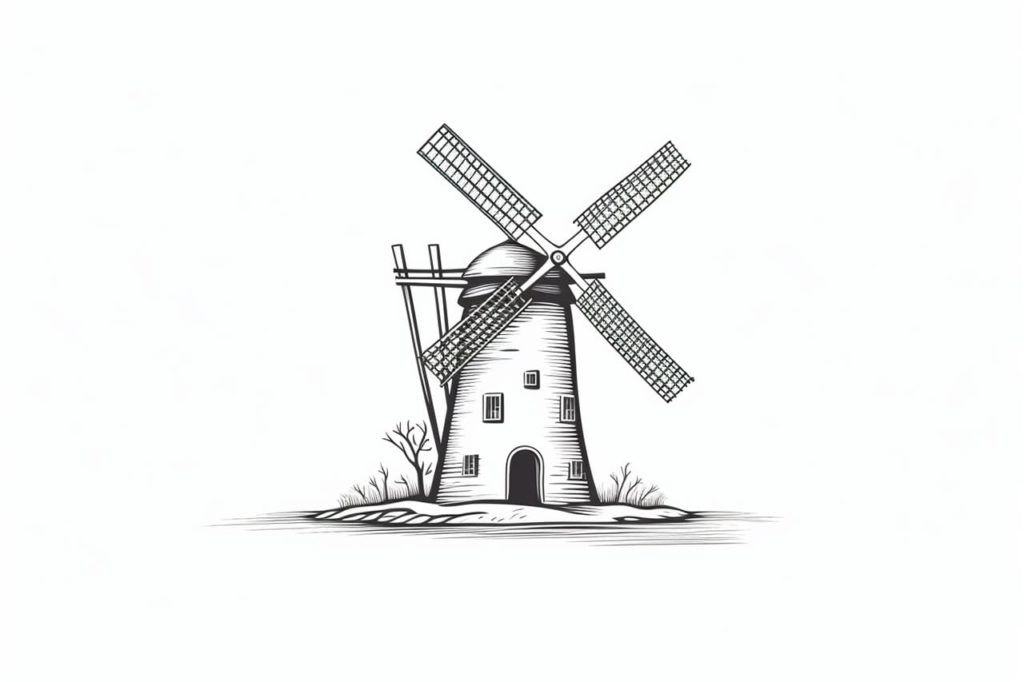
Step 1: Sketch the Base of the Windmill
Start by sketching the base of the windmill. Use your pencil and lightly draw a vertical line to represent the center of the windmill. Then, draw two diagonal lines intersecting at the center line to create an “X” shape. This will be the base of the windmill.
Step 2: Draw the Tower
From the center of the base, draw a long vertical line upwards. This line will serve as the main tower of the windmill. At the top of the tower, draw a small circle to represent the part where the blades will attach later.
Step 3: Add the Blades
On top of the tower, draw three long rectangular shapes. Position them in a way that they are evenly spaced around the circle on top of the tower. These rectangles will serve as the blades of the windmill.
Step 4: Sketch the Roof
Extend two diagonal lines outwards from the top of the tower, crossing over the blades. These lines should slant downwards towards the edges of the paper. Then, connect the ends of these lines with straight lines to create a triangular roof shape.
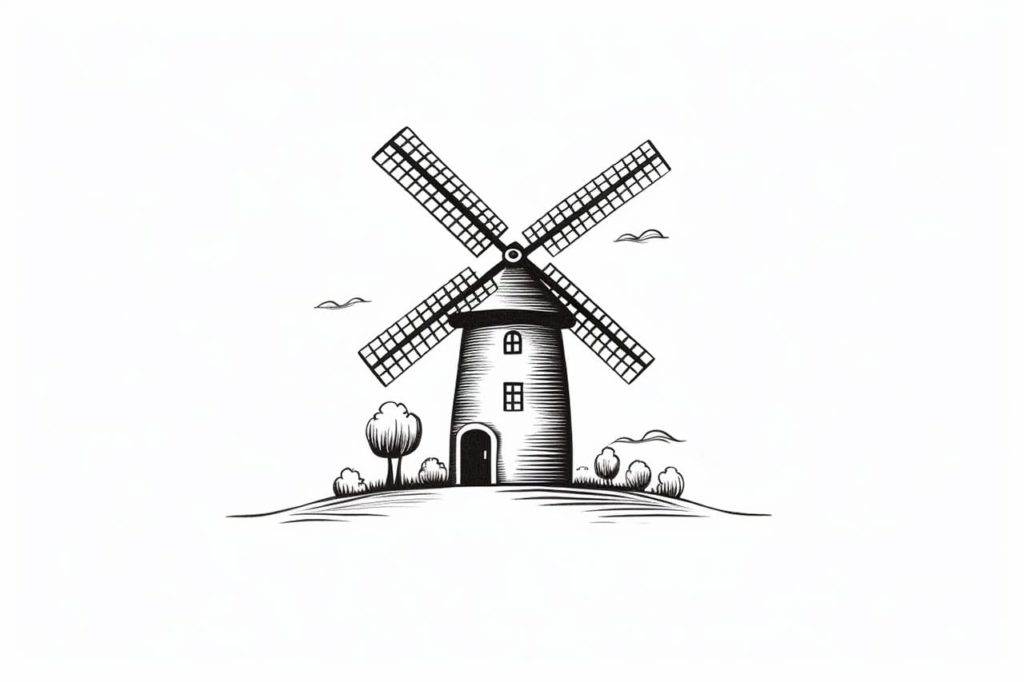
Step 5: Refine the Base and Tower
Using your pencil, refine the shape of the base and tower by adding more details. By adding lines and curves, you can make the windmill look more three-dimensional. Take your time to carefully observe the windmill’s structure and add any additional features you may notice.
Step 6: Ink the Drawing
Once you are satisfied with the pencil sketch, it’s time to ink your drawing. Use a fine-tip black marker or pen to trace over the pencil lines. Take steady and confident strokes, ensuring that the lines are clean and crisp. Let the ink dry completely before erasing any remaining pencil marks.
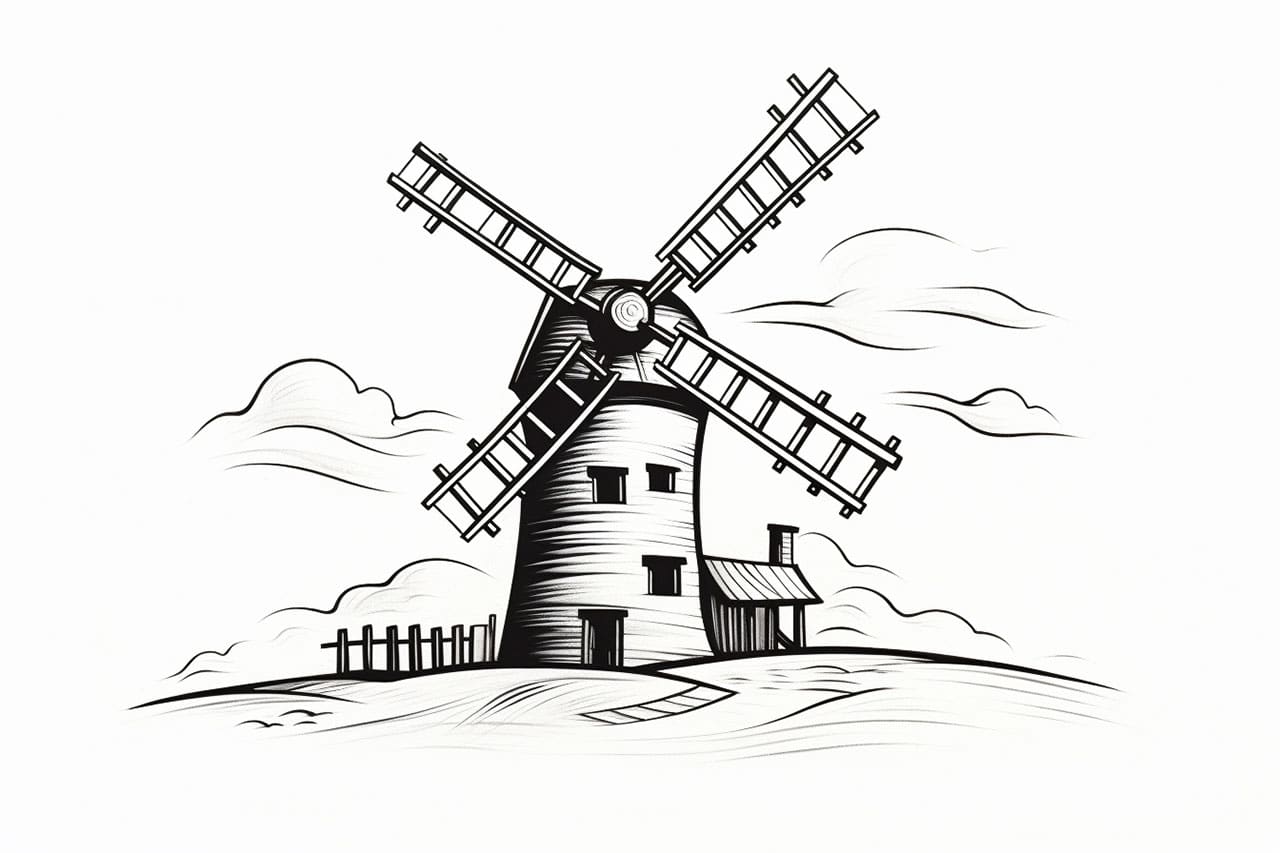
Step 7: Add Shading and Texture (optional)
To add depth and dimension to your drawing, you can use shading techniques. Determine the direction of the light source and shade the areas of the windmill that would be in shadow. Additionally, you can add texture to the blades and roof by using crosshatching or other shading methods. Experiment with different techniques to achieve the desired effect.
Step 8: Color your Windmill (optional)
If you prefer a colored windmill drawing, this is the time to bring out your colored pencils or markers. Use vibrant colors to bring your windmill to life. Feel free to get creative and add your own personal touch to the colors and details. Remember to blend colors smoothly and to consider the lighting and shadows when adding color.
Congratulations! You have successfully drawn a windmill. I hope you enjoyed this tutorial and found it helpful in capturing the beauty of this magnificent structure. Remember, practice makes perfect, so keep drawing and experimenting with different techniques.
Conclusion:
Drawing a windmill is a rewarding and enjoyable experience. By following the step-by-step instructions in this guide, you can create a stunning representation of this iconic structure. Whether you choose to sketch it in pencil or add color and shading, your windmill drawing will surely impress. So grab your drawing materials and let your creativity soar as you bring your windmill to life on paper.
Gallery of Windmill Drawings