Welcome to this step-by-step tutorial on how to draw a kobold, a mischievous creature from folklore. Whether you are a beginner or an experienced artist, this guide will help you bring this fascinating creature to life on your paper. So, grab your drawing materials and let’s get started!
Materials Required
Before we dive into the step-by-step instructions, let’s make sure you have the necessary materials for this drawing:
- Pencil: A good quality pencil will allow you to make light and dark lines easily.
- Eraser: You’ll need a kneaded eraser or a regular eraser to correct any mistakes and make adjustments to your drawing.
- Paper: Use a clean sheet of paper that is suitable for drawing. It can be any size you prefer.
- Drawing Pen: A fine-tipped drawing pen can be used to outline and add details to your drawing.
- Colored Pencils (Optional): If you wish to add color to your drawing, colored pencils can bring your kobold to life.
Now that you have all the materials ready, let’s start the drawing process!
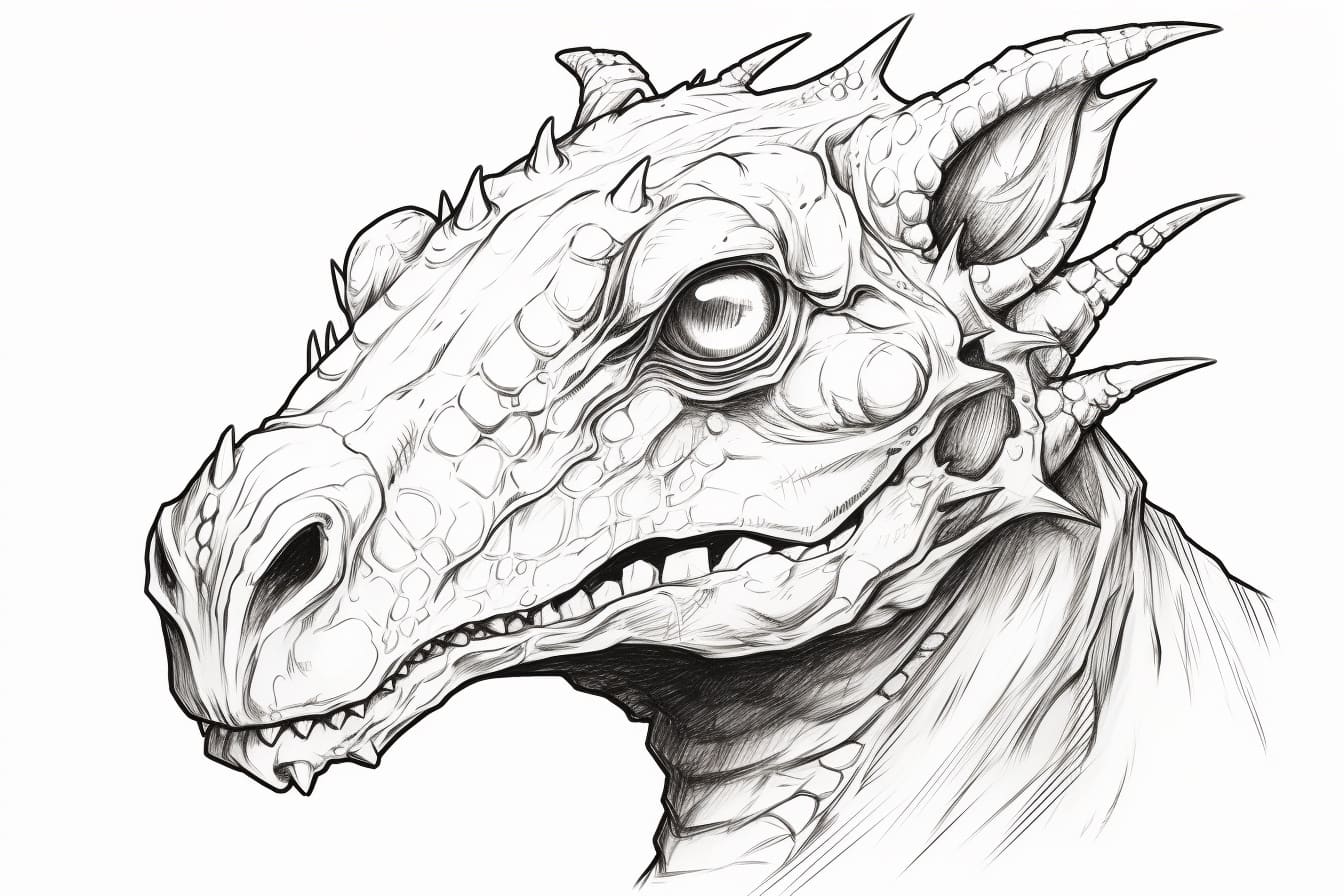
Step 1: Basic Shapes
Start by sketching the basic shapes that will make up the kobold’s body. Begin with an oval shape for the head, followed by a slightly larger oval shape for the body. Connect these two shapes with a curved line representing the neck.
Step 2: Facial Features
Add the facial features of the kobold. Draw two large circles for the eyes, leaving some space in between. Within each eye, draw a smaller circle to represent the iris. Add a smaller circle for the highlight in each eye.
Beneath the eyes, draw a curved line for the nose. Add a wide smile by drawing a curved line below the nose, with two smaller curved lines at each end to represent the cheeks.
Step 3: Ears and Horns
Draw the kobold’s pointy ears on each side of the head. These ears can be drawn as triangular shapes, slightly tapered at the top.
Next, draw two small curved horns on top of the head, pointing slightly upward. These horns can be simple and not too long.
Step 4: Body and Limbs
Add details to the body of the kobold by drawing some scales. Start at the top of the body and draw a series of curved lines that extend down the back. These lines should be irregular and not too perfect, giving the impression of rough scales.
Draw the arms extending from the body, using slightly curved lines. The hands can be drawn as simple three-fingered claws. Add small lines within the hands to represent the individual fingers.
Step 5: Tail and Legs
Sketch a long, thin tail extending from the back of the body. The tail can have a slight curve to it and end with a small point.
Draw the legs of the kobold by sketching two lines extending down from the body. At the end of each line, add three small curves to represent the toes. The feet of the kobold should be similar to those of an animal.
Step 6: Final Details and Outlining
Refine the details of your kobold drawing by adding more scales and texture to its body. You can also add some clothing or accessories, like a belt or a small bag, to give your kobold character.
Once you’re satisfied with the details, go over your entire drawing with a pen or a darker pencil. Outline the important lines and features of the kobold, giving it a clean and finished look. You can also erase any unnecessary construction lines at this stage.
Step 7: Coloring (Optional)
If you want to add color to your kobold, start by selecting the appropriate colored pencils. Refer to references or your imagination to decide on the color scheme for your kobold. Use light strokes to fill in the different areas of your drawing, gradually building up the colors.
Conclusion
Congratulations! You have successfully drawn a kobold from start to finish. By following these step-by-step instructions, you were able to create a detailed and captivating representation of this mythical creature. Remember, practice makes perfect, so don’t hesitate to try drawing the kobold again or explore other mythical creatures. Happy drawing!