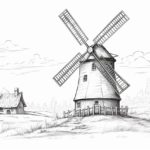
Drawing a hut can be a fun and rewarding artistic exercise. Whether you are a beginner or an experienced artist, this step-by-step guide on how to draw a hut will help you create a charming and picturesque hut on paper. In this tutorial, we will go through each stage of the drawing process, providing clear instructions along the way. So grab your drawing materials and let’s get started!
Materials Required
To draw a hut, you will need the following materials:
- A sheet of paper
- Pencil
- Eraser
- Fine tip marker or pen (optional)
- Colored pencils or markers (optional)
Now that we have our materials ready, let’s dive into the steps to draw a hut.
Step 1: Sketch the Base
Start by drawing a horizontal line slightly above the middle of your paper. This line will serve as the base of the hut. Next, draw two diagonal lines extending from each end of the horizontal line. These lines will form the sides of the hut and give it a three-dimensional look.
Step 2: Add the Roof
From the top ends of the diagonal lines, draw two slanted lines meeting at a point above the base. This will create the triangular roof of the hut. Make sure the roof is wider than the base to give the hut a stable and balanced appearance.
Step 3: Outline the Walls
To outline the walls of the hut, draw vertical lines connecting the base to the roof at each end of the diagonal lines. These lines will complete the basic shape of the hut. You can make the walls straight or slightly curved to add variation and character.
Step 4: Detail the Roof
Add some texture and detail to the roof by drawing horizontal lines across it. This will give the roof a thatched or tiled appearance. You can also add some irregularities to the lines to make the roof look more realistic.
Step 5: Draw the Door and Windows
On the bottom half of the hut, draw a rectangle for the door. You can make the door as simple or as detailed as you like. Next, draw rectangular or square shapes for the windows on the walls of the hut. Remember to position them in a way that is visually pleasing.
Step 6: Enhance the Details
Now it’s time to add some finishing touches to your hut drawing. You can add a chimney on the roof, a doorknob on the door, or some plants or flowers around the hut to make it more inviting. Get creative and personalize your hut by adding any additional details that come to mind.
Step 7: Refine and Finalize
Once you are happy with your hut drawing, go over the lines you want to keep with a fine tip marker or pen. This will make the lines more prominent and help your drawing stand out. Let the ink dry, then carefully erase any remaining pencil marks.
Conclusion
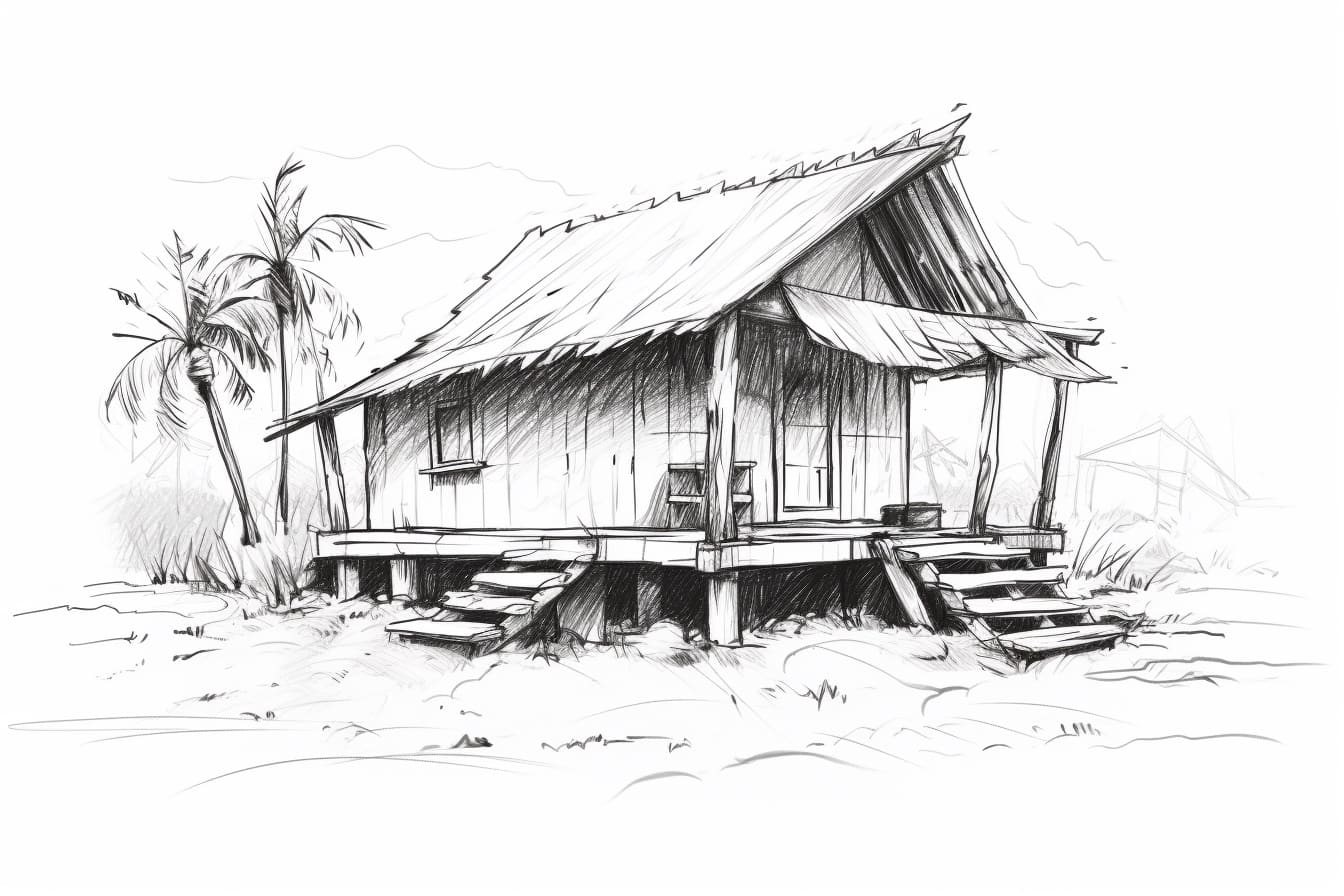
Drawing a hut may seem challenging at first, but with these step-by-step instructions, you can create a beautiful and detailed representation. Remember to take your time, practice, and have fun as you bring your hut to life on paper. Experiment with different colors, textures, and additional elements to make each hut unique. Now it’s your turn to try it out!