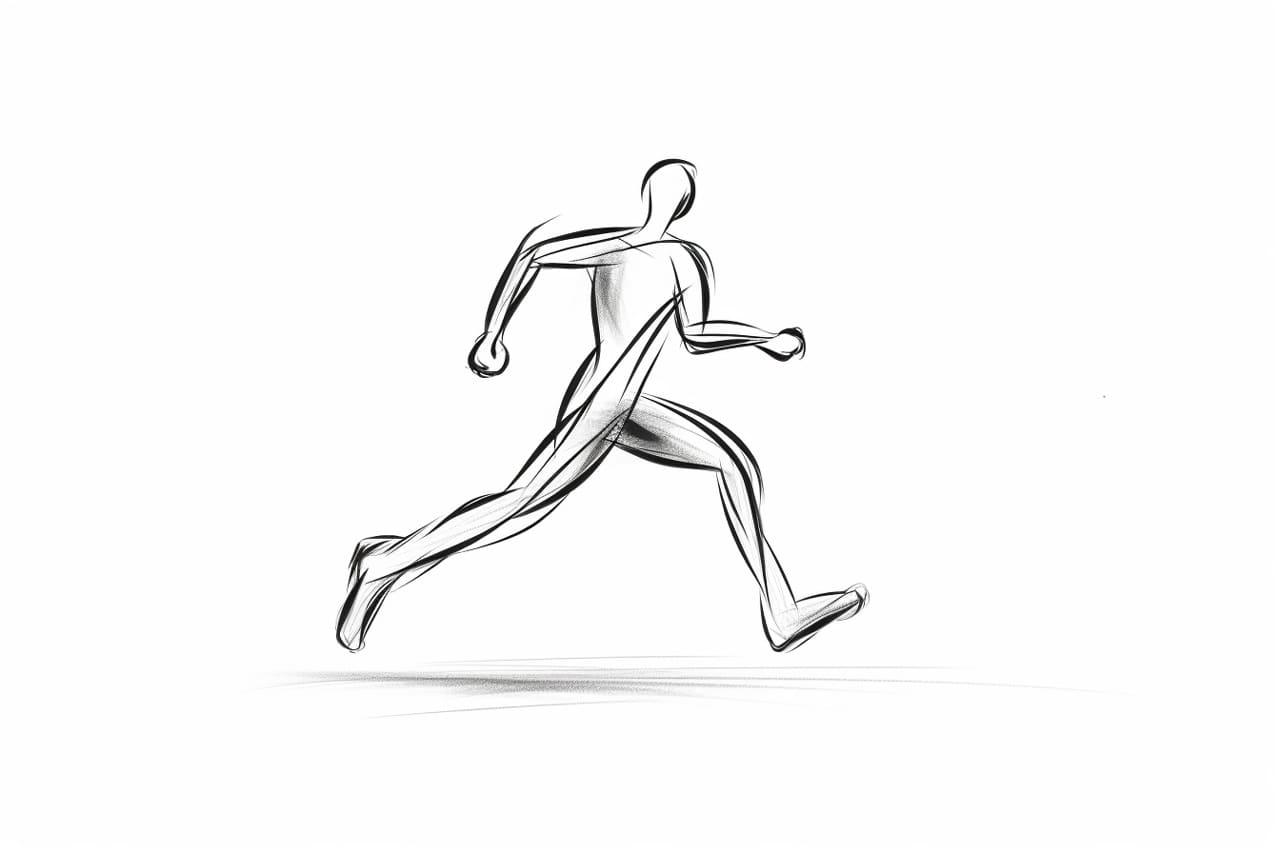
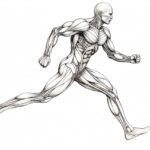
Drawing a stick figure running may seem simple, but it can be a bit trickier than it appears. Capturing the motion and energy of a running figure requires paying attention to the proportions and positioning of the different body parts. In this step-by-step guide, I will walk you through the process of drawing a stick figure running in a clear and concise manner. So grab your pencil and paper, and let’s get started!
Materials Required
To create a stick figure running, you will need the following materials:
- A pencil
- Paper
- Eraser
Now that you have your materials ready, let’s begin the process of drawing a stick figure running.
Step 1: Basic Body Proportions
Start by drawing a vertical line in the center of your paper. This line will serve as the backbone of your stick figure. Then, draw a horizontal line intersecting the vertical line near the top. This horizontal line will represent the shoulders of your figure.
Step 2: Head and Torso
Now, add a small circle at the top of the vertical line to create the head of your stick figure. The size of the head will depend on your personal preference. Just remember to keep it proportionate to the rest of the body.
Next, draw a rectangle shape below the head to represent the torso. This rectangle should be narrower at the top (where it connects to the head) and wider at the bottom.
Step 3: Arms and Hands
To draw the arms, start by extending two diagonal lines from the sides of the torso, near the shoulder line. These lines should slope downwards and outwards, creating a V-shape. Then, add two shorter horizontal lines at the end of each arm to represent the hands. You can create fists by drawing small circles or simply leave them as straight lines.
Step 4: Legs and Feet
Moving on to the legs, draw two diagonal lines extending downwards from the bottom of the torso. These lines should be slightly curved to give the impression of movement. At the end of each leg, draw two small lines to represent the feet. You can leave the feet as simple lines or add a slight curve to indicate the direction of the figure’s movement.
Step 5: Refining the Details
Now that you have the basic structure of the stick figure running, you can start refining the details. Begin by rounding out the edges of the head to give it a more natural shape. Then, add facial features such as eyes, a nose, and a mouth if desired.
Next, add some curved lines to define the muscles and joints of the figure’s body. These lines can help create a more dynamic and realistic appearance.
Step 6: Adding Motion Lines
To further enhance the sense of movement, you can add motion lines around the stick figure. These lines can be drawn in the direction the figure is running, radiating outwards from the limbs and torso. Motion lines can vary in length and thickness to give a sense of speed and energy.
Conclusion
Congratulations! You have successfully learned how to draw a stick figure running. By following these step-by-step instructions, you can create a dynamic and lively stick figure in motion. Remember, practice makes perfect, so keep experimenting with different poses and variations to further improve your drawing skills.
Whether you are a beginner or an experienced artist, drawing stick figures offers endless possibilities for creativity. So grab your pencil, let your imagination run wild, and have fun with your stick figure creations!

