Drawing a spiderweb may seem intricate and challenging, but with the right guidance, anyone can create a realistic and captivating spiderweb illustration. In this step-by-step guide, we will walk you through the process of how to draw a spiderweb from start to finish. So, grab your drawing supplies and let’s begin!
Materials Required
To get started with your spiderweb drawing, gather the following materials:
Once you have your materials ready, you’re all set to bring your spiderweb to life!
Step 1: Start with the Center Point
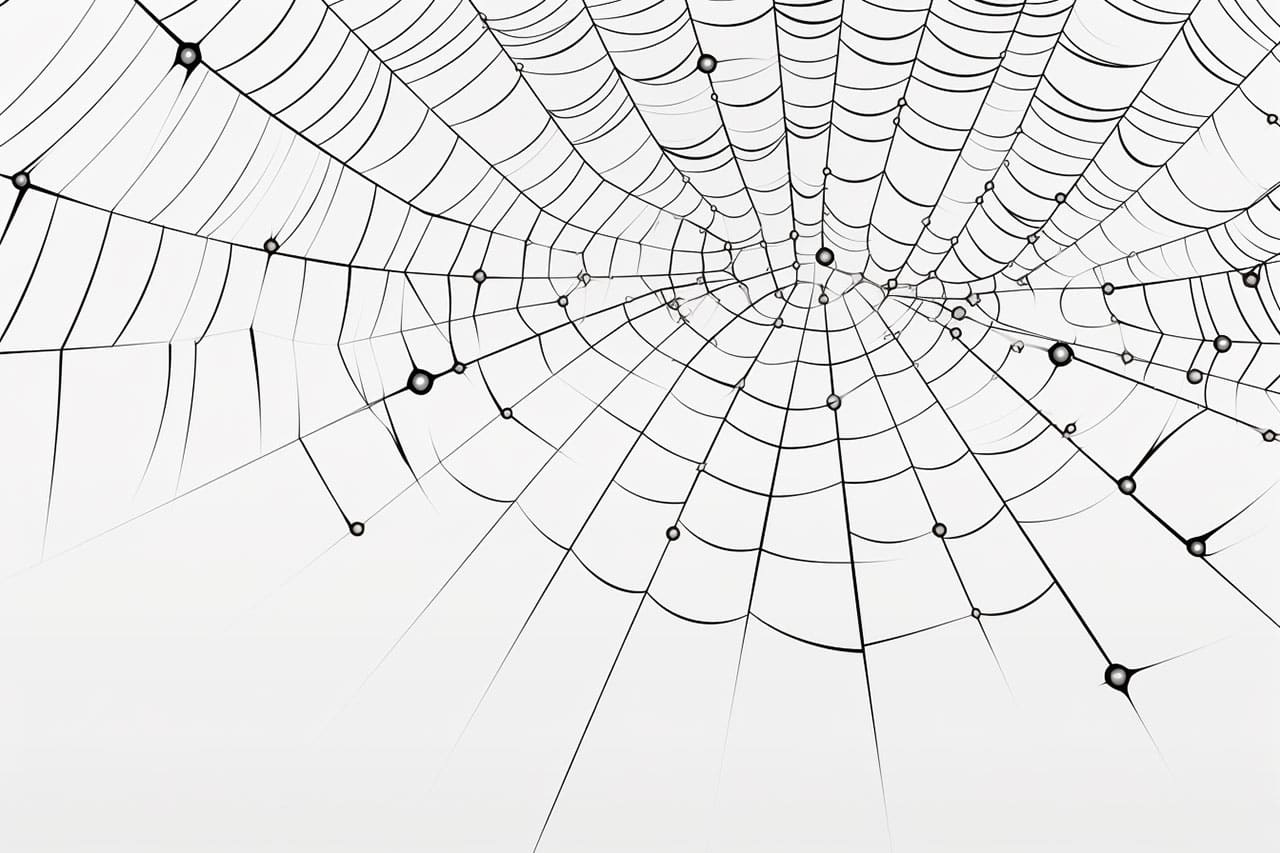
Begin by lightly drawing a small dot in the center of your paper or sketchbook. This dot will serve as your spider’s hub, from which the web will expand. Keep in mind that the size of the dot will determine the overall size of your spiderweb.
Step 2: Draw the Radiating Lines
From the center dot, draw several straight lines that radiate outward in different directions. These lines will act as the foundation for your spiderweb’s spokes. It’s crucial to vary the lengths and angles of these lines to create an authentic and natural-looking web.
Step 3: Connect the Radiating Lines
Now, starting from the outer ends of the radiating lines, draw curved lines to connect them together. These lines will form the framework of your spiderweb. Keep in mind that the curved lines should be evenly spaced and gradually increase in length as you move outward to create a symmetrical and balanced design.
Step 4: Add the Spiral Threads
Once the framework is complete, it’s time to add the spiral threads that make up the web. Starting from the center, lightly sketch a spiral shape that wraps around the radiating lines. The spiral should become wider as it moves outward, following the structure of the framework. Don’t worry about making the lines perfect at this stage; we will refine them later.
Step 5: Refine the Spiral Threads
Using your fine-tipped black pen or marker, carefully trace over the spiral threads, making them bolder and more defined. Pay attention to the spacing between the lines, ensuring they are evenly distributed. As you work, gradually erase the underlying pencil lines to clean up the drawing.
Step 6: Add Detail to the Spiderweb
To add depth and detail to your spiderweb, lightly shade some areas within the spiral threads to create shadows. This shading will give the illusion of a three-dimensional web. Be mindful of the light source when determining the areas that require shading.
Step 7: Finalize the Drawing
Take a moment to review your spiderweb drawing and make any necessary adjustments. Ensure that the lines are clean and well-defined, erasing any stray marks or smudges. If you want to add extra realism, you can also incorporate tiny droplets of dew on the web by adding small circles at various points along the lines. And of course, you can also add a spider!
Congratulations! You have successfully drawn a spiderweb. Experiment with different sizes, shapes, and patterns to create unique spiderweb designs that suit your artistic style. With practice, you will develop the skills to draw intricate spiderwebs effortlessly.
Conclusion
Drawing a spiderweb may initially seem challenging, but by following these step-by-step instructions, you can create a stunning spiderweb illustration. Remember to start with a center point, draw radiating lines, connect them with curved lines, add the spiral threads, refine the lines, and add detail and shading. With practice and patience, you’ll be able to create intricately detailed spiderwebs that will captivate your audience. So, grab your materials, let your creativity flow, and enjoy the process of drawing a spiderweb!