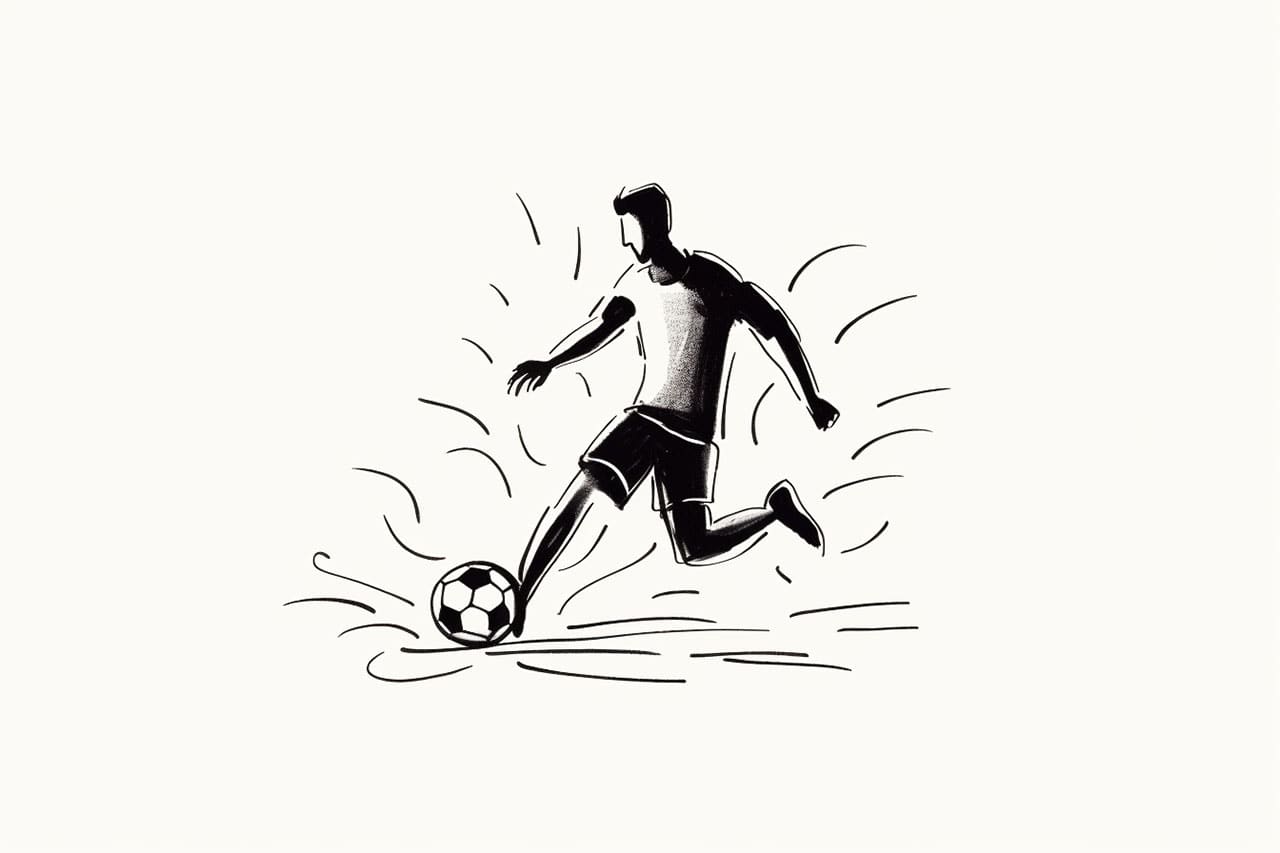
Are you a fan of soccer and interested in capturing the dynamic energy of a soccer player through your artwork? Drawing a soccer player can be a challenging task, but with a few simple steps and some basic materials, you can create an impressive representation of this beloved sportsperson. In this guide, I will take you through a step-by-step process to help you draw a realistic soccer player. So, grab your drawing tools and let’s get started!
Materials Required
Before we begin, you will need the following materials:
- Drawing paper
- Pencil
- Eraser
- Fine-tipped pen or marker (optional)
- Colored pencils or markers (optional)
Now that you have your materials ready, let’s dive into the steps to draw a soccer player.
Step 1: Basic Sketch
Start by lightly sketching a stick figure to set the basic pose and proportions of the soccer player. Use simple circles and lines to represent the head, torso, arms, and legs. This preliminary sketch will serve as a guide for the rest of your drawing.
Step 2: Define the Body Shape
Using the stick figure as a framework, start adding flesh to the body by outlining the general shape of the player. Pay attention to the athletic build and muscular definition. Soccer players tend to have longer legs, so make sure to capture that in your drawing.
Step 3: Add Facial Features
Give your soccer player a face! Sketch the eyes, nose, and mouth, making sure to maintain a determined or focused expression. Top it off with some short, spiky hair or a headband if you’d like.
Step 4: Draw the Uniform
Soccer players are easily recognizable by their distinctive uniforms. Sketch the jersey, shorts, and socks according to the team’s colors and patterns. Add any necessary logos or numbers to the jersey.
Step 5: Outline the Body
Refine the shape of the soccer player by adding more detail and depth. Use longer, confident strokes to trace the contours of the body and muscles. Be mindful of the position of the limbs and joints, as these will affect the overall movement of the player.
Step 6: Define the Face and Hair
Give your player’s face more definition by adding shading and details. Use your pencil to create shadows under the cheekbones, around the eyes, and beneath the chin. Add texture to the hair by using short, directional strokes.
Step 7: Refine the Features
Focus on the details of the face and body. Pay close attention to the eyes, eyebrows, and mouth, as these features will bring your soccer player to life. Add shading to the muscles, emphasizing the contours and giving them a three-dimensional appearance.
Step 8: Add Shadows and Highlights
To make your drawing more realistic, add shading to create depth and dimension. Observe the light source and imagine how it falls on your player. Use your pencil to add shadows to areas that would be in shade and highlights to areas that would catch the light.
Step 9: Finalize the Drawing
Now that you have completed the main features of your soccer player, take a step back and evaluate your drawing. Erase any unnecessary guidelines and make any final adjustments. If you prefer a cleaner look, you can outline your drawing with a fine-tipped pen or marker. Once you’re satisfied with your drawing, you can add colors using colored pencils or markers for added vibrancy.
Conclusion
Congratulations! You have successfully learned how to draw a soccer player. By following these step-by-step instructions and using your creativity, you can create a captivating artwork that captures the essence of this exciting sport. Remember to practice regularly and experiment with different poses and styles to further enhance your skills. So grab your drawing tools and unleash your artistic talents to create stunning soccer player illustrations!


