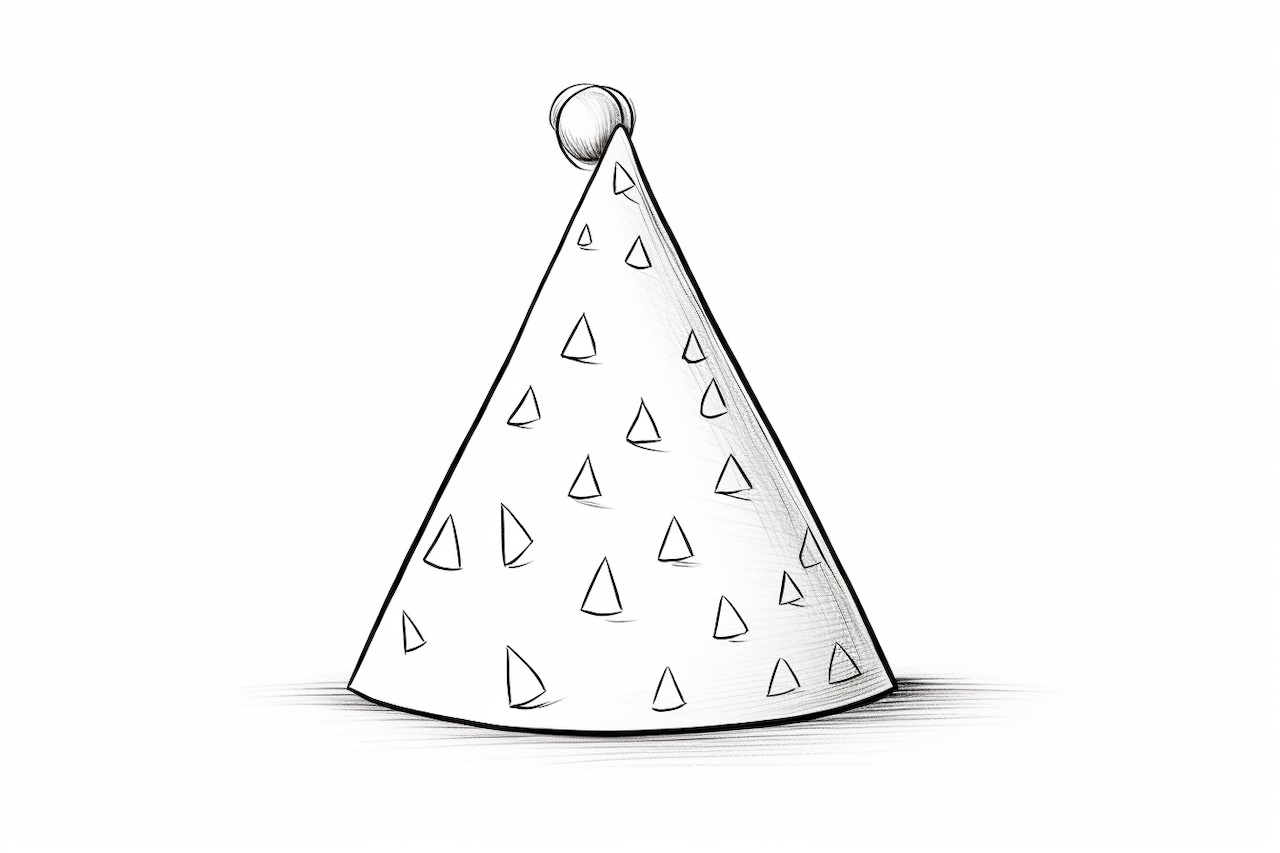
Parties are a fun way to celebrate special occasions and bring people together. And what better way to get into the party spirit than by drawing your very own party hat? In this step-by-step guide, I will show you how to create a party hat from scratch using simple shapes and lines. So grab your drawing tools and let’s get started!
Materials Required
Before we dive into the drawing process, make sure you have the following materials handy:
- Drawing paper or sketchbook
- Pencil
- Eraser
- Fine-tip marker or pen
- Colored pencils or markers (optional)
Now that you have everything you need, let’s begin the artistic journey of drawing a party hat!
Step 1: Draw a Vertical Line
Start by drawing a long vertical line in the center of your paper. This line will serve as the base of the party hat.
Step 2: Add the Cone Shape
At the top of the vertical line, draw a triangle to create the cone shape of the hat. Start by drawing a small horizontal line above the vertical line. Then, connect the ends of the horizontal line to the top point of the vertical line, forming a triangle. Make sure the triangle is tall and narrow to resemble a classic party hat shape.
Step 3: Refine the Cone
Next, refine the shape of the cone by drawing curved lines along the sides of the triangle. These lines will add depth and dimension to the hat. Start from the top point of the triangle and curve the lines slightly towards the center of the triangle, tapering as you go down. Repeat this process on both sides of the triangle.
Step 4: Create the Fringe
To give the party hat some festive flair, draw a series of curved lines at the bottom of the cone. These lines will represent the fringe or tassel often found on party hats. Start from the bottom points of the triangle and draw short, curved lines pointing outwards. Continue this pattern all around the base of the cone.
Step 5: Decorate the Hat
Now it’s time to let your creativity shine! Use your marker or pen to add colorful patterns, shapes, or designs to the party hat. You can draw polka dots, stripes, stars, or any other festive elements that come to mind. Let your imagination run wild and have fun with it!
Step 6: Add Shadows and Highlights
To make your party hat look more realistic, add some shading and highlights. Imagine a light source coming from one direction and use your pencil to add shadows to the opposite side of the hat. Shade the areas where the cone overlaps and cast a shadow on itself. Additionally, add highlights to the curved lines of the cone and the fringe to give them a shiny, three-dimensional appearance.
Step 7: Color the Hat (Optional)
If you have colored pencils or markers, you can bring your party hat to life by adding vibrant colors. Experiment with different color combinations and shading techniques to make your hat truly unique. Remember to color inside the lines and apply light layers of color to build up intensity gradually.
Conclusion
Congratulations on creating your very own party hat! By following these step-by-step instructions, you have learned how to draw a party hat from scratch. Whether you want to decorate a greeting card, create party invitations, or simply have some artistic fun, the party hat you’ve drawn will surely bring a smile to anyone’s face. So put your newfound skills to use and get ready to celebrate with style!

