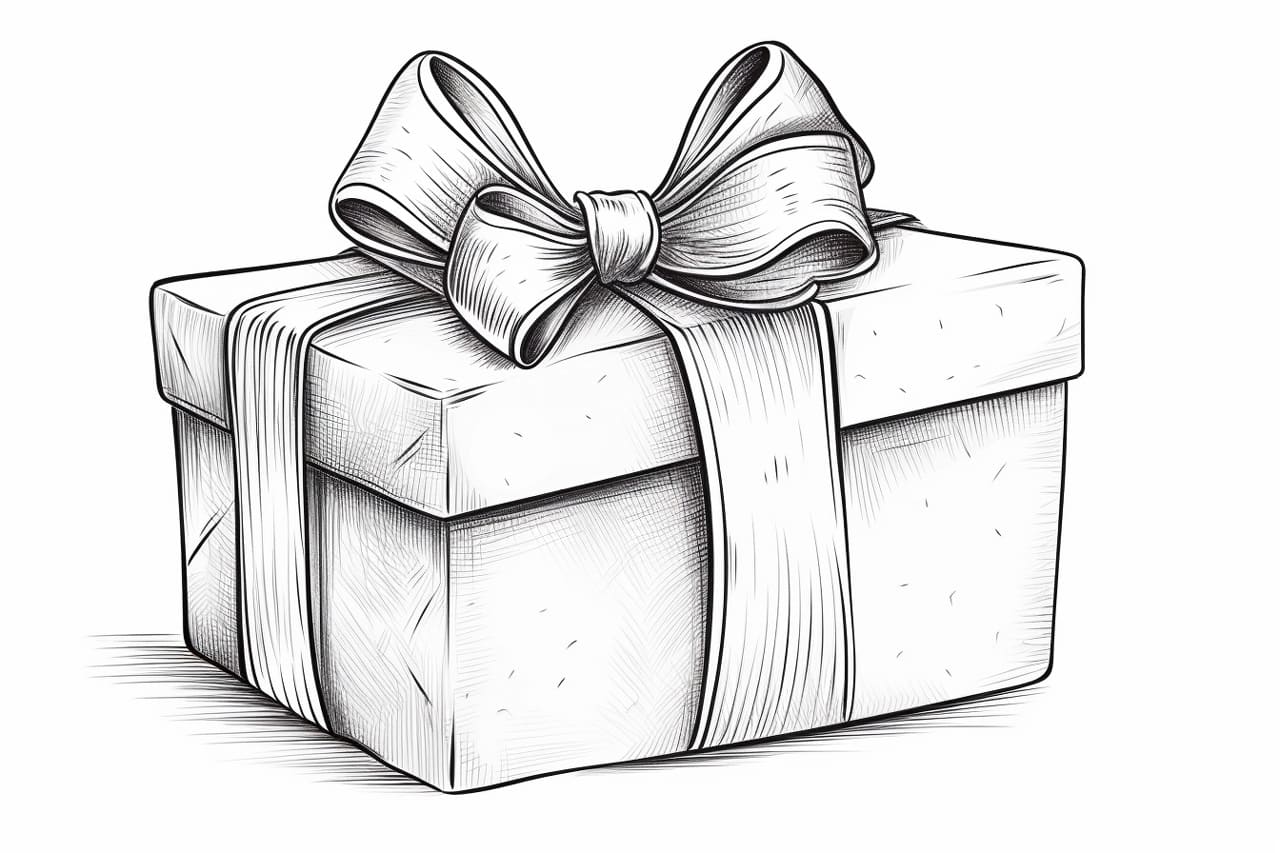
Giving a beautifully wrapped gift brings joy to both the giver and the receiver. One way to add an extra touch of elegance to your presents is by drawing a bow on the wrapping paper. In this step-by-step guide, we will teach you how to draw a bow on a present like a professional artist. With a little practice, you’ll be able to create stunning bows that will impress everyone. So grab your pencils and let’s get started!
Materials Required
Before we begin, make sure you have the following materials handy:
- A sheet of paper
- Pencils (preferably in various shades)
- Eraser
- Ruler (optional)
- Colored markers or pencils (optional)
- Fine-tip black pen (optional)
Now that you have gathered all the materials, let’s dive into the step-by-step instructions.
Step 1: Create the Base of the Bow
Start by drawing a horizontal line near the top of the paper. This line will serve as the base of your bow. Use a ruler if you want to ensure a straight and neat line.
Step 2: Draw the Left Side of the Bow
From the left end of the horizontal line, draw a diagonal line pointing upwards and to the right. This line will form the left side of the bow. Make sure the angle is around 45 degrees.
Step 3: Mirror the Right Side of the Bow
On the right end of the horizontal line, draw a diagonal line that mirrors the one you drew in the previous step. This line should point upwards and to the left, creating a symmetrical shape.
Step 4: Connect the Ends
To complete the outline of the bow, draw a curved line that connects the ends of the two diagonal lines. This curve should be wide and smooth, resembling a half-circle.
Step 5: Add Dimension to the Bow
To make the bow look more realistic, add depth and dimension. Start by shading the left side of the bow with a slightly darker shade of pencil. This will create the illusion of shadows.
Step 6: Shade the Curved Center
Using the same darker shade of pencil, add shadowing to the curved center of the bow. Start shading from the top and gradually darken towards the bottom of the curve. This will give the bow a three-dimensional appearance.
Step 7: Enhance the Depth
To further enhance the depth of the bow, add highlights. Use a lighter shade of pencil to lightly shade the areas where the light would naturally hit, such as the top of the bow and the edges of the curves.
Step 8: Fine-tune the Details
Take a step back and assess your bow drawing. Look for any areas that need refinement or adjustments. Use an eraser to correct any mistakes or smudges. Pay attention to the shape and symmetry of the bow, making sure it looks balanced and visually pleasing.
Step 9: Add Color (Optional)
If you want to add color to your bow, now is the time! Choose your favorite colored markers or pencils and carefully color in the bow. Opt for vibrant hues or stick to classic colors like red, green, or gold for a festive touch.
Step 10: Outline with a Fine-tip Pen (Optional)
For a polished and defined look, you can outline your bow drawing with a fine-tip black pen. This step is entirely optional but can add an extra level of professionalism to your artwork. Trace over the pencil lines, making them bolder and crisper.
Conclusion
Congratulations! You have learned how to draw a beautiful bow on a present. With a little practice, you’ll be able to create stunning bows that will make your gift wrapping stand out. Remember to experiment with different colors, shades, and styles to make each bow unique. Give your presents a personal touch by drawing custom bows that reflect your artistic style. So grab your pencils and start practicing! Happy drawing!