Do you want to learn how to draw a strong and powerful arm? Whether you’re an aspiring artist or just looking to improve your drawing skills, this step-by-step guide will help you create a realistic and impressive representation of a strong arm. By following these instructions and using the right materials, you’ll be able to capture the strength and muscularity of an arm in your artwork. So grab your pencil, paper, and let’s get started!
Materials Needed
Before we begin, gather the following materials:
- Drawing paper: Use a high-quality paper suitable for sketching and drawing.
- Pencils: Have a variety of pencils with different hardness levels, ranging from 2B (soft) to 6B (hard).
- Eraser: A kneaded eraser works best, as it allows for easy shaping and erasing.
- Sharpener: Keep your pencils sharp for precise lines and details.
- Reference Image: Find a clear and detailed image of a strong arm to use as a reference. It’s important to study and understand the anatomy and structure of a real arm.
Now that you have all the necessary materials, let’s dive into the step-by-step process of drawing a strong arm.
Step 1: Basic Shapes and Proportions
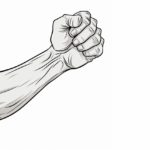
Start by lightly sketching the basic shapes and proportions of the arm. Use simple geometric shapes like ovals and boxes to represent different parts of the arm, such as the upper arm, forearm, and hand. Focus on getting the overall proportions and angles correct at this stage.
Step 2: Adding Muscles and Definition
Next, begin adding the muscles and definition to the arm. Study your reference image and identify the major muscle groups, such as the biceps, triceps, and forearm muscles. Use curved and flowing lines to outline and define these muscles. Pay attention to their placement and how they interact with each other.
Step 3: Refining the Details
Now, it’s time to refine the details of the arm. Start by adding smaller muscles and tendons, paying close attention to their shapes and placement. Use lighter lines to indicate the tendons and darker lines for the muscles. Remember to refer to your reference image frequently to ensure accuracy.
Step 4: Shading and Highlights
To create a sense of depth and realism, add shading and highlights to your drawing. Study how light falls on the arm and identify areas of shadow and light. Use a range of pencil grades to achieve different tones and values. Gradually build up the shading by layering and blending the strokes until you achieve the desired effect. Use an eraser to create highlights on areas where light hits the arm.
Step 5: Texturing and Final Touches
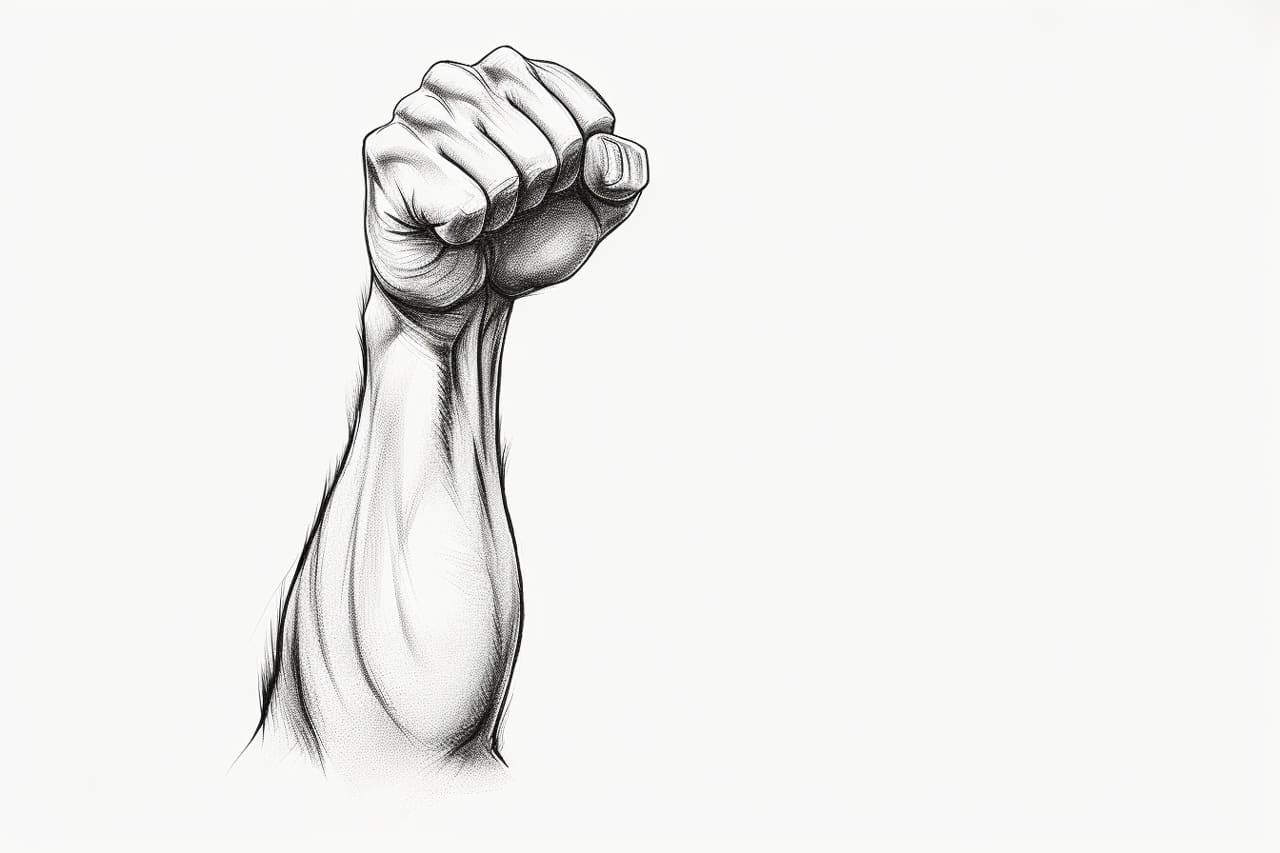
To add texture to the arm, carefully observe and replicate the skin’s natural patterns and wrinkles. Use small, controlled strokes to create these textures. Add any additional details and refine any areas that need improvement. Take your time with this step, as it can make a significant difference in the overall appearance of your drawing.
Conclusion
Drawing a strong arm requires careful observation and attention to detail. By following the step-by-step instructions outlined in this guide, along with using the right materials, you can create a realistic and powerful representation of an arm in your artwork. Remember to practice regularly and be patient with yourself as you improve your drawing skills. With dedication and practice, you’ll be able to draw strong arms and other intricate subjects confidently.
So grab your pencils and start sketching! Before you know it, you’ll be creating impressive drawings of strong arms that will captivate and inspire others.