Drawing a croquis is an essential skill for any fashion designer or aspiring artist. Croquis, derived from the French word meaning “sketch,” refers to a basic figure that serves as a foundation for designing garments. By learning how to draw a croquis, you will be able to create fashion illustrations that accurately represent your design ideas.
In this step-by-step guide, we will walk you through the process of drawing a croquis, starting from establishing the proportions to adding the final details. Whether you’re a beginner or an experienced artist looking to refine your skills, this article will provide you with the necessary tips and techniques to create a beautiful croquis.
Materials Required
Before we begin, gather the following materials:
- A sketchbook or drawing paper.
- Pencils of various grades (e.g., HB, 2B, 4B).
- An eraser.
- A ruler or straight edge.
- Optional: colored pencils or markers for adding color to your croquis.
Now that you have your materials ready, let’s dive into the process of drawing a croquis.
Step 1: Establish the Proportions
The first step in drawing a croquis is to establish the proportions of the figure. The height of the croquis is typically divided into equal head lengths, with each head length representing the height of the head. Here’s how you can divide the figure:
- Draw a vertical line for the spine of the croquis.
- Divide the line into eight equal parts, with each part representing one head length.
- The top head length will represent the head, while the remaining seven head lengths will represent the body.
Step 2: Create the Head and Neck
Now that you have established the proportions, let’s move on to drawing the head and neck:
- At the top of the first head length, draw an oval shape to represent the head.
- Below the head, draw a slightly curved line to represent the neck, connecting it to the body.
Step 3: Outline the Torso
Next, we will outline the torso of the croquis:
- Starting from the bottom of the neck, draw two curved lines that taper towards the waist, outlining the shoulders and the upper body.
- From the bottom of the waist, draw two more curved lines that flare outwards, representing the hips.
- Connect the hips with a horizontal line to complete the outline of the torso.
Step 4: Add the Arms and Legs
Now that we have the torso, let’s move on to drawing the arms and legs of the croquis:
- Starting from the shoulders, draw two long, narrow rectangles diagonally downwards to represent the upper arms.
- Below the upper arms, draw two more rectangles that gradually taper towards the wrists, representing the lower arms.
- At the bottom of the torso, draw two straight lines diagonally downwards to represent the upper legs.
- Below the upper legs, draw two more lines that taper towards the ankles, representing the lower legs.
Step 5: Refine the Silhouette
In this step, we will refine the silhouette of the croquis:
- Use your eraser to remove any unnecessary lines and smoothen the outline of the figure.
- Pay attention to the natural curves of the body and make adjustments as needed to create a balanced and proportionate silhouette.
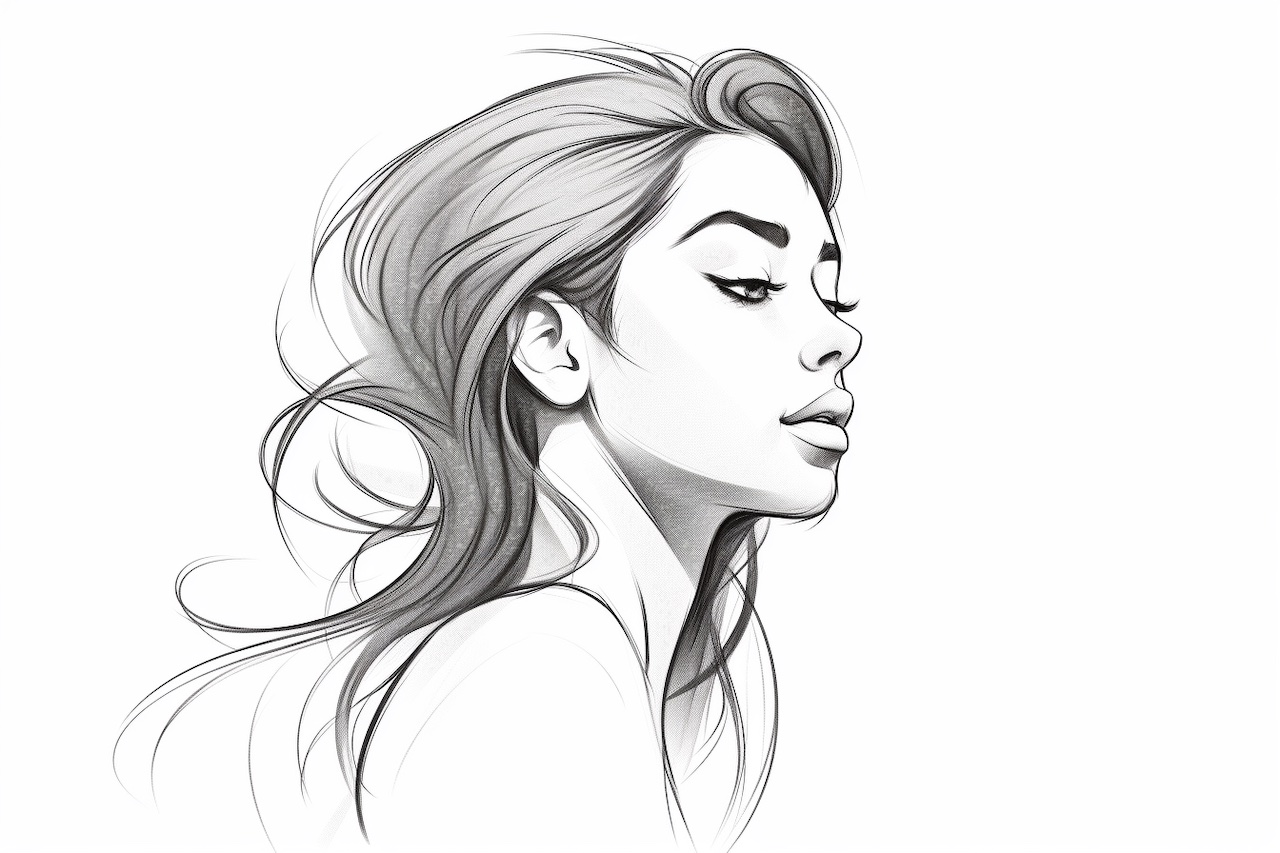
Step 6: Add Facial Features and Hair
To bring your croquis to life, let’s add some facial features and hair:
- Using light pencil strokes, sketch the position of the eyes, nose, and mouth on the face.
- Add the eyebrows, eyelashes, and any desired facial details.
- Draw the hair on top of the head, taking into consideration its style and flow.
Step 7: Sketch the Clothing
Now that we have our croquis, it’s time to sketch the clothing:
- Start by lightly outlining the desired garments, following the natural body curves.
- Pay attention to the fabric folds and drape by adding slightly curved lines and diagonal shading.
- Refine the details of the clothing, such as patterns, seams, and buttons, using finer pencil strokes.
Conclusion
Congratulations! You have successfully learned how to draw a croquis. By following the step-by-step instructions provided in this guide, you can now create your own croquis and bring your fashion ideas to life. Remember, practice is key, so continue to refine your skills and experiment with different poses and styles. Happy sketching!