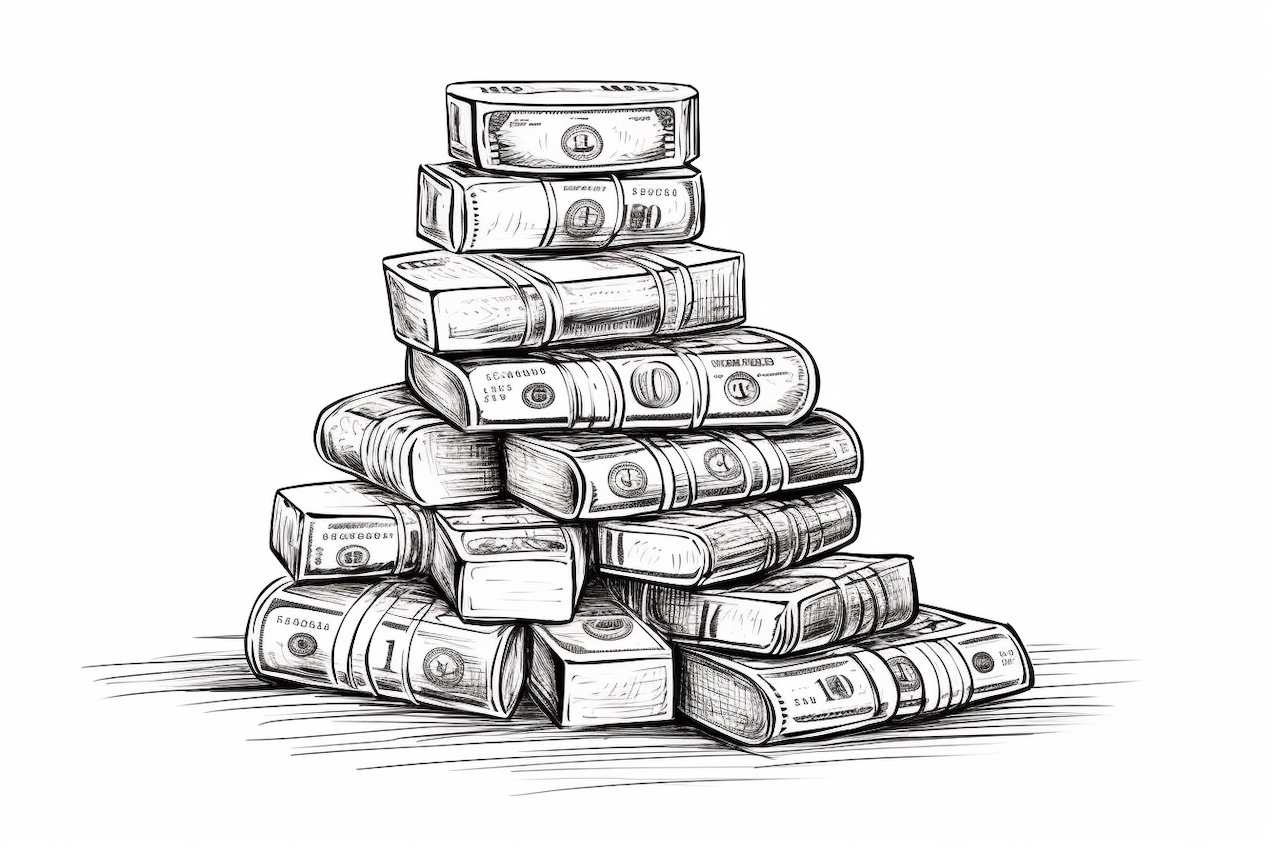
Welcome to this step-by-step guide on how to draw a stack of money. Whether you’re an aspiring artist or just someone looking for a fun drawing activity, this tutorial will teach you how to create a realistic depiction of a stack of bills. By following the simple instructions and using basic drawing techniques, you’ll be able to create an impressive representation of money in no time. So, let’s get started!
Materials Required
Before we begin, gather the following materials:
- Pencil
- Eraser
- Drawing paper
- Ruler
- Reference image of a stack of money (optional)
Now that you have all your materials ready, let’s dive into the steps to create your stack of money drawing.
Step 1: Draw the Base Rectangle
Start by drawing the base of your stack of money. Use a ruler to draw a horizontal line near the bottom of your paper. This line will serve as the bottom edge of your money stack. Make sure it’s straight and evenly positioned across the paper.
Step 2: Add the First Bill
Next, draw the first bill on top of the base. Start by drawing a vertical rectangle that is slightly wider at the top than at the bottom. This will represent the side view of the bill. Make sure to align it with the bottom line you drew in the previous step.
Step 3: Draw the Additional Bills
Continue adding bills to your stack by repeating the previous step. Each bill should be slightly smaller in size compared to the one below it. You can make the width of each bill slightly narrower to give the impression of the diminishing size of the stack. Stack the bills evenly and make sure they are aligned with the bottom line.
Step 4: Add Details to the Bills
To make your stack of money look more realistic, add some details to the bills. Use light and gentle pencil strokes to create lines along the sides of each bill, indicating folds or creases. You can also add small circles or dots on the bills to represent patterns or textures. Look at a reference image if needed for guidance.
Step 5: Add Shadows and Shading
To give your stack of money a three-dimensional appearance, add shadows and shading. Determine the direction of the light source and imagine where the shadows would fall on the bills and the stack. Use a darker pencil or shading technique to create gradual shadows along the sides and underneath the bills. This will add depth and realism to your drawing.
Step 6: Erase the Unnecessary Lines
Once you’re satisfied with the overall look of your stack of money, use an eraser to carefully remove any unnecessary guidelines or construction lines. Be gentle while erasing to avoid smudging or damaging your drawing. This step is essential to clean up your artwork and make it appear polished.
Step 7: Add Final Details and Highlights
Take a critical look at your drawing and add any final details or highlights. You can add additional shading to emphasize certain areas or use a white pencil or marker to create highlights on the bills or the edges of the stack. This will enhance the dimensionality of your drawing and make it stand out.
Conclusion
Congratulations! You have successfully learned how to draw a stack of money. By following the step-by-step instructions and utilizing basic drawing techniques, you can now create a realistic representation of money on paper. Remember to practice regularly to refine your skills and develop your own unique style. Drawing is a wonderful way to express your creativity, and a stack of money is just one of many subjects you can explore. So keep experimenting and have fun with your newfound drawing abilities!