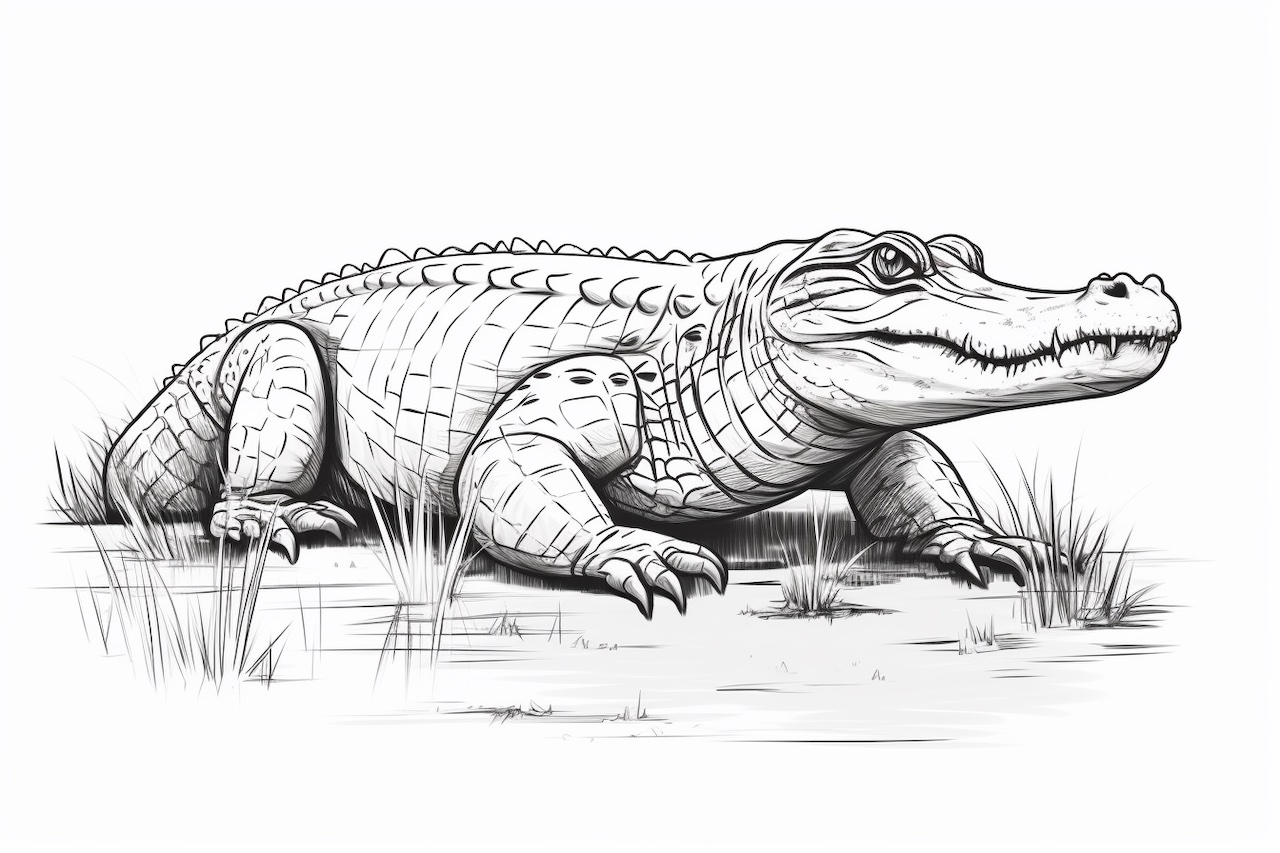
Welcome to this step-by-step tutorial on how to draw a gator! In this article, I will guide you through the process of creating a realistic and detailed representation of an alligator. Whether you are an aspiring artist or someone looking to develop their drawing skills, this tutorial is for you. So, let’s get started!
Materials Required
Before we begin, let’s gather the materials you will need for this drawing:
- Drawing paper or sketchbook
- Pencil
- Eraser
- Fine-tip black marker or pen
- Colored pencils (optional)
Make sure you have all the materials at hand before we dive into the drawing process.
Step 1: Sketch the Basic Shapes
Start by lightly sketching the basic shapes that make up the gator’s body. Begin with an oval shape for the head, followed by a larger oval for the body. Then, add two curved lines connecting the head and body to create the gator’s neck.
Step 2: Outline the Body
Using the basic shapes as a guide, begin outlining the gator’s body. Add more details to the head, such as the snout and eye. Extend the outline to create the body shape, making sure to capture the muscular form of the alligator. Don’t worry about small details at this point; we will refine them later.
Step 3: Draw the Limbs
Next, draw the gator’s limbs. Start with the front legs, which should be short and stout. Add claws to each leg. Then, draw the hind legs, which are longer and more muscular. Remember to add claws to these as well. The hind legs should be positioned as if the gator is walking or resting.
Step 4: Add the Tail
Now it’s time to tackle the gator’s distinctive tail. Alligators have a powerful tail that propels them through the water. Start by drawing a thick curved line that extends from the body. Then, add smaller lines along the length of the tail, representing the individual bony plates that protect it. Make sure to give the tail some thickness and taper it towards the tip.
Step 5: Refine the Details
With the basic shapes and outlines in place, it’s time to refine the details of the gator. Start by adding the mouth and teeth. Alligators have a mouth full of sharp, triangular teeth. Draw them with attention to detail, but remember to keep them in proportion to the overall size of the head.
Next, work on the eyes, nostrils, and the ridges on the gator’s back. Alligators have distinct bony ridges called scutes that run along their backs. These can be represented as a series of curved lines.
Step 6: Erase Unnecessary Guidelines
Once you are satisfied with the overall shape and details of the gator, erase any unnecessary guidelines and faint sketch lines. Use an eraser to carefully remove any unwanted marks, taking care not to smudge the drawing.
Step 7: Add Texture and Shading
To give your gator drawing a more realistic look, it’s time to add texture and shading. Use light, feathery strokes to create the scaly texture on the gator’s body. Pay attention to the direction of the scales as they follow a pattern.
Next, add shading to create depth and dimension. Identify the light source and imagine where the shadows would fall on the gator’s body. Shade those areas accordingly, gradually building up the darkness. Use a pencil or colored pencils to add color if desired, blending the shades smoothly.
Conclusion
Congratulations! You have successfully learned how to draw a gator. By following this step-by-step tutorial, you were able to create a detailed and realistic representation of an alligator. Remember to practice regularly and experiment with different poses and perspectives to further develop your skills.
Drawing animals can be a challenging yet rewarding experience. The more you practice, the better you will become. So keep honing your skills and enjoy the process of bringing creatures to life on paper.