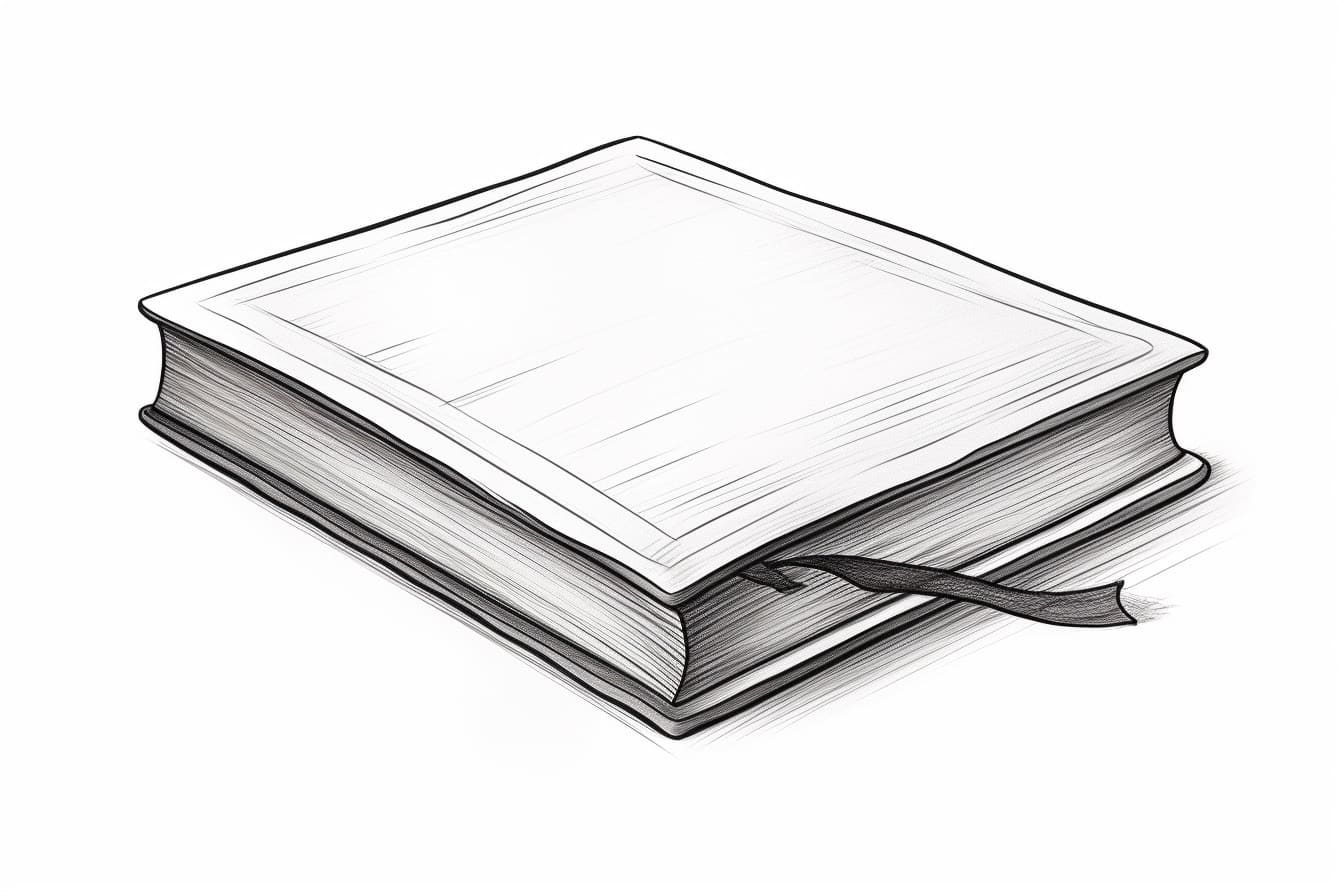
As an artist, being able to draw various everyday objects is an important skill to develop. One such object is a closed book, which can be a great addition to your artwork or simply a fun exercise to improve your drawing techniques. In this step-by-step guide, we will walk you through the process of drawing a book closed, from sketching the basic shapes to adding the final details. So grab your sketchbook and let’s get started!
Materials Required
To draw a book closed, you will need the following materials:
- Pencil: A medium-soft graphite pencil will work well for this drawing.
- Paper: Use a smooth and sturdy paper that can handle the amount of erasing and shading involved.
- Eraser: Choose a soft eraser that won’t smudge or damage the paper.
- Ruler: A straight ruler will come in handy for drawing straight lines and creating accurate proportions.
Step 1: Sketch the Basic Shapes
Start by drawing a rectangular shape that will represent the body of the book. Make the top and bottom edges slightly curved to give it a more natural look. This shape will serve as the foundation for the book.
Step 2: Add the Spine
Draw a vertical line at the center of the book’s body to represent the spine. The length of the spine will depend on the size of the book you want to draw. It should extend slightly beyond the top and bottom edges of the book.
Step 3: Define the Cover
To create the illusion of a closed book, draw two diagonal lines starting from the top corners of the book’s body and converging towards the center of the spine. These lines will determine the angle at which the book is closed.
Step 4: Refine the Shape
Using the basic shapes as a guide, refine the outline of the book by adding more details and curves. Smooth out any rough lines and make sure the proportions are accurate. Pay attention to the thickness of the book as well.
Step 5: Add Details
Now it’s time to add more details to make the book look realistic. Draw a horizontal line near the bottom of the book’s body to represent the page edges. You can also draw a small rectangle at the top of the spine to depict the book’s title or a simple design.
Step 6: Shade the Book
To give the book a three-dimensional appearance, add shading using your pencil. Determine the light source and imagine where the shadows would fall. Start by adding a light layer of shading all over the book, then gradually build up the darker areas.
Step 7: Enhance the Texture
To make the book more visually appealing, you can enhance the texture of the cover. Use your pencil to create small lines or crosshatching to represent the texture of the material. Pay attention to the direction of the lines and vary their density for a more realistic effect.
Step 8: Refine the Details
Take a step back and evaluate your drawing so far. Make any necessary adjustments to the proportions, shading, or details. Use your eraser to clean up any stray lines or smudges. This is the time to add those final touches that will bring your drawing to life.
Step 9: Add Shadows and Highlights
To make your drawing even more realistic, add shadows and highlights to create depth and dimension. Darken the areas where the book casts a shadow, paying attention to the direction of the light source. Add some highlights on the cover and the page edges to make them stand out.
Step 10: Finalize the Drawing
Take a moment to admire your finished drawing of a closed book. Make any last-minute adjustments to ensure everything looks just right. Once you’re satisfied with the result, you can sign your artwork and proudly display it or continue practicing with different variations.
Conclusion
Drawing a closed book is a straightforward process that can be enjoyed by artists of all skill levels. By following these step-by-step instructions, you can create a realistic representation of a closed book with depth, texture, and detail. Remember to take your time, practice, and have fun with the process. Now go ahead and grab your pencils to start sketching your own closed books!