In this tutorial, we will guide you through the process of how to draw a credit card. Whether you’re an aspiring artist or simply interested in capturing the details of this everyday object, this step-by-step guide will help you bring a credit card to life on paper. By following these instructions, you’ll be able to create a realistic representation of a credit card that can be used in various art projects or illustrations. So, let’s get started!
Materials Required
Before we begin, make sure you have the following materials:
- A pencil
- Eraser
- Drawing paper
- Ruler
- Fine-tip pens or markers
- Colored pencils or markers (optional)
Now that we have all the necessary materials, let’s move on to the steps of drawing a credit card.
Step 1: Draw the Card Body
Start by drawing a rectangular shape in the center of your paper. This will serve as the main body of the credit card. Use your ruler to ensure the sides are straight and the corners are square. The size of the rectangle will depend on your preference, but it should be proportionate to the size of a real credit card.
Step 2: Add the Rounded Corners
Credit cards typically have rounded corners to avoid sharp edges. To achieve this, lightly sketch four circles at each corner of the rectangle. Make sure the circles are slightly smaller than the width of the card body. Once you are satisfied with the placement, darken the lines of the circles.
Step 3: Create the Card’s Texture
Next, we’ll add some texture to the credit card to make it more realistic. Using vertical lines, draw a pattern across the entire card body. This pattern gives the impression of a textured surface, similar to what you would find on a real credit card. Take your time and make sure the lines are evenly spaced and parallel to each other.
Step 4: Add the Card Number
In the bottom right corner of the card, draw a small rectangular shape. This will serve as the area where the card number is displayed. Within this rectangle, draw a series of small rectangles or squares to represent the digits of the credit card number. You can use reference images to accurately depict the size and layout of the numbers.
Step 5: Include the Expiration Date
Above the card number area, draw another rectangular shape. This will be where the card’s expiration date is typically displayed. Divide this rectangle into two sections: one for the month and one for the year. Use numbers to represent the month and year, ensuring they are proportionate and fill the available space.
Step 6: Draw the Cardholder’s Name
Moving to the top of the card, draw a rectangular shape slightly wider than the card number area. This is where the cardholder’s name is usually written. Write a fictional name inside the rectangle using neat, legible letters. You can choose to make the name more personal by using your own or a friend’s name if you wish.
Step 7: Incorporate the Card Logo
Near the top left corner of the card, draw a small rectangular space. This is where the logo of the credit card company usually appears. Research the logo of a real credit card company and try to replicate it as accurately as possible. Keep in mind that some logos may be more intricate than others, so adjust the level of detail to your skill level.
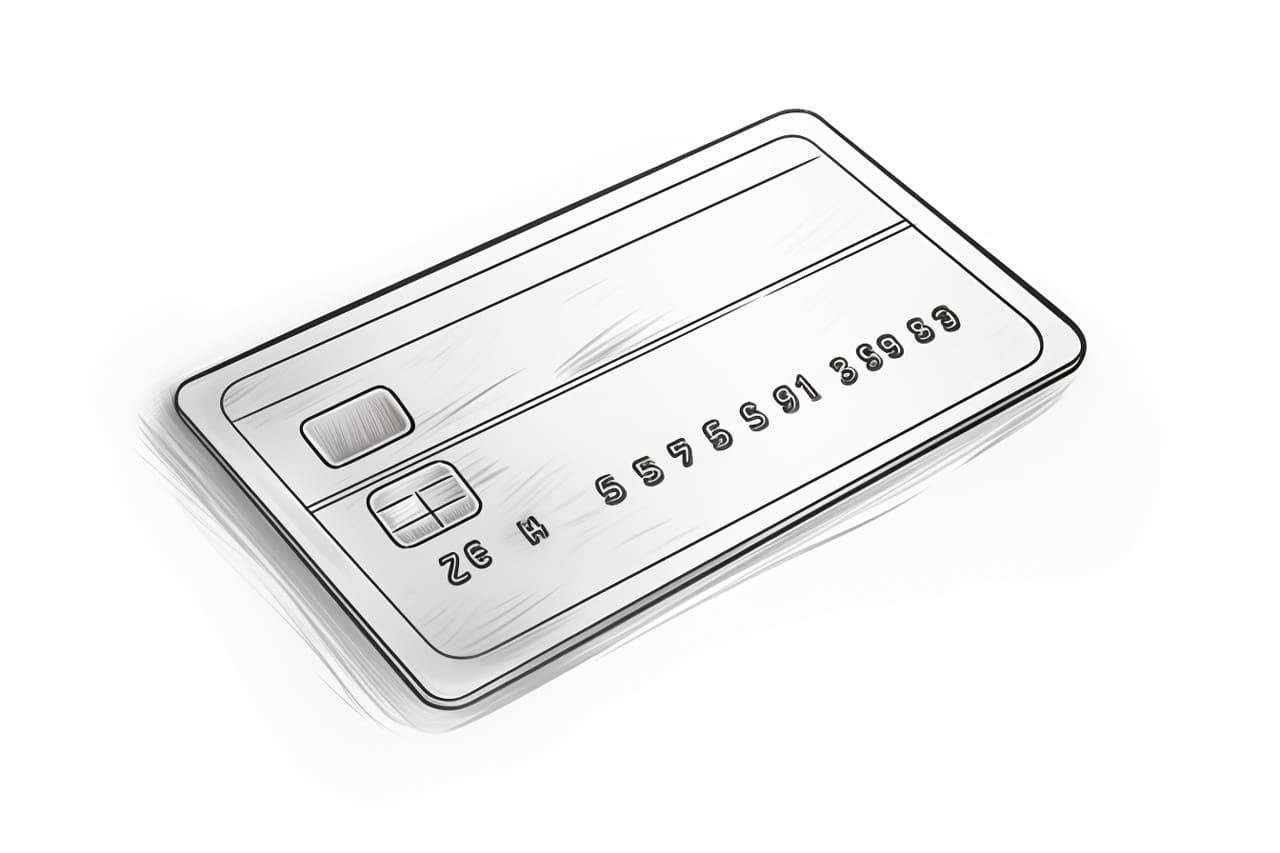
Step 8: Add Additional Details
To make your drawing even more realistic, consider adding a signature strip at the back of the card. Draw a small rectangular shape on the right side of the card, leaving some space for the signature. You can also include an EMV chip on the front of the card, which is commonly seen in modern credit cards. Research the general shape and design of an EMV chip to accurately depict it.
Step 9: Finalize Your Drawing
Once you are satisfied with the overall shape and details of your credit card, go over your pencil lines with a fine-tip pen or marker. This will make the drawing more defined and polished. Take your time and be careful not to smudge the ink as you go. You can also erase any remaining pencil lines once the ink is dry.
Conclusion
Drawing a credit card may seem like a daunting task, but by following these step-by-step instructions, you can create a realistic representation of this everyday object. Remember to take your time, be patient, and practice as much as you can. With practice, you’ll be able to capture the intricate details of a credit card with ease. So grab your materials and start drawing your very own credit card today!