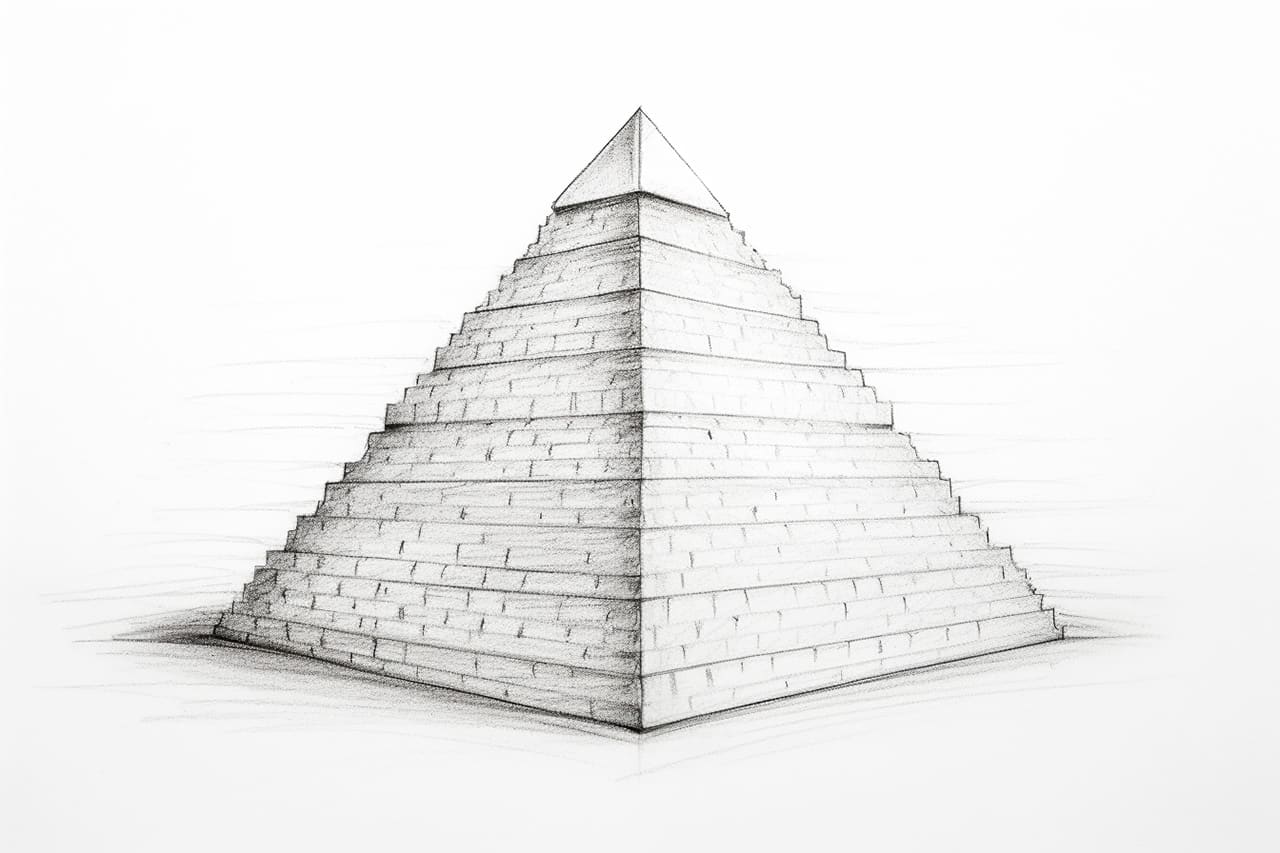
Welcome to this step-by-step tutorial on how to draw a square pyramid. Whether you’re an aspiring artist or just looking to sharpen your drawing skills, this guide will help you create a three-dimensional representation of a square pyramid on paper. With clear instructions and visual aids, you’ll be able to follow along easily and create a stunning pyramid drawing. So, let’s get started!
Materials Required:
- A blank sheet of paper
- Pencil
- Eraser
- Ruler
- Compass
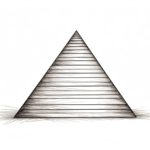
Step 1: Draw the Base Square
Start by drawing a square shape in the center of your paper. Use a ruler to ensure that the sides are straight and the angles are right angles. The size of your square will determine the overall scale of your pyramid, so choose accordingly.
Step 2: Find the Center of the Square
Using your ruler, draw a line connecting the opposite corners of the square. This line will pass through the center of the square and help us find the apex of the pyramid later on.
Step 3: Draw the Height Line
From the center of the square, draw a vertical line extending upwards. This line represents the height of the pyramid and will determine its overall height and steepness.
Step 4: Connect the Apex to the Corners
Next, connect the apex of the pyramid (the top of the vertical line) to each of the four corners of the base square. These lines will form the triangular faces of the pyramid. Ensure that the lines are straight and meet at a point with the apex.
Step 5: Add the Base Edges
Now, draw lines connecting the corners of the base square. These lines will complete the base of the pyramid and give it a solid shape. Make sure these lines are parallel to the corresponding sides of the base square.
Step 6: Erase Unnecessary Guidelines
Once you have drawn the main structure of the pyramid, erase any unnecessary guidelines or construction lines that may still be visible. This will give your drawing a cleaner and more finished look.
Step 7: Add Details and Texture
To enhance the realism of your pyramid drawing, you can add details such as shading and texture. Use your pencil to create darker areas on the triangular faces to indicate shadow and depth. You can also add texture lines or patterns to the pyramid’s base and sides to make it more visually attractive.
Conclusion
Congratulations! You have successfully drawn a square pyramid. By following the step-by-step instructions in this tutorial, you were able to create a three-dimensional representation of a pyramid on paper. Drawing three-dimensional objects can be challenging, but with practice and patience, you can improve your skills and create even more complex geometric shapes. Continue to explore and experiment with different techniques to enhance your drawing abilities. Keep practicing, and soon you’ll be amazed by what you can achieve!