Welcome to this step-by-step guide on how to draw a cube. Whether a beginner or an experienced artist, learning to draw basic shapes, such as a cube, is essential to mastering perspective and creating three-dimensional objects in your artwork, in this tutorial, I will walk you through the process of drawing a cube in a simple and easy-to-follow manner. So grab your materials, and let’s get started!
Materials Required
Before we dive into the steps, let’s gather the materials you’ll need for this drawing:
- Drawing Paper: Choose a quality paper that can handle different drawing techniques. A smooth surface is preferable for this exercise.
- Pencil: Use a medium or hard graphite pencil to sketch the cube. You can also use a mechanical pencil with a 2B or 4B lead.
- Eraser: Have a kneaded eraser or a vinyl eraser handy to correct any mistakes or lighten lines.
- Ruler or Straight Edge: This will help create straight and accurate lines.
Now that you have all your materials ready, let’s proceed with the steps to draw a cube.
Step 1: Start with a Square
Begin by drawing a perfect square in the center of your paper. Use a light touch with your pencil so that it’s easier to erase any construction lines later on. You can use a ruler or a straight edge to ensure your square has straight sides and even angles.
Step 2: Add Depth with Construction Lines
To create the illusion of a three-dimensional cube, we need to add depth. Draw two diagonal lines from the opposite corners of the square. These lines will intersect at the center of the square.
Step 3: Connect the Corners
Next, draw two horizontal lines to connect the top and bottom corners of the square with the intersection point of the diagonal lines. These lines should be parallel to the top and bottom edges of the square.
Step 4: Complete the Sides
Connect the remaining corners of the square to the corresponding corners of the horizontal lines you just drew. These lines will complete the sides of the cube.
Step 5: Add Thickness
To make the cube appear more solid, we need to add thickness. Extend the sides of the square by drawing parallel lines outside each side. Make sure these lines are of equal length and parallel to the original sides of the square.
Step 6: Erase Construction Lines
Now that the basic structure of the cube is complete, carefully erase the construction lines inside the cube. Use a gentle touch with your eraser to avoid smudging or damaging the paper.
Step 7: Outline the Cube
With the construction lines removed, go over the final lines of the cube with a darker pencil or pen. Make the outline bold and confident, emphasizing the corners and edges.
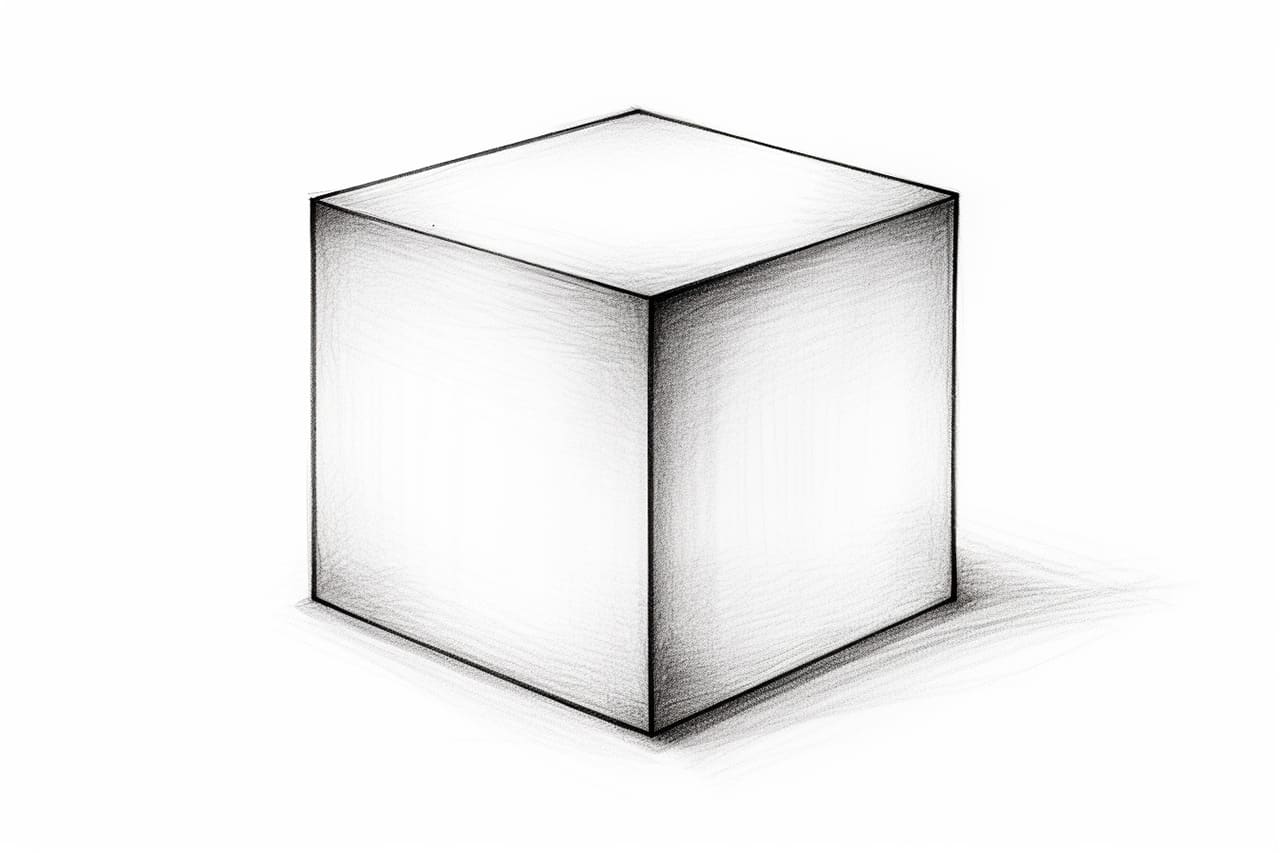
Step 8: Add Shading and Details
To give the cube a more realistic appearance, add shading and details. Determine the direction of the light source and shade one side of the cube accordingly. Use hatching or cross-hatching techniques to create shading and add details, such as cast shadows or highlights.
Conclusion
Congratulations! You’ve successfully learned how to draw a cube. By mastering this fundamental shape, you’re one step closer to creating more complex objects and scenes with depth and realism in your artwork. Remember to practice regularly and experiment with different techniques to refine your skills. With dedication and patience, you’ll soon be able to draw any object with ease.
I hope you found this tutorial helpful and enjoyable. Happy drawing!