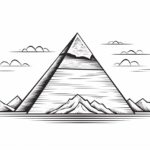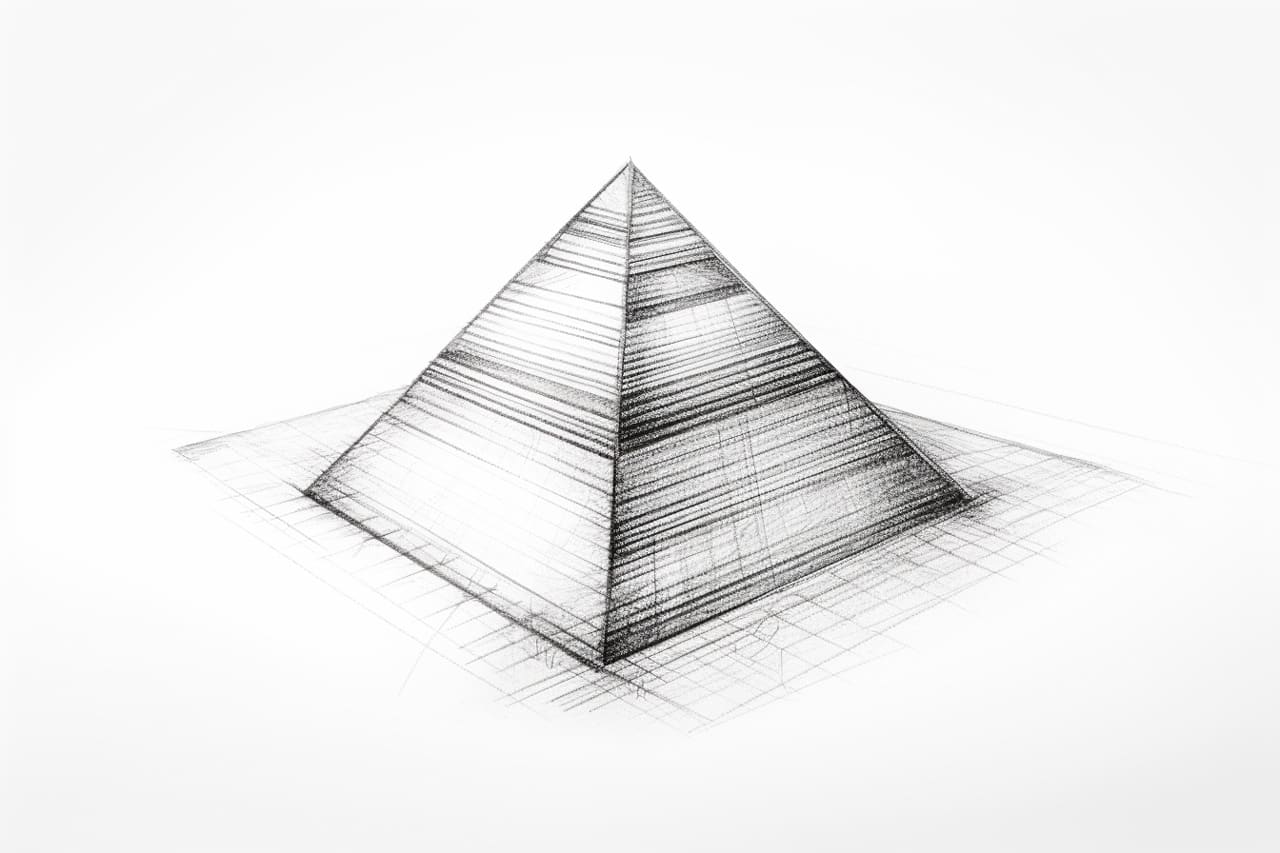
Welcome to this step-by-step tutorial on how to draw a 3D pyramid! Whether you are an aspiring artist or simply interested in learning a new skill, drawing a 3D pyramid can be a fun and rewarding experience. In this tutorial, we will guide you through the process of creating a realistic-looking pyramid using simple shapes and techniques. So, let’s get started!
Materials Required:
Before we dive into the tutorial, let’s gather the materials you will need to draw a 3D pyramid. These materials are readily available and accessible for most beginners:
- Paper: You can use any type of drawing paper or sketchbook.
- Pencil: A regular graphite pencil (preferably HB or 2B) will be sufficient.
- Eraser: Make sure to have a good quality eraser handy.
- Ruler: A straight ruler will help you achieve precise lines.
- Coloring Tools (optional): If you want to add color to your drawing, you can use colored pencils or markers.
Now that you have all the necessary materials, let’s move on to the step-by-step instructions for drawing a 3D pyramid.
Step 1: Drawing the Base
To start, we will draw the base of the pyramid. Begin by using your ruler to draw a horizontal line across the center of your paper. This line will serve as a guide for the base of the pyramid.
Next, draw two vertical lines that intersect the horizontal line at a 90-degree angle, forming a “t.” These vertical lines will represent the sides of the base. Connect the ends of these vertical lines with short, diagonal lines, creating a trapezoid shape. This trapezoid will serve as the base of your pyramid.
Step 2: Adding Depth
To make our pyramid appear three-dimensional, we need to add depth. Start by drawing two diagonal lines extending from the top corners of the trapezoid down towards a single point at the center of the base. These lines should be converging, creating the illusion of perspective.
Extend the vertical lines of the trapezoid upwards, stopping at the intersection point of the diagonal lines. This will form the front face of the pyramid.
Step 3: Connecting the Sides
Now, let’s connect the sides of the pyramid. Extend two diagonal lines from the top corners of the trapezoid towards the intersection point. These lines will meet the existing diagonal lines, creating a triangular side face on each side of the pyramid.
Ensure that the lines are parallel to the existing side lines and meet at the same point. This will give your pyramid a more realistic and symmetrical look.
Step 4: Completing the Sides
To complete the sides of the pyramid, extend two vertical lines from the top corners of the trapezoid up to the top edge of each triangular side face. These lines will represent the back face of the pyramid.
Once again, make sure that the lines are parallel to each other and evenly spaced. This will help maintain the symmetry and perspective of the pyramid.
Step 5: Adding Details
Now that the basic structure of the pyramid is complete, we can add some details to enhance its appearance. Begin by erasing any unnecessary guidelines and construction lines that are no longer needed.
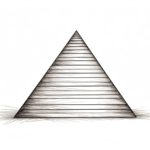
To create a more solid and three-dimensional look, darken the visible lines of the pyramid using your pencil. You can also add shading to the sides and base of the pyramid by lightly applying your pencil in a diagonal motion.
Step 6: Optional Coloring
If you wish to add color to your drawing, now is the time to do so. Use colored pencils or markers to bring your pyramid to life. You can experiment with different color schemes and shading techniques to achieve the desired effect.
Remember to apply color gradually, starting with light layers and gradually building up to darker shades. This will give your drawing depth and dimension.
Conclusion
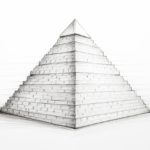
Congratulations! You have successfully learned how to draw a 3D pyramid. By following these step-by-step instructions and utilizing simple shapes and techniques, you can create realistic-looking pyramids. Remember to practice and experiment with different variations and styles to enhance your drawing skills further.
Drawing 3D pyramids can be a great starting point for exploring more complex geometric shapes and architectural drawings. Enjoy the process, and don’t hesitate to unleash your creativity!