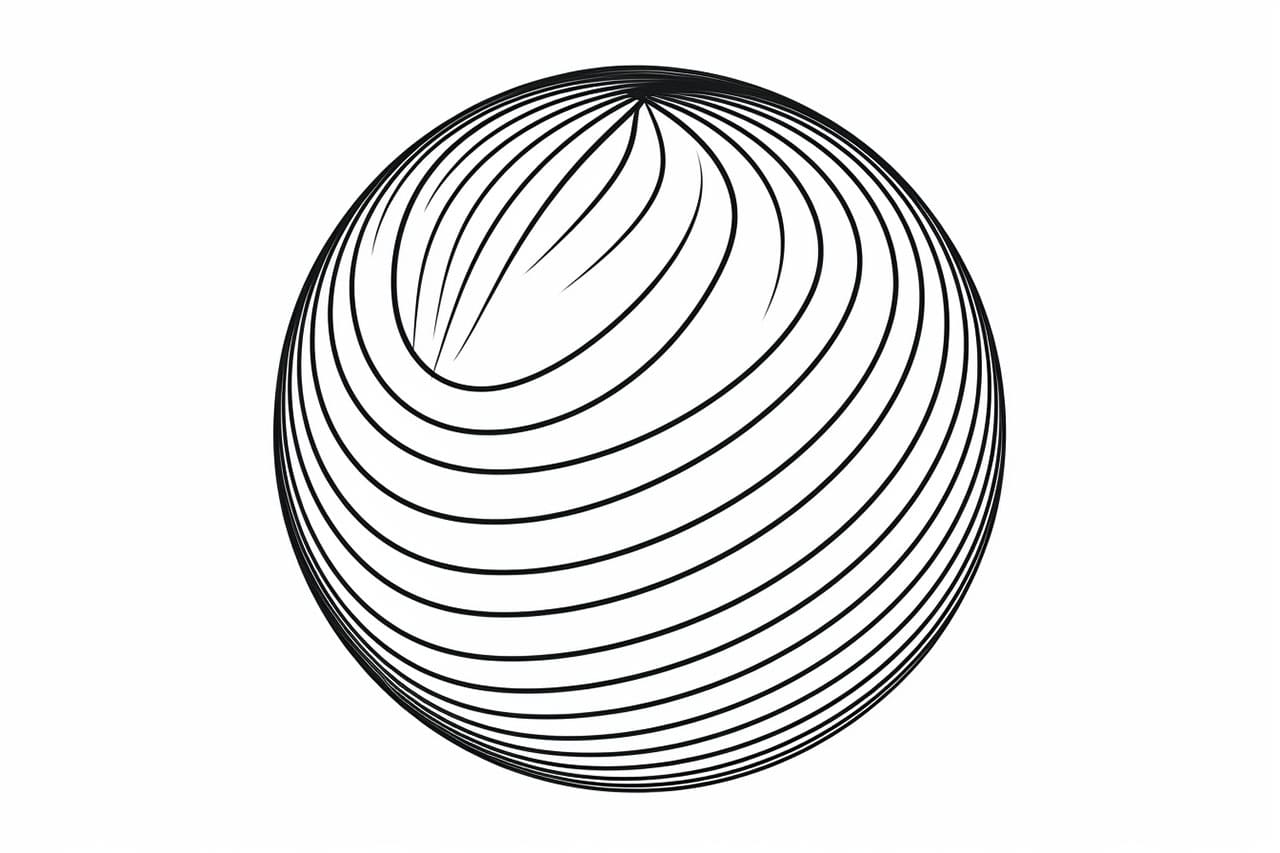
Drawing a sphere may seem challenging at first, but with the right techniques, anyone can create a realistic and three-dimensional representation. This step-by-step guide will walk you through the process of how to draw a sphere, allowing you to enhance your artistic skills and create stunning artwork.
To get started, gather the following materials:
- Pencil
- Eraser
- Drawing paper
- Compass (optional)
- Protractor (optional)
- Light source (optional)
Step 1: Outline the Circle
To begin drawing a sphere, start by sketching a circle on your paper. You can use a compass to create a perfect circle or draw it freehand. The size of the circle will determine the size of your sphere, so choose accordingly.
Step 2: Divide the Circle
Divide the circle into four equal quadrants by drawing two perpendicular lines across its center. This step will help you visualize the sphere’s three-dimensional form.
Step 3: Shade the Quadrants
Next, shade the upper-left and lower-right quadrants of the circle using soft, light strokes. These shaded areas represent the areas of the sphere that are facing away from the light source and appear darker.
Step 4: Add Highlights
Now, identify the light source in your drawing. This could be a lamp, the sun, or any other light-emitting object. Based on the position of the light, visualize where the highlights would fall on the sphere. Lightly shade the upper-right and lower-left quadrants, leaving some areas unshaded to represent the highlights.
Step 5: Refine the Shading
Using a light touch, blend the shaded and highlighted areas together to create a smooth transition. Be mindful of the direction of the strokes, as they should follow the contour of the sphere. Use an eraser to lighten any areas that appear too dark, adjusting the shading until you achieve the desired result.
Step 6: Create a Gradual Transition
To enhance the three-dimensional effect, create a gradual transition between the shaded and highlighted areas. Blend the edges where the two tones meet, using soft strokes in the direction of the sphere’s form. This will make the sphere appear more realistic and rounded.
Step 7: Add Details
Now that you have the basic form of the sphere, you can add additional details to make it more visually appealing. Consider adding texture, such as small dots or lines, to simulate a rough or smooth surface. You can also experiment with different shading techniques to create depth and dimension.
Step 8: Evaluate and Adjust
Take a step back and evaluate your drawing. Look for any areas that need adjustment or refinement. Pay attention to the overall proportions, shading, and highlights. Make any necessary changes to ensure your sphere looks realistic and well-balanced.
Conclusion
Drawing a sphere is a fundamental skill that every aspiring artist should master. By following these step-by-step instructions, you can create a realistic and three-dimensional representation that showcases your artistic abilities. Remember to be patient with yourself and practice regularly to improve your skills. With time and dedication, you will be able to draw spheres effortlessly and incorporate them into your artwork. Enjoy the process and happy drawing!