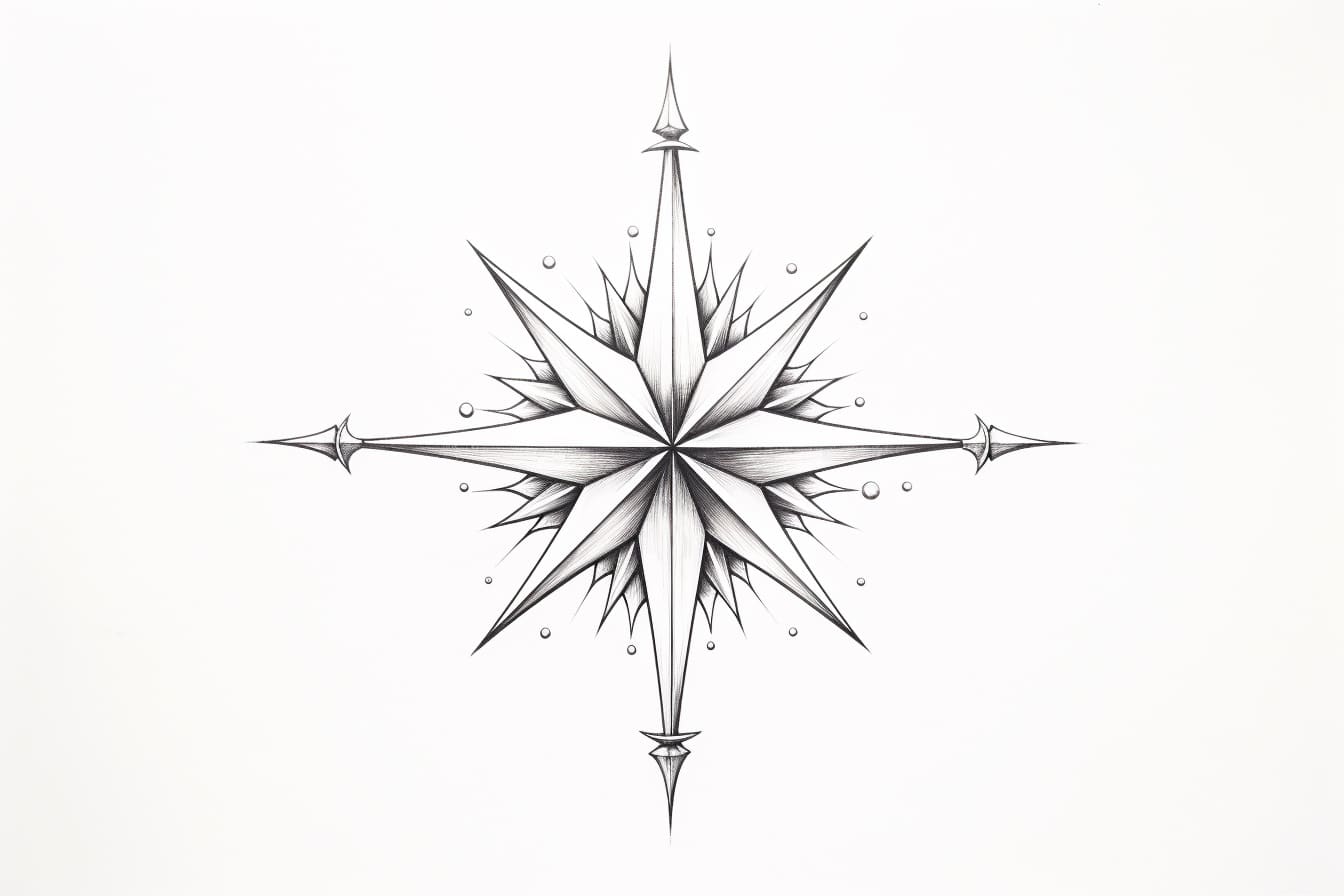
Are you looking to add a touch of creativity to your artwork? Drawing a nautical star can be a great way to incorporate a unique symbol into your designs. Whether you’re an experienced artist or just starting out, this step-by-step guide will walk you through the process of how to draw a nautical star. By following these simple instructions, you’ll be able to create a stunning nautical star that will be sure to catch the eye. So grab your drawing materials and let’s get started!
Materials Required:
To draw a nautical star, you’ll need the following materials:
- Pencil
- Eraser
- Compass
- Ruler
- Paper
Now that you have your materials ready, let’s begin the process of drawing a nautical star.
Step 1: Start with a Circle
Begin by drawing a circle with your compass. This will serve as the base for your nautical star. Make sure to keep the circle neat and even.
Step 2: Divide the Circle
Next, use your ruler to divide the circle into eight equal parts. Start by drawing a line from the top of the circle to the bottom, then repeat the process from the left side to the right side. This will create four equal quadrants in the circle.
Step 3: Create the Points
Now, using your compass, create the points of the nautical star. Start by placing one point at the top of the circle, where the vertical and horizontal lines intersect. From there, move clockwise around the circle and place a point in each of the remaining quadrants. Make sure to keep the spacing between the points equal and symmetrical.
Step 4: Connect the Points
After creating the points, connect them using straight lines. Start by drawing a line from the top point to the bottom point, then continue around the circle, connecting each point to the next. This will give your nautical star its distinctive shape.
Step 5: Add the Inner Lines
To add more depth and detail to your nautical star, draw diagonal lines that intersect at each point. These lines should start from the inner edge of the star and extend towards the center.
Step 6: Refine and Adjust
Take a moment to step back and evaluate your nautical star. Use your eraser to make any necessary adjustments or corrections. If any lines are uneven or need to be straightened, now is the time to fix them. Remember, practice makes perfect, so don’t be afraid to make changes until you are satisfied with the final result.
Step 7: Add Shading (Optional)
If you want to add some dimension to your nautical star, consider adding shading. You can use a light pencil to create shading around the edges of the star, giving it a three-dimensional appearance. Experiment with different shading techniques to achieve the desired effect.
Conclusion
Drawing a nautical star is a fun and creative way to enhance your artwork. By following these step-by-step instructions, you can easily create a stunning nautical star that will impress others with your artistic skills. Remember to practice and experiment with different techniques to make your nautical star unique. So grab your materials and start drawing your own nautical star today!


