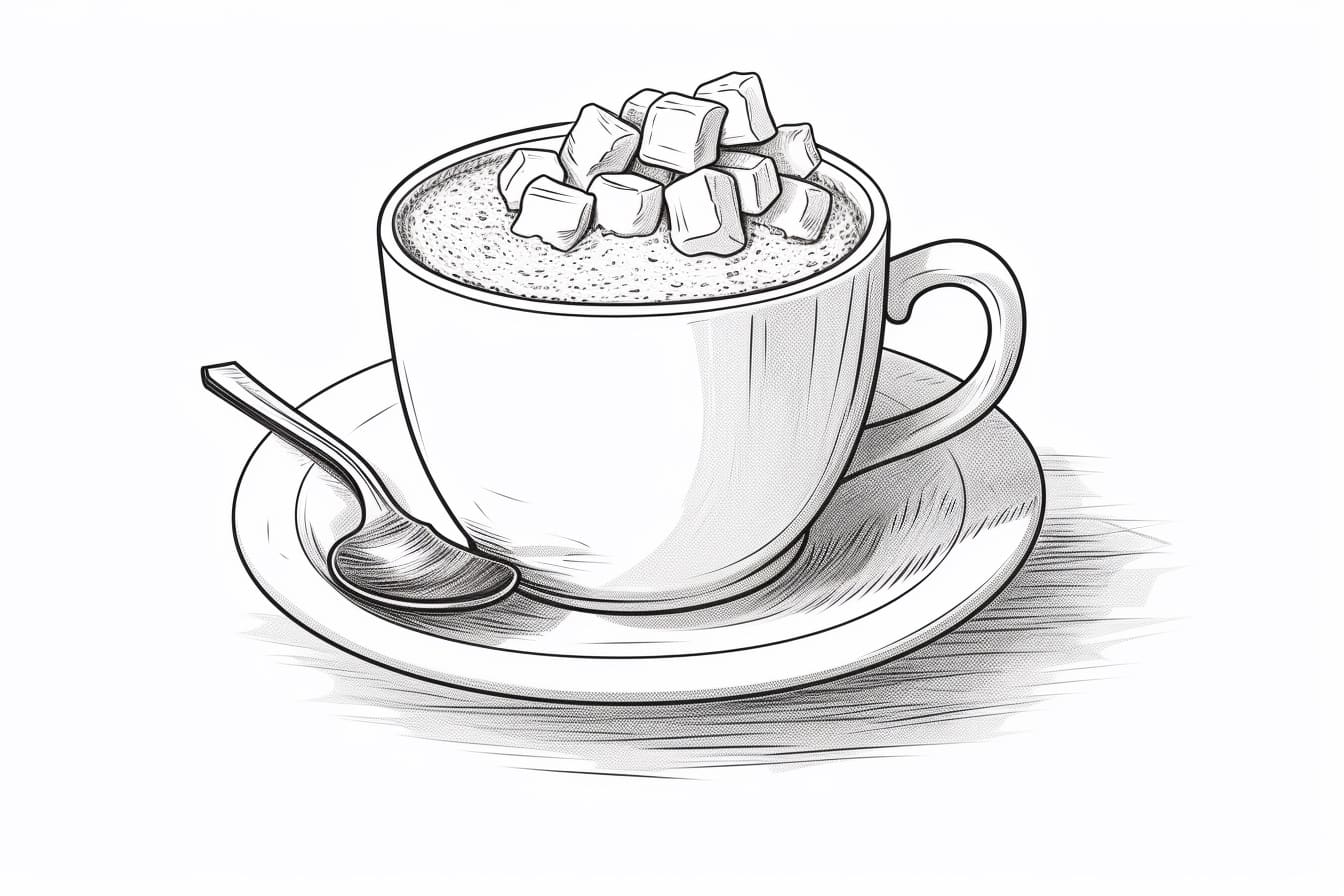
Do you love hot cocoa? Have you ever wanted to capture its warmth and deliciousness on paper? Well, you’re in luck! In this step-by-step guide, I will show you how to draw a hot cocoa that looks so realistic, you’ll practically be able to smell its sweet aroma. So grab your pencils and let’s get started!
Materials Required:
- Drawing paper
- Pencil
- Eraser
- Colored pencils (brown, white, and any other colors you’d like to use for decoration)
- Blending tool or cotton swabs
- Reference photo of a hot cocoa (optional)
Step 1: Sketch the Mug
Start by drawing the outline of the mug. In this tutorial, we’ll go with a classic shape – a slightly wider top, a narrower bottom, and a handle on the right side. Use light pencil strokes so you can easily make adjustments later. Remember to leave some space at the top of the mug for the whipped cream and other decorations.
Step 2: Add Depth to the Mug
To make the mug look three-dimensional, add shading to its sides. Imagine where the light is coming from – typically from the top left corner – and shade the opposite side accordingly. Gradually darken the shaded areas, but keep the bottom part of the mug slightly lighter to create a reflective effect.
Step 3: Draw the Hot Cocoa
Within the mug, draw the outline of the hot cocoa using a brown pencil. Start from the bottom and gradually move upward, following the shape of the mug. Don’t worry about making it perfect – a slightly uneven line can add to the natural look of the cocoa.
Step 4: Add Highlights to the Cocoa
Using a white colored pencil or an eraser, add highlights to the cocoa. These highlights will represent the reflections of light on the surface. Concentrate on the top half of the cocoa and leave the bottom darker to create depth.
Step 5: Create the Whipped Cream
At the top of the mug, draw the whipped cream. Start by sketching its outline, which should be slightly wider than the mug itself. Then, using quick, short strokes, add texture to the whipped cream to make it look fluffy and inviting. Leave some space in the middle to add cocoa powder later.
Step 6: Shade the Whipped Cream
Next, add shading to the whipped cream to give it volume. Determine the direction of the light source and shade the opposite side of each peak and curve. The shading should be gentle and subtle to maintain the airy and light appearance of the whipped cream.
Step 7: Add Cocoa Powder
Now, let’s make the hot cocoa even more tempting by adding some cocoa powder on top of the whipped cream. Draw small, irregular shapes using a brown colored pencil or lightly smudge some brown colored pencil marks. This will give the impression of the cocoa powder sprinkled on the cream.
Step 8: Decorate the Mug
To make your hot cocoa drawing more visually appealing, consider decorating the mug with some additional elements. You can draw steam rising from the cocoa using light pencil strokes or add marshmallows floating on top by drawing small circular shapes. Get creative and add any other decorative elements you like.
Step 9: Add Shadows and Highlights
To give your drawing depth and dimension, it’s important to add shadows and highlights to the different elements. Determine the direction of the light source and shade the areas that would be in shadow. Use gentle pencil strokes to create a gradual transition between light and dark areas. Additionally, use a white colored pencil or an eraser to add highlights to the edges that catch the light.
Step 10: Finalize the Details
Now is the time to refine your drawing and make any necessary adjustments. Take a step back and observe your work so far. Are there any areas that need more shading or blending? Are the proportions looking right? Use your eraser to clean up any stray lines and make the necessary corrections to achieve the desired result.
Conclusion
Drawing a hot cocoa may seem like a daunting task, but with these step-by-step instructions, you can create a realistic and mouthwatering depiction of this beloved beverage. Remember to take your time and have fun with the process. So go ahead, grab your favorite art supplies, and let your creativity flow as you bring your hot cocoa to life on paper!

